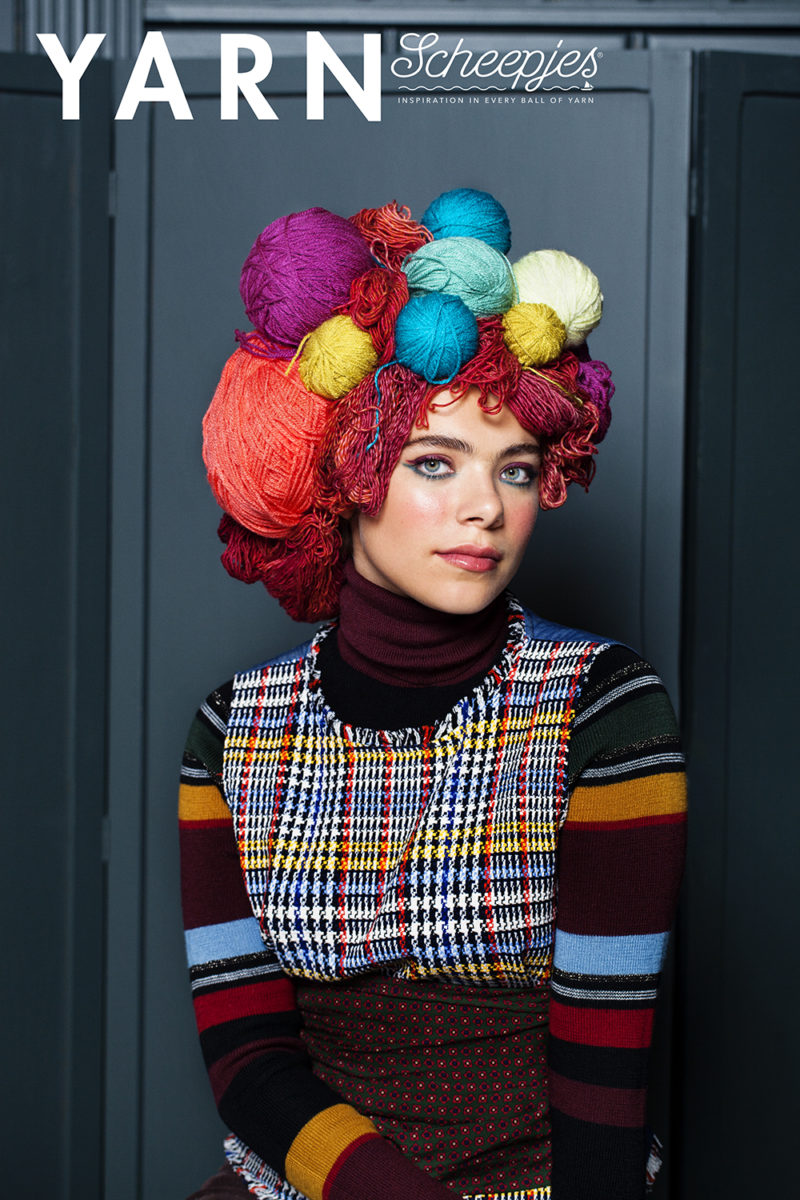
Looking for something new to crochet? Scheepjes Yarns has released their latest issue of YARN bookazine *, and it is so lush.
Find this issue here at > WoolWarehouse or Knotty House <
FOLK is this issue’s theme, so the strong, deep colors – beautiful reds, purple, blue – are cozy, warm, and inviting. In fact, my coze factor has just dramatically increased.. I think I need a cup of coffee and a blanket; give me a sec..

Okay I’m back.
So my contribution to YARN 6 is a blanket named “Happy Folk Blanket.”
I did loads of research on Dutch and American Folk Art for my design.
If you’d like to read more about that, check out these links!
Before I dive in, check out the teaser for this issue – it is bananas! This may be my favorite issue yet.

I absolutely fell in love with the scene depicted in the piece below, this barn quilt created by Jackie’s Sewing Service.

And this painting by Cheryl Bartley, American Folk artist. Note how the barn has a similar geometric quilt depicted on it.

Don’t those quilts remind you of this Quaker Quilt by Esther Dijkstra of It’s All in a Nutshell?

Perhaps one of my favorite designs in this issue is the Alpine Resort Tunic by Tammy of Canadutch.

One of my favorite fashion designers, Holly Fulton, has drawn inspiration from folk art in her runway pieces, and I was reminded of Tammy’s jumper. Can you see it?

And now to my own design, a blanket of course! Happy Folk Blanket. One of my favorite things about YARN is the way Scheepjes styles the photos, and they did a wonderful job polishing up my blanket to look lovely.
Related Links:

I was inspired by these types of images of American Folk Art. This is a quilt from the Annette Gero Collection, War and Pieced. There are so many beautiful quilts made in this type of design. Unlimited inspiration!

I love all of the different designs and motifs and how they are pieced without too much thought to symmetry or balance. This is right up my alley, as I love asymmetric design, and I believe it is actually more pleasing to the eye than perfect symmetry. The collection of motifs guides your eye through the piece.
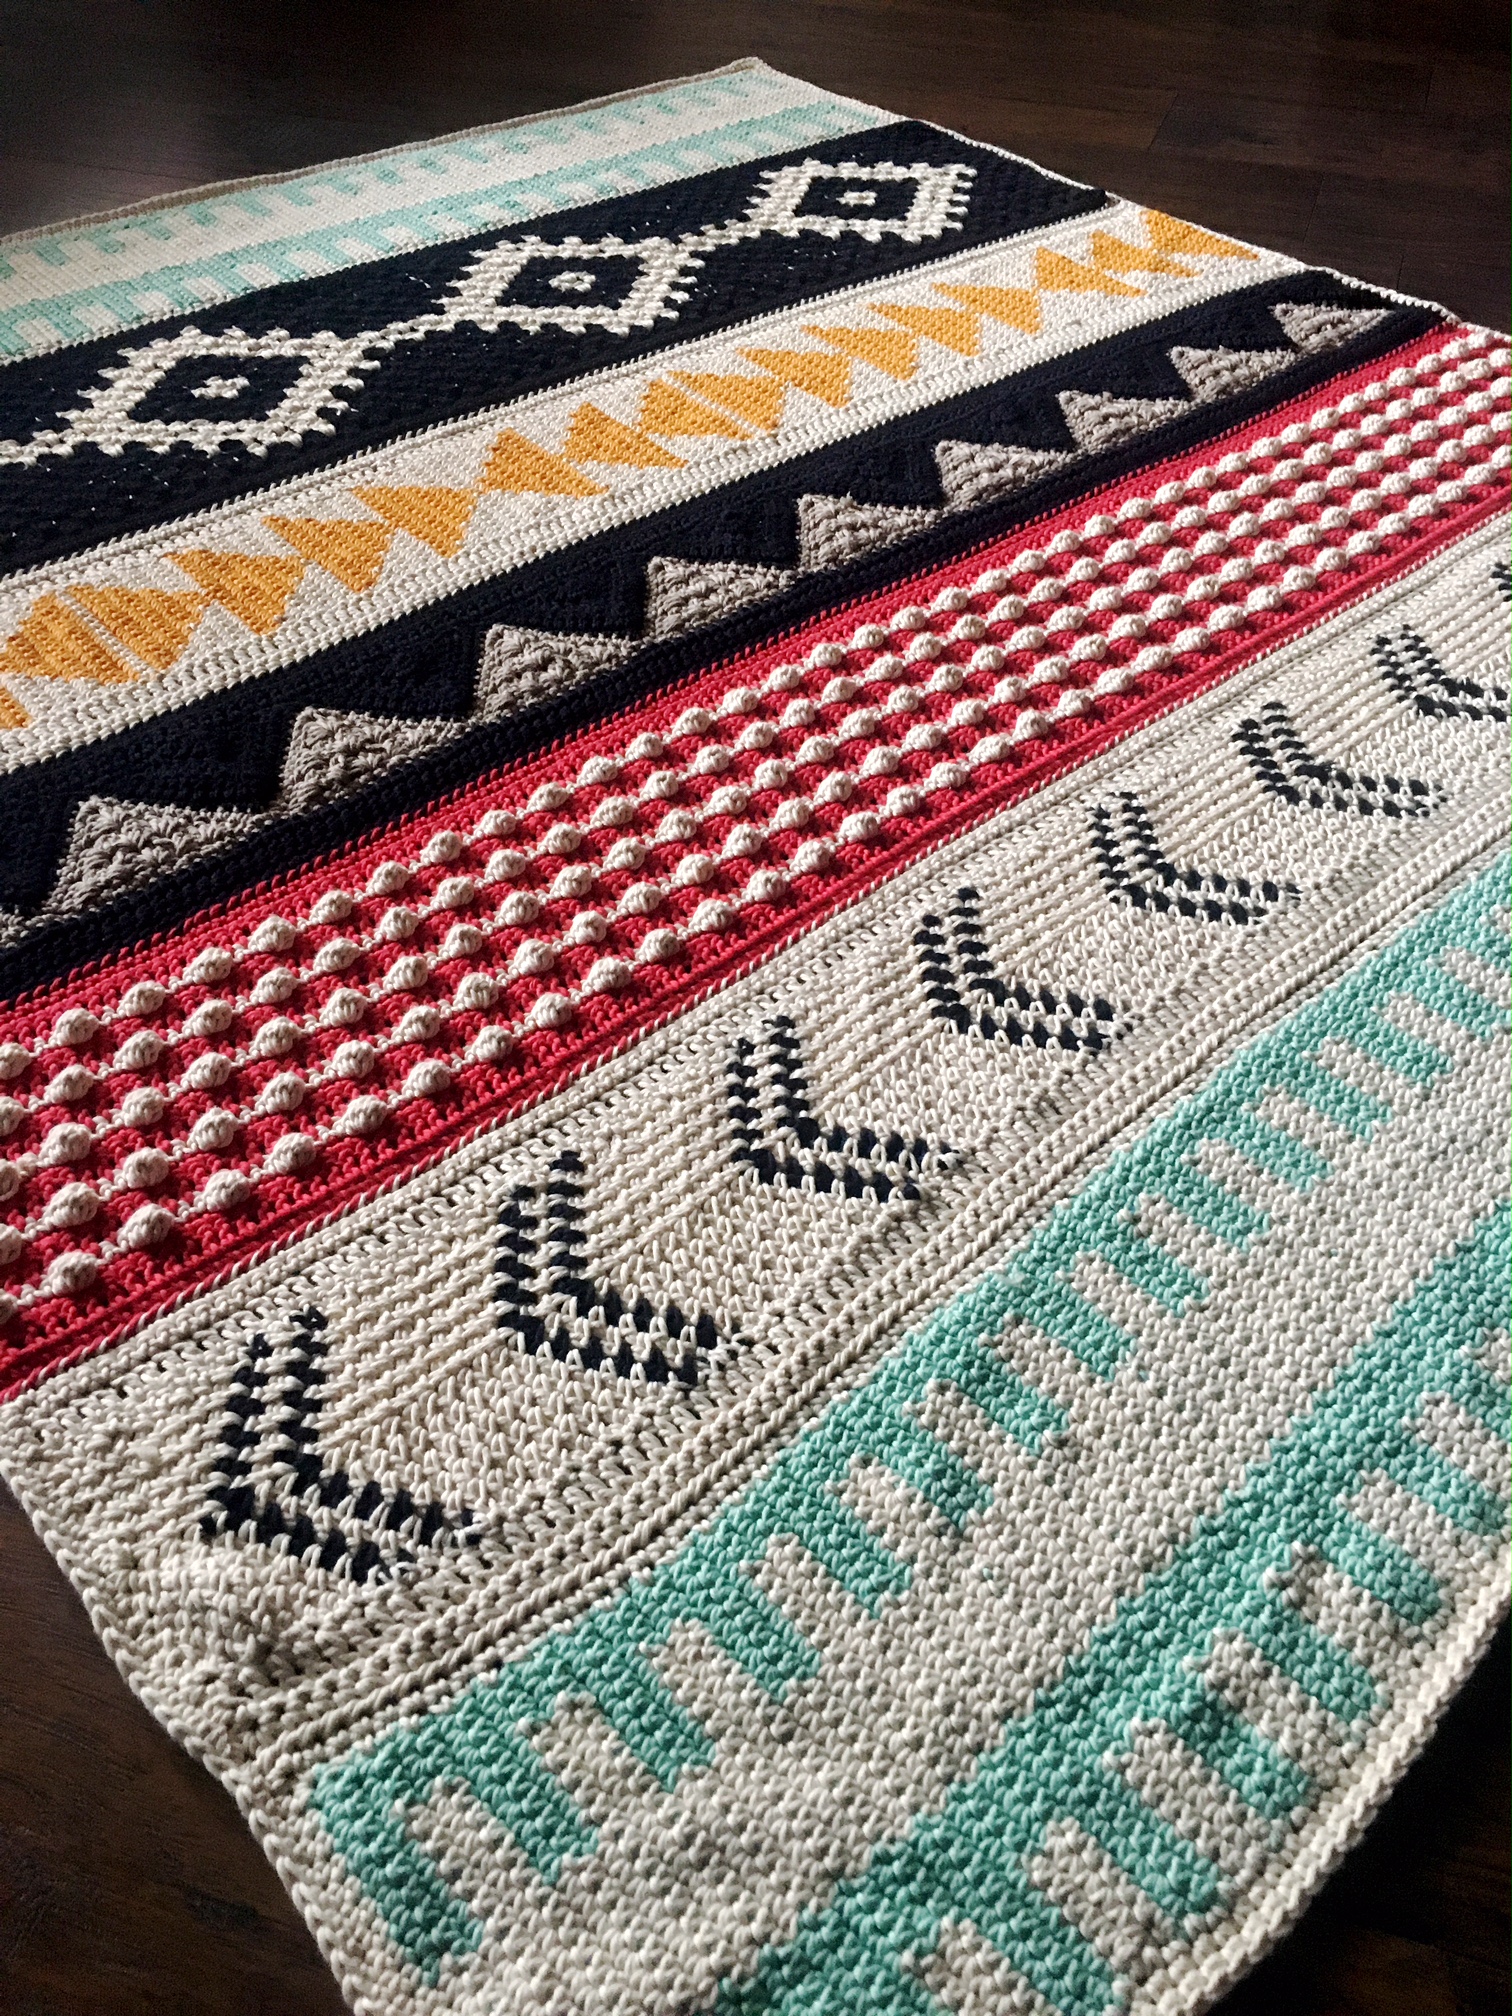
Here are some of my own pics of the Happy Folk Blanket.


An aerial photo from the YARN Bookazine so you can see all of the motifs and how they work together.

You may know I had a project in the third issue of YARN as well! Remember the Amazon Blanket from YARN 03 – the tropical issue? I’ve enjoyed designing for this bookazine and I may even have something in the works for the next issue – we’ll have to wait and see! Check out my YARN Bookazine submissions walk down memory lane to see my contributions to the fourth and fifth issue as well.
Hope y’all enjoyed browsing these pieces. Now go take a look at the rest of the Scheepjes publications. ❤️ I hope you check out the YARN Bookazines and especially head to the latest issue and give Happy Folk Blanket a heart, a comment, queue it up, or just generally show some love. It means a lot to me 
Remember if you start on this blanket, you can use the hashtag on social media so I can find it!
Always hashtag #cypresstextiles // and: #happyfolkblanket
Don’t forget to add the projects to Ravelry also – this helps loads! That way more folks can find the issues and they can imagine the projects in new ways. Inspire someone today!
That’s all I have for today! Now off to crochet with a cuppa ❤️
Happy crafting, y’all! Love you!
Rachele C.
Check out my post on the Scheepjes Bloggers visit to Yarndale! Also, you can pre-order my book! I have a book update post coming soon.
*This post includes affiliate links. Shopping through them will help support CypressTextiles at no extra cost. Affiliate links are better than avocado – they don’t cost any extra!
Hi, y’all! It’s my turn on the Scheepjes YARN Bookazine, FOLK Issue (Ravelry link) Bloghop. You are hopping here from the Peppergoose Handmade bloghop post about the beautiful and thoughtfully designed Olga sweater. Eep that’s one of my favorite pieces in the bookazine!

My Turn in the Hop!
For my bloghop post, I am going to tell you all about the Happy Folk Blanket (made in Scheepjes Cahlista Yarn) which is my contribution to this issue. Here are the photos from the bookazine.
A view in the room:
And a view from above:
Related Links:
But these bookazine photos show the end result of the creative process. A lot went into the making of this blanket design, and so I want to show you some of the historical Folk Art quilts that I found on my research journey for this issue.
Wartime Folk Art Quilts
First, I came upon a collection of heirloom quilts made by men during wartime in the 1800s -either while in the hospital or at home after the war – out of their military uniforms. This moved me to tears actually, the thought of the human experience of war being captured in a blanket, forever memorialized in the symbol of community, a fabric quilt. I’ve always said there is a deep connection between fiber art to ourselves as members of a community. Think of phrases like “the fabric of our community.” There’s just something about hand stitching that resonates with the human soul. And these military quilts are a breathtaking example of that.
Information on photos in above gallery from left to right:
First photo above: Soldier’s Quilt, Artist unidentified. Probably United States, Canada, or Great Britain, 1854–1890. Wool melton, 67 x 66 1/2 in. American Folk Art Museum, gift of Altria Group, Inc., 2008.9.1, Photo by Gavin Ashworth
Read this small snippet about this piece from the American Folk Art Museum website:
This textile belongs to a group of bedcovers that are also known as military quilts or, sometimes, Crimean quilts. Most of the known examples were found in Great Britain, where they were traditionally made from wool fabric used in the production of military uniforms. During the second half of the nineteenth century, soldiers were encouraged to take up sewing as a useful alternative to the less salubrious pursuits of drinking and gambling. Sewing was also used as a form of therapy for soldiers injured in conflict and recuperating in hospitals.
The second and third quilts were found on the Hyperallergic website, and are taken from an installation of War and Pieced: The Annette Gero Collection of Quilts from Military Fabrics.
Second photo above: “Army Uniform Quilt from the Napoleonic Era by an unidentified artist (Region unknown, possibly Prussia, late 18th/early 19th century), wool, probably from military uniforms; Silesian pieced (photo by the author for Hyperallergic)”
Third photo above: “Installation view of War and Pieced: The Annette Gero Collection of Quilts from Military Fabrics at the American Folk Art Museum (photo by the author for Hyperallergic)”
There are so many more of these military quilts – please have a look at these websites to see more of them, including portraits of the sewing soldiers.
New York Quilt Project // Wartime Quilts Folk Art Museum
Colorful Folk Art Quilts
Next, I found this folk quilt from the early 1900s and some other beauties like it that have color palettes closer to the theme of the YARN FOLK issue. The military quilts above are limited to the colors of the uniforms, but these ones are boundless. What I love about both styles are the mixing of motifs. If you have followed me for any length of time, you will know that I enjoy mixing motifs and stitches in my designs. I would even venture to say that is my “thing.” So of course these quilts speak to me.

From the New York Quilt Project – See website.
Quilt info: Carl Klewicke, “Original Design Quilt” (Corning, New York, 1907), pieced silk, faille, taffeta, and satin, 60 x 72 1/2 inches (American Folk Art Museum purchase, photo by Gavin Ashworth)
My Design Process
After some thought about what I wanted my piece to look like, and connecting that to the mood board for the FOLK issue, I came up with this initial sketch:

That scrawling in my graph paper moleskine is how all of my designs begin. Of course there were many changes made, but here are my first hooky samples for Happy Folk.

As a side note, I often get asked why I like to whip stitch my motifs together these days. Previously, I was obsessed with my PLT Join, and would use it every time I needed to join motifs or blanket panels. I still use it, but these days you’ll more often find me whip stitching. Why? For projects especially like this one, I enjoy the hand-piecing feel of the whip stitch process, and I am also satisfied with the outcome of being able to see the neat little hand stitching on the front of the blanket. Some crafters have suggested that I whip stitch through back loops only, to get a neater look, but I am actually going for a cozy, rustic handmade look when I whip stitch. It just speaks to me more than the pursuit of “neatness” and so called “perfection.”
[Related: You may know I have been exploring imperfection and freedom of creative spirit more, especially recently with my Relaxghan Series (Ravelry link), made entirely with Scheepjes Yarns.]
Happy Folk pre-border:
And so that is the journey of Happy Folk for my bloghop post. I hope you all enjoyed taking a look into the research and design that went into this blanket, and you can glean from it my positive energy and a sense of crafty community.
FOLKalong
Would you like to make Happy Folk with me? Carmen of New Leaf Designs has put together a FOLKalong – which is a very relaxed make-along group for crafters who want to make something from the YARN FOLK issue and share in the experience. Please take a look at Carmen’s Ravelry discussion group for the FOLKalong.
From the group, Carmen shares this info:
Hello everyone! I’m seeing a lot of people starting projects from the new Scheepjes YARN bookazine, the FOLK issue. No wonder of course since there are so many amazing patterns in there <3
You can share here in the group and link to your Ravelry project page, and share on Instagram/Facebook with the tags #ScheepjesFOLKalong and #YARNbookazine
I love a good hashtag! I will be making my #HappyFolkBlanket again, but this time with the plum color, Cahlista 394, as the main backgound color. I am super busy right now with the release of my book coming next week, and my 5 Days of Giveaways, but I will announce the beginning of my little project in Carmen’s FOLK-along very soon, if anyone would like to participate with me! Of course it is casual, but I’d love to create a nice little community of Happy Folk blanket makers. So watch this space.
Here are the beginnings of my plum background of Happy Folk. Funny the motifs seem to be arranged in some sort of secret symbol… hmm – so weird. 😉

Now onto the giveaway!
Scheepjes Giveaway
Information from the Scheepjes Facebook Page:
We’ll be running a great giveaway together with the blog hop! If you enter you can win your own copy of YARN 6, AND the yarn to create your favourite project! Now that would be a great start of the holiday season, wouldn’t it?
Our bloggers have helped us a little bit with the giveaway. In each blog hop post there is a hidden symbol, such as a letter, a number or a sign. If you put these symbols in order, you’ll get the secret sentence which is your ticket to win!
How do you join?
In order to participate, comment on this post telling us which YARN 6 design is your favourite. Once you’ve figured out the secret sentence, reply on your original comment with the secret sentence and who knows, maybe you’ll be the lucky winner! The giveaway runs up until November 11th and a winner will be drawn November 12th. The giveaway is open worldwide. Good luck!
Here is that Facebook Post:
Good luck y’all! Thanks for everything you do, and as always, I love you guys!
Happy crafting,
Rachele C.
Hi, everyone! Hope y’all are getting some peaceful hooky in as the temperatures cool a bit (in the Northern Hemisphere).
FOLKalong
I’m just making a very short post today to invite y’all to casually join me on a crochet-along – but it’s called a FOLKalong – for my Happy Folk Blanket from Scheepjes YARN Bookazine, FOLK issue (affiliate link). Do you want to make this blanket as a little community rather than all on your own? I am remaking the blanket but using plum as the background color instead of the coral red. I’d just love it if anyone who wants to make it would join me!

The Details
The FOLKalong was created by Carmen of New Leaf Designs. She made it as a casual, low-key make-along, and you can just pick any design from the Scheepjes YARN Bookazine, FOLK issue and then join in on the convo over on the Ravelry discussion thread. That’s where the community is meeting – everyone who is making designs from the bookazine. So I’m inviting you all to join me – and Carmen! – in the fun. Check out the designs on Ravelry and see which project you’d like to make! You don’t have to make my Happy Folk Blanket, but you get a gold star if you do – lol
So to recap:
- Get the bookazine! (affiliate link)
- Choose a pattern – Remember, Happy Folk Blanket = shiny gold star sticker 🙂
- Get your yarn and join in on the Ravelry discussion thread! I’ll see y’all there!
- Timeline – there isn’t really a timeline just yet. This is very casual – no pressure – just enjoy crocheting among others in this virtual crafty community, and sharing your WIP pics with everyone.
Social Media Tips
Hashtag #scheepjesFOLKalong and #YARNbookazine so that everyone’s pics are together.
Don’t forget, if you post WIP pics on Instagram, hashtag me #cypresstextiles so I can easily see it and share it.
Yarn info
To make the Happy Folk Blanket in the original colorway, you will need:
Scheepjes Cahlista (100% Double Gassed Cotton; 50g/85m)
- Yarn A: 113 Delphinium x 3 balls
- Yarn B: 164 Light Navy x 3 balls
- Yarn C: 400 Petrol Blue x 2 balls
- Yarn D: 514 Jade x 3 balls
- Yarn E: 525 Fir x 3 balls
- Yarn F: 517 Ruby x 4 balls
- Yarn G: 385 Crystalline x 3 balls
- Yarn H: 411 Sweet Orange x 4 balls
- Yarn I: 398 Coral Rose x 4 balls
- Yarn J: 394 Shadow Purple x 4 balls
- Yarn K: 516 Candy Apple x 10 balls
For the version I am making – I’m doing 394 Shadow Purple as the background color instead of the 516 Candy Apple – you’ll just swap the quantities for those 2 colors when you order. Then Yarn J becomes Candy Apple, and Yarn K becomes Shadow Purple.
Order your yarn
Shop Scheepjes Cahlista Yarn (affiliate) or find a Scheepjes retailer near you!
Thank you for joining me! I’ll see you in the discussion group.
Featured Pattern of the Week

Photo by Carmen of New Leaf Designs
Sleeping Reindeer by Carmen of New Leaf Designs. Read more about the Sleeping Reindeer pattern on Carmen’s blog post, or check out the Ravelry listing to add your project and give it a favorite heart. Folks are really loving this pattern, and I’ve been seeing it pop up in my social feeds! I just love this design and as someone who is deathly afraid of crocheting a stuffed animal, it looks like even I could do it. Give Carmen’s pattern some love, and even try it out for yourself!
Hey y’all!! It’s Saturday, and I’m dedicating my next ten Saturdays to the #scheepjesFOLKalong for my #happyfolkblanket. If you missed the post where I explained how Carmen of New Leaf Designs is hosting a casual FOLKalong and I am joining in, then click on over to read all about it.
I am so pumped for this! When I’m not hosting a CAL, I feel really empty and like I lack purpose somehow, I think since CALs are so timeline-based. Well this FOLKalong is very relaxed, but I’m still thrilled for y’all to join me in making the Happy Folk Blanket.
For a quick refresher, Carmen is hosting the FOLKalong over on Ravelry, and anyone can join who is making anything from the Scheepjes YARN Bookazine, FOLK issue*. I am making another version of my Happy Folk Blanket, but with the plum purple color as the background instead of the corally red. Join me over in Carmen’s FOLKalong discussion group on Ravelry!
Here’s what the bookazine looks like – it has proven to be insanely popular. And rightly so!
Information
How to join in the FOLKalong
- Read about the YARN Bookazine, FOLK issue, and the Happy Folk Blanket
- Get the bookazine! (affiliate link)
- Get your yarn (see below) and join in on the Ravelry discussion thread! I’ll see y’all there!
- You can also feel free to show your progress pics in my Facebook Group, but the main FOLKalong discussion will be on Carmen’s Ravelry thread, linked above.
- Follow the timeline (see below), but this is very casual – no pressure – just enjoy crocheting among others in this virtual crafty community, and sharing your WIP pics with everyone.
Note: Social Media Tips
Hashtag #scheepjesFOLKalong and #YARNbookazine so that everyone’s pics are together.
Don’t forget, if you post WIP pics on Instagram, hashtag me #cypresstextiles also, that way I can easily see it and share it.
Order your yarn
To make the Happy Folk Blanket in the original colorway, you will need:
Scheepjes Cahlista (100% Double Gassed Cotton; 50g/85m)
Shop Scheepjes Cahlista Yarn (affiliate) or find a Scheepjes retailer near you!
- Yarn A: 113 Delphinium x 3 balls
- Yarn B: 164 Light Navy x 3 balls
- Yarn C: 400 Petrol Blue x 2 balls
- Yarn D: 514 Jade x 3 balls
- Yarn E: 525 Fir x 3 balls
- Yarn F: 517 Ruby x 4 balls
- Yarn G: 385 Crystalline x 3 balls
- Yarn H: 411 Sweet Orange x 4 balls
- Yarn I: 398 Coral Rose x 4 balls
- Yarn J: 394 Shadow Purple x 4 balls
- Yarn K: 516 Candy Apple x 10 balls
For the version I am making – I’m doing 394 Shadow Purple as the background color instead of the 516 Candy Apple – you’ll just swap the quantities for those 2 colors when you order. Then Yarn J becomes Candy Apple, and Yarn K becomes Shadow Purple.
FOLKalong Schedule Information
For the Happy Folk Blanket. This is for those of you who like to have a schedule to loosely adhere to. Pace yourselves as you like! I’ll tell y’all what week I’m on, but I’m not adding dates to these weeks. You jump into the FOLKalong and just take it week by week as listed below. Don’t forget to add your pics in the Ravelry thread.
10-Week Schedule
Jump in any time and start your weeks.
- Week 1: About half of the Motif 3 squares (weave ends as you go every week)
- Week 2: The rest of the Motif 3 squares and join for Panel 2
- Week 3: Both of the Motif 1 squares
- Week 4: Half of the Motif 2 squares
- Week 5: The rest of the Motif 2 squares and join Panel 1
- Week 6: Work Granny Stripe and join Panel 1 to Panel 2
- Week 7: All of the Motif 4 squares and join, then join to blanket body
- Week 8: Work Panel 4 striped section
- Week 9: Work Granny Stripe and join to blanket body
- Week 10: Weave any remaining ends and work border
My Progress Pics

Week 1: I made roughly half of the Motif 3 squares – I only finished 16 but that’s okay. You can see in the pic, I wanted to make a 17th, but didn’t feel like finishing it. That’s alright! I’ll finish all of the squares next week. Remember this is casual. Crochet is meant to de-stress you, not re-stress you.
(Thank you to my crochet bestie, Selah of @simplybyselah on Instagram for the awesome notebook and glitter pens. Yaasssss!)
Remember the IG hashtags and post progress pics in my FB group if you like (scroll up to the Information section for all those links)! Join in the discussion of the Ravelry thread though, as that’s where Carmen’s FOLKalong community is meeting. I’ll see y’all there!
Happy crafting! Love you guys!
Rachele C.
When I joined the Scheepjes Bloggers Team, I started contributing to their biannual publication, the YARN Bookazine. Since the sixth issue has just been released, I thought I would take a little walk down memory lane, and reminisce over my quirky YARN blanket design submission collection.
To find these titles, please browse this page of Scheepjes Publications (affiliated) and you can find all of the issues of YARN there.
YARN 3, Tropical
When this, my first issue of YARN, was released, I was an absolute wreck with pride and emotion. How cool is it that my blanket is on the cover of a bookazine?? And among pattern designs by such a talented group of artists.
If you are trying to find this issue, and it is no longer available, I have some copies! Do you think I should list them in my shop? Let me know in a comment to this post, or shoot me a message/email, and I will definitely do it if there is interest!

My contribution to this issue is called Amazon Blanket.
Related Links:
I can remember exactly when I was making this piece. I was sat in a rocking chair in the spare room of our house, before my son was born. Hooking up these lovely squares and blanket body while listening to podcasts on my phone. Complete bliss. Now if I can find time to finish the new pastel chic version – it’s nearly there! Maybe before 2019 arrives, I can have an FO to show off.

YARN 4, The Dutch Masters
I remember the release of Dutch Masters like if it were yesterday. What a beautifully dramatic issue – with the strong colors of the artists honored within. Check out that DaVinci sunflower on the cover – whit-woo! They made my completely crazy blanket shine like a diamond. (Top right corner of cover.)

And another stylized shot – can’t get enough of this one! My blanket, New Horizons, is inspired by the earlier works of Piet Mondrian.
Related Links:
The shapes of this one are really why I love crochet design. Bringing together different motifs makes it such a delight for me. I live for the geometry of it all!

YARN 5, WOMAN
Ah, what a special issue – celebrating women as the complex creatures of love and strength that we are. What an honor to design a blanket for this fresh and stunning issue. Plus, just feast your eyes on all of the top notch designs featured on the cover. So much beauty! Not to mention the incredible models.. This was really a fantastic issue. I recommend diving into your own copy! You will certainly find something you’d love to make within its pages.

This blanket is called Lotus Leaf, and it is made with Cahlista yarn – an aran weight cotton.
Related Links:
Coming soon, I want to tell you all about the two alternate colorways I used for the tester samples of Lotus Leaf. One of them revolves around the color red instead of the color blue, and it is absolutely perfect for the holiday season! You will see how the color palette can change the personality of this piece. For now though, you can see the meditative blues and greens I chose for the final submission.

Yarn 6, FOLK
And now we come to the current issue and my contribution, Happy Folk.
I have some info, but I don’t want to give everything away! I’ll save all the details for a separate blog post for this, the sixth issue of YARN.
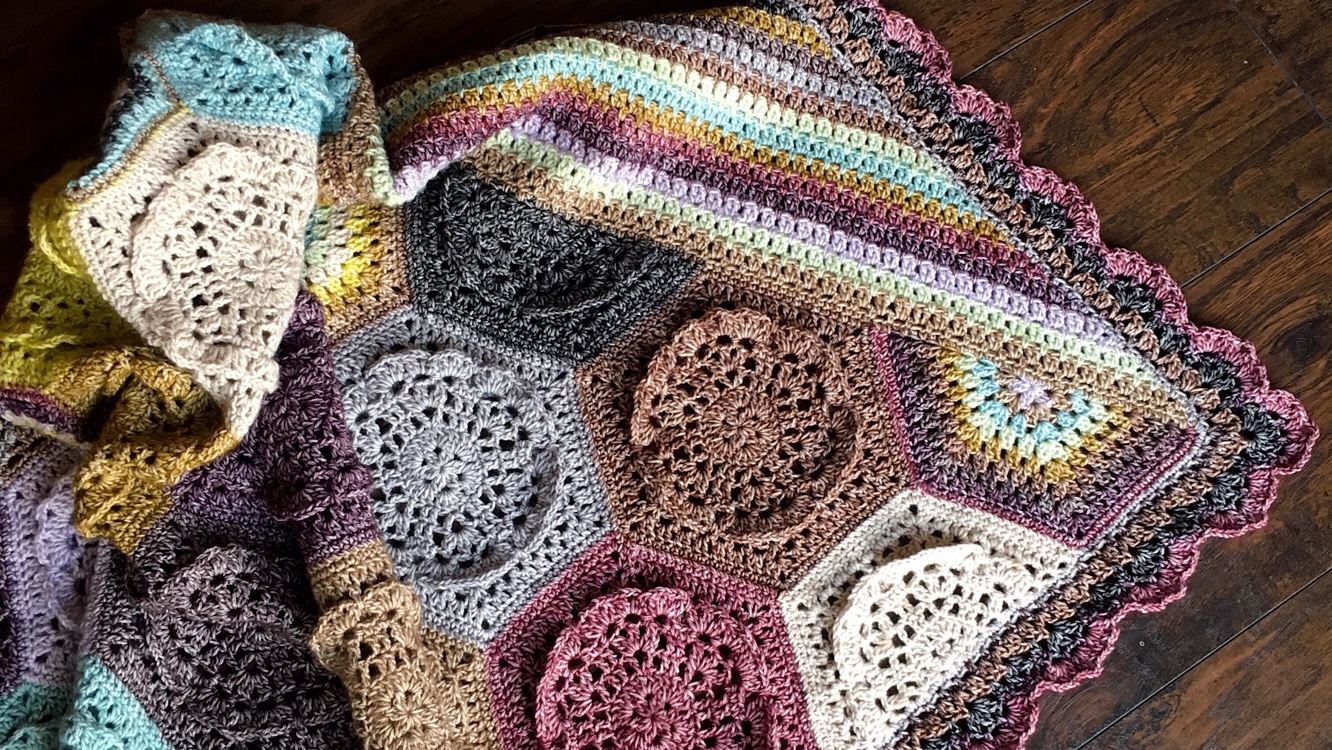
Have a dusty and unblocked photo of the blanket, which does still reveal all of the fun motifs I used. Don’t be intimidated by this one though! The simple squares and stripes are very rhythmic and intuitive. You’ll love it! Head to the Ravelry page and add Happy Folk to your favorites (heart!) and your queue to help support the YARN bookazine and my work. I love you guys!
What do y’all think? Designing for YARN is so fun, because I feel I can really stretch my creativity to its limits. The stylists are very open to quirky and offbeat designs, and the photography has a decidedly high fashion vibe to me. My crazy designs fit right in hehe.
Thank you all for walking down memory lane with me and indulging me on my look back through these designs! I hope you check out the YARN Bookazines and especially head to the latest issue and give Happy Folk Blanket a heart, a comment, queue it up, or just generally show some love. It means a lot to me 🙂
Remember if you start on any of these projects, you can use their hashtags on social media so I can find them!
Always hashtag #cypresstextiles
and: #amazonblanket | #newhorizonsblanket | #lotusleafblanket | #happyfolkblanket
Don’t forget to add the projects to Ravelry also – this helps loads! That way more folks can find the issues and they can imagine the projects in new ways. Inspire someone today!
Happy crafting, y’all! Love you!
Rachele C.