
Part 1: How to join all of your squares up to the final column. Part 2 will include your final left-hand column of squares plus finishing the border.
Many of you will say this is confusing and crazy! There is definitely a “light-bulb” moment that has to go off, and then its smooth sailing, and before you know it, you’ll be trying to convert every join so it’s continuous. I’m not technologically advanced enough to make videos, but check our YouTube “continuous granny square join” for some great views of the process. The “continuous” method will be very similar, but obviously the join has a different look since this is flat braid.
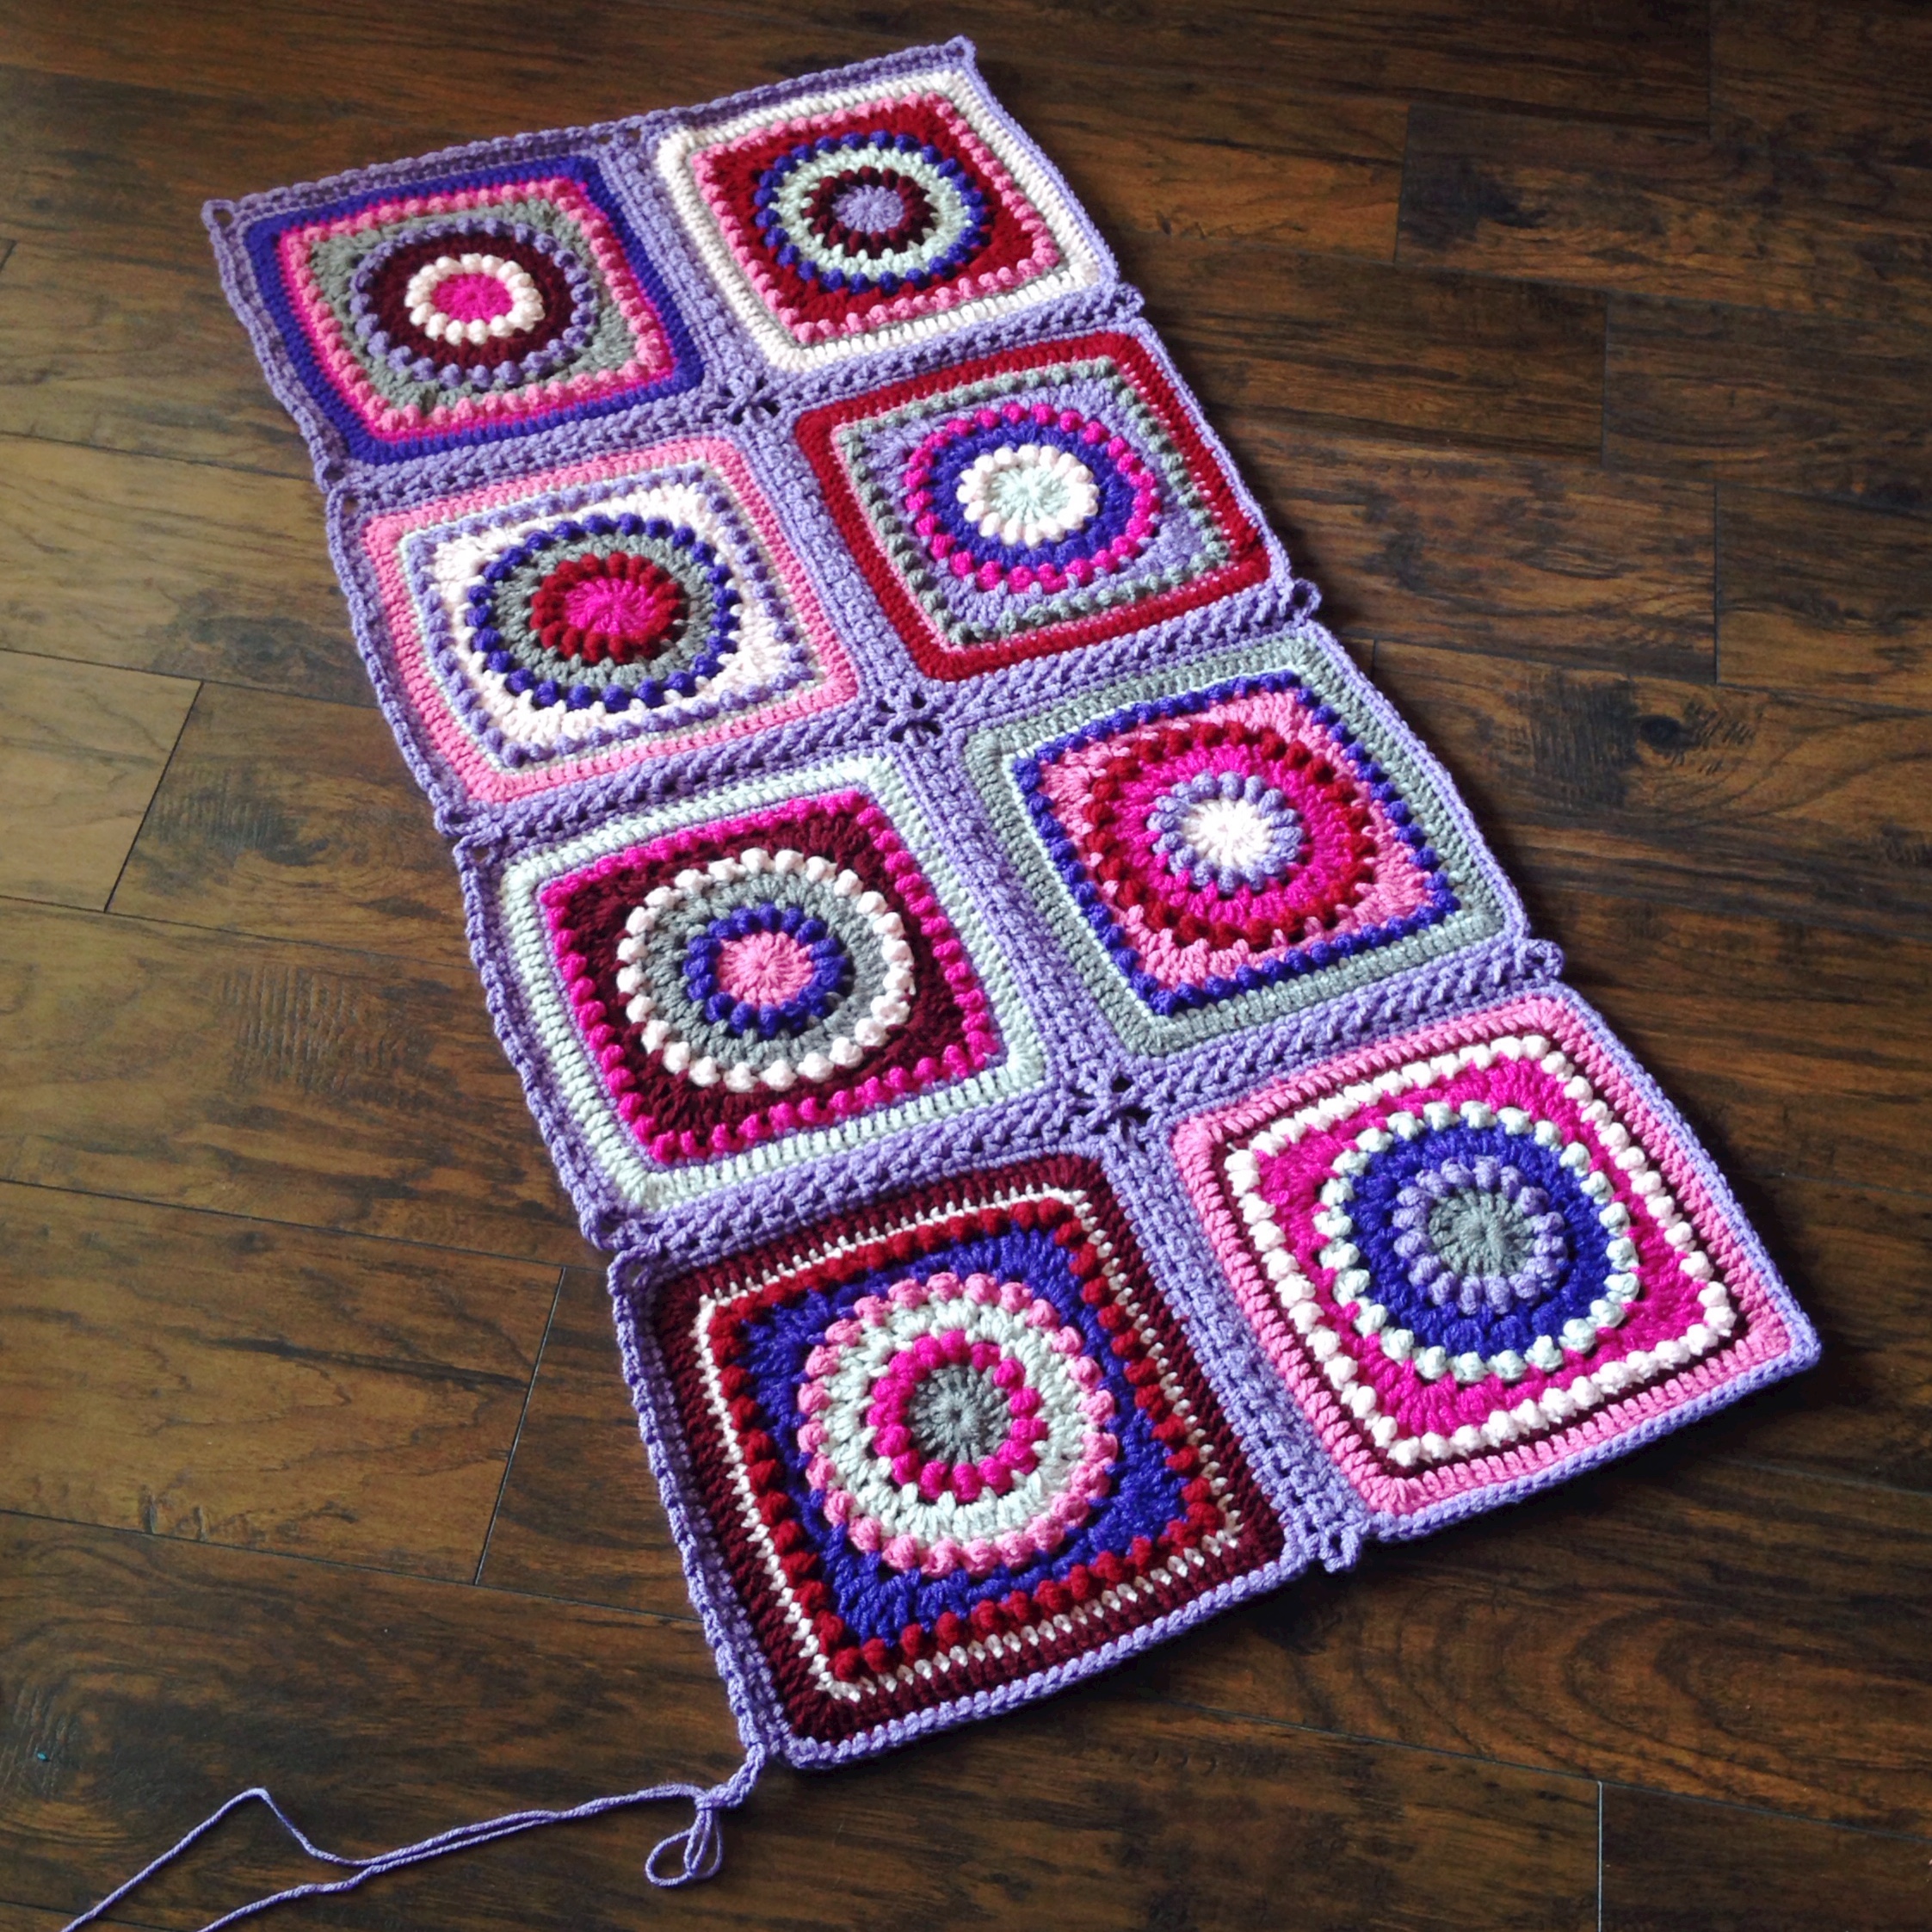
To begin, you will need finished squares ready to join. My blanket is 4 x 4 12″ squares (16 total). My chosen square is the Circle of Friends square by Priscilla Hewitt (worked with worsted weight yarn held double and a size 9mm hook), plus one DC round (DC in every stitch around, placing 5 DC in all 4 corners). See my adjustments to the Circle of Friends square here. Also, when I do my Flat Brand Join, I like to add another round of SC (SC in all stitches around, placing 3 SC in all 4 corners), in the same color as my joining color.
For ease of readability within the tutorial, I name my 3SC corner Sts (purple SC round) as follows: From RIGHT to LEFT, these 3 corner stitches will be called “SC#1, SC#2, and SC#3”
So here, you can see my final SC round of purple on all motifs. That square at lower right in the photo below will be my first square to join.

The diagram below shows how you will align and number your squares and the path you will take during this tutorial. I borrowed this image from CrochetCabana.com, and it’s also in my other CJAYG tutorial. (One notable difference is that I do not start where the diagram says “start”; rather, I back over to the top right corner so that I start and finish in the corner of the blanket.)
Okay, let’s get to it! Work 3 sides of Square 1, starting in upper right corner of square as follows:
Work Corner: (SC in SC#1, Ch-5, SC in SC#3), **(Ch-2, Skip 1 St, SC in next St) across, stopping when you have 2 Sts left before the corner SC#2. Ch-2, and Work Corner. Repeat from ** once more, and continue across the third side in this manner until you reach the SC in SC#1 of the lower right corner. Ch-5

Pick up motif 2 and SC in SC#3 of any corner.

Ch-1 and remove loop from hook, as seen in the photo below.

Insert hook in the Ch-2 loop on the completed motif that opposes your current position. Put the loop back on the hook.

Pull the loop through and Ch-1.

**Skip 1 St, SC in next St, Ch-1, Repeat this maneuver of “remove loop from hook, insert hook in corresponding Ch-2 loop, replace loop on hook, Pull Loop Through, Ch-1, repeat from ** across. Photo below shows progress. The chain loop at the right-hand side is the Ch-5.

When you reach the corner, work it without joining anything, as seen below. Continue Ch-2 loops around, over 2 more sides, worked plain. Again, after the first SC of the corner, Ch-5.

Next, you’ll be joining Motif 3 – and then 4. On your final square of this first row, only work 2 sides, as seen in the photo below.

Now you’re ready to join on your second row of squares! I’ve laid a couple out to give you an idea.

To attach motif 5, begin by working as you have before, joining by pulling loop through in the Ch-2 loops. When you reach the upper right corner of motif 5, SC in SC#1, Ch-2

Remove loop from hook and insert hook into the diagonal Ch-5 corner loop. Replace loop on hook as seen in photo below.

Pull loop through and Ch-3

Pick up motif 6 and SC in SC#3

Join one side of motif 6 as you’ve been joining before, and repeat the same “pull loop through” maneuver when you reach the corner. Below you can see how the diagonal Ch-5 corner loop is “picked up” but the adjacent corner loop is left unworked.

Join motif 7 and 8 or all of however many squares you have in your column. When you reach the final square at the very top (adjacent to motif 1) you will need to join the corners together by working Ch-2, pull loop through on adjacent corner, Ch-2. These corners are joined because this is the perimeter of your piece.

Here is what your piece will look like at this point. I know it looks weird!! Trust the process 😉

Work 3 sides of the top square, until you reach the SC in SC#1 of the final corner, and Ch-2

Here is a close-up of the corner as it should look to you. Get ready to work magic!

Remove loop from hook and insert hook down through the adjacent Ch-5 corner loop…

…and then down through the diagonal (unworked) corner loop. Below you can see the hook going down through both corner loops

Put the loop back on the hook

Pull loop through, and Ch-3, SC in SC#3 on Motif 7. Congratulations! Your four-corner join is complete!

Work 3 sides of this motif, making sure to leave outer Ch-5 loops unjoined as seen below, since these are not yet at the perimeter of your piece.

Once you reach your last square at the bottom of your piece, work only 2 sides as seen below. Ch-5 and you’re ready to join your next column of squares from the bottom up!
Repeat this joining process for all remaining columns of squares until you have 1 final column of squares remaining, and that will conclude Part 1 of this tutorial.
In Part 2, we can work your final column of squares and go around the border.


Part 2!
Now it’s time to add your final column of squares to your piece. Join from the bottom up, just as you joined your other columns.

Then work around the upper-left square and join one side of the next square until you get to the perimeter of the blanket.

Instead of working chain 5 here, work chain 2, join in the adjacent chain 5 loop to close the perimeter, chain 2, and continue.

Continue joining in this manner until you reach the bottom left corner of the piece.
Now, when you look at your blanket, you have 2 sides with perimeter joins that look like the one in the photo above, and 2 sides that look like the photo below.

Let’s zoom out!

Make your chain 5 corner, and continue across until you reach the first little loop on the bottom edge.
Chain 2, slip stitch in the loop, chain 2


Continue like this across the bottom and up the right-hand side, and join to the beginning SC.


Now all of your continuous flat braid is complete! You can add any border at this point.
I like to work (SC, chain 2, SC) in the first chain 5 loop, then (chain 2, SC) across, working an SC decrease in the join between two squares. (Put one “leg” of each part of the SC decrease in each chain 5 loop of the perimeter join.)

Then you can do a round of SC – 5 SC in the corners and 2 SC in each chain 2 space.
From here you can do Reverse SC, or some lace, or shells… Anything! 🙂

Bravo! You did the Continuous Flat Braid Join! 😊😊
Looks beautiful with any project and is very sturdy. Crafterly luck to you all!