
Hello, all! This is the join we will be using in the VVCAL – main post – but you can definitely browse my Free Joining Methods and pick one you love! The edging is written for any size blanket, so feel free to mix and match pattern elements.
If you’ve never worked a Continuous Join as you go, you should note it is different from a regular Join as you go because you do not cut yarn and finish off until all of your squares are joined together. Think of drawing a line around the squares in a certain way, without picking up your pencil. The path that you will take around the squares can be the most confusing part! I’ll try to include as many photos as I can in order to be clear.
When I was learning, I found it took a long time for it to “click”, but once it did, I had a major “Aha!” moment, and I was in love.
Okay, let’s start. You’ll need your squares, arranged in columns. You’ll be starting on the upper right hand corner square, in its upper right corner.
SC Continuous Join as you go, featuring PLT join maneuver
Work around 3 sides of the first square as follows:
Join a nice big ball of yarn with a slip stitch in the corner. 3 SC in same corner stitch to “make corner”, SC in all stitches across to next corner, (make corner, SC in all stitches across to next corner) 2 times, 2 SC in corner stitch, chain 1

Get square 2 lined up under square 1. 2 SC in the top right corner of square 2, SC in the next stitch.
PLT in the corresponding stitch on square 1 as follows: release working loop from hook, insert hook from the front into corresponding stitch on completed motif, replace working loop on hook, and Pull Loop Through to front of work. Work next SC as normal
*NOTE – no slip stitch is worked here. Simply continue with the next stitch.*
After every SC, you will work this PLT maneuver unless otherwise noted.
Click here to read more details on this simple (and useful!) joining maneuver.


Work across, making SC, PLT in every stitch, up to the stitch just before the corner stitch. SC in next stitch,

“Join corner” as follows: (SC in corner stitch, SC in corner stitch of completed motif -with wrong sides held together-, and SC again in corner stitch of motif in progress)


SC down the motif, make corner, SC across, 2 SC in corner, chain 1.

Join your next squares down the column in the same way. STOP after 2 sides of the final square are worked. Check photo below to confirm – my columns have only 4 squares each in this piece.
The red square has only 2 sides worked. Make sure you chain 1 at the end of that second side. In the photo below, I have already chained 1.


Now, you will join 1 side of all squares in the second column. They will hang like little flags or bunting.
Join 1 side of the bottom square of column 2, as you have previously.

When you get to the end of side one, stop after 1 SC in corner stitch, and chain 1

Pick up the next square up in the column and work SC in the corner, and in the following stitch,

PLT and work the side as before

Add each square up the column until the top square is added.

At the very top of the last square, Join Corner.

Work around 3 sides of the square as normal, without any PLT joining. You will reach the spot where 4 squares meet like the photo below.

Close-up:

SC in the corner stitch of the square above, then SC AROUND the SC in between the squares to the right from their joined corners, encasing also the chain 1 between the squares. See this center SC location below. SC in the corner of the next square.
Below you can see these 3 SC that make up the 4-corner join.

Here is how the join will look. (Side view)

And here’s how it looks when oriented properly. You can see that center SC stitch is encasing the chain 1 and the SC.

Continue across the row, joining as you go.

Join all squares down the column in the same manner. Again, stop after 2 sides of the bottom square.


Join 1 side of all squares in next column as before – shown below, I have already joined my top corner, and worked one side of the top square.

Work around the squares as before, joining the 4-corner meetup spots as instructed.

Below, I have stopped after 2 sides of the bottom square.

Join next column of squares up as shown. For me this is my final column.

And join around the squares as before.

Now all squares are joined up. All you need to do is crochet SC around the remaining 2 sides of your blanket. All across the bottom, and then up the right hand side, to the very first corner where you joined your yarn ball.

When you SC along the sides, and you encounter a spot where 2 squares meet, you need to do SC in the corner, SC around the sideways SC, and SC in the next square’s corner – as shown below.

Once you get to the beginning SC, join with a slip stitch, and you’re done!

(At this point, I typically work another SC round, just to square everything up nice.)
Stand back and clap! You’re all done! Ready for any edging 🙂

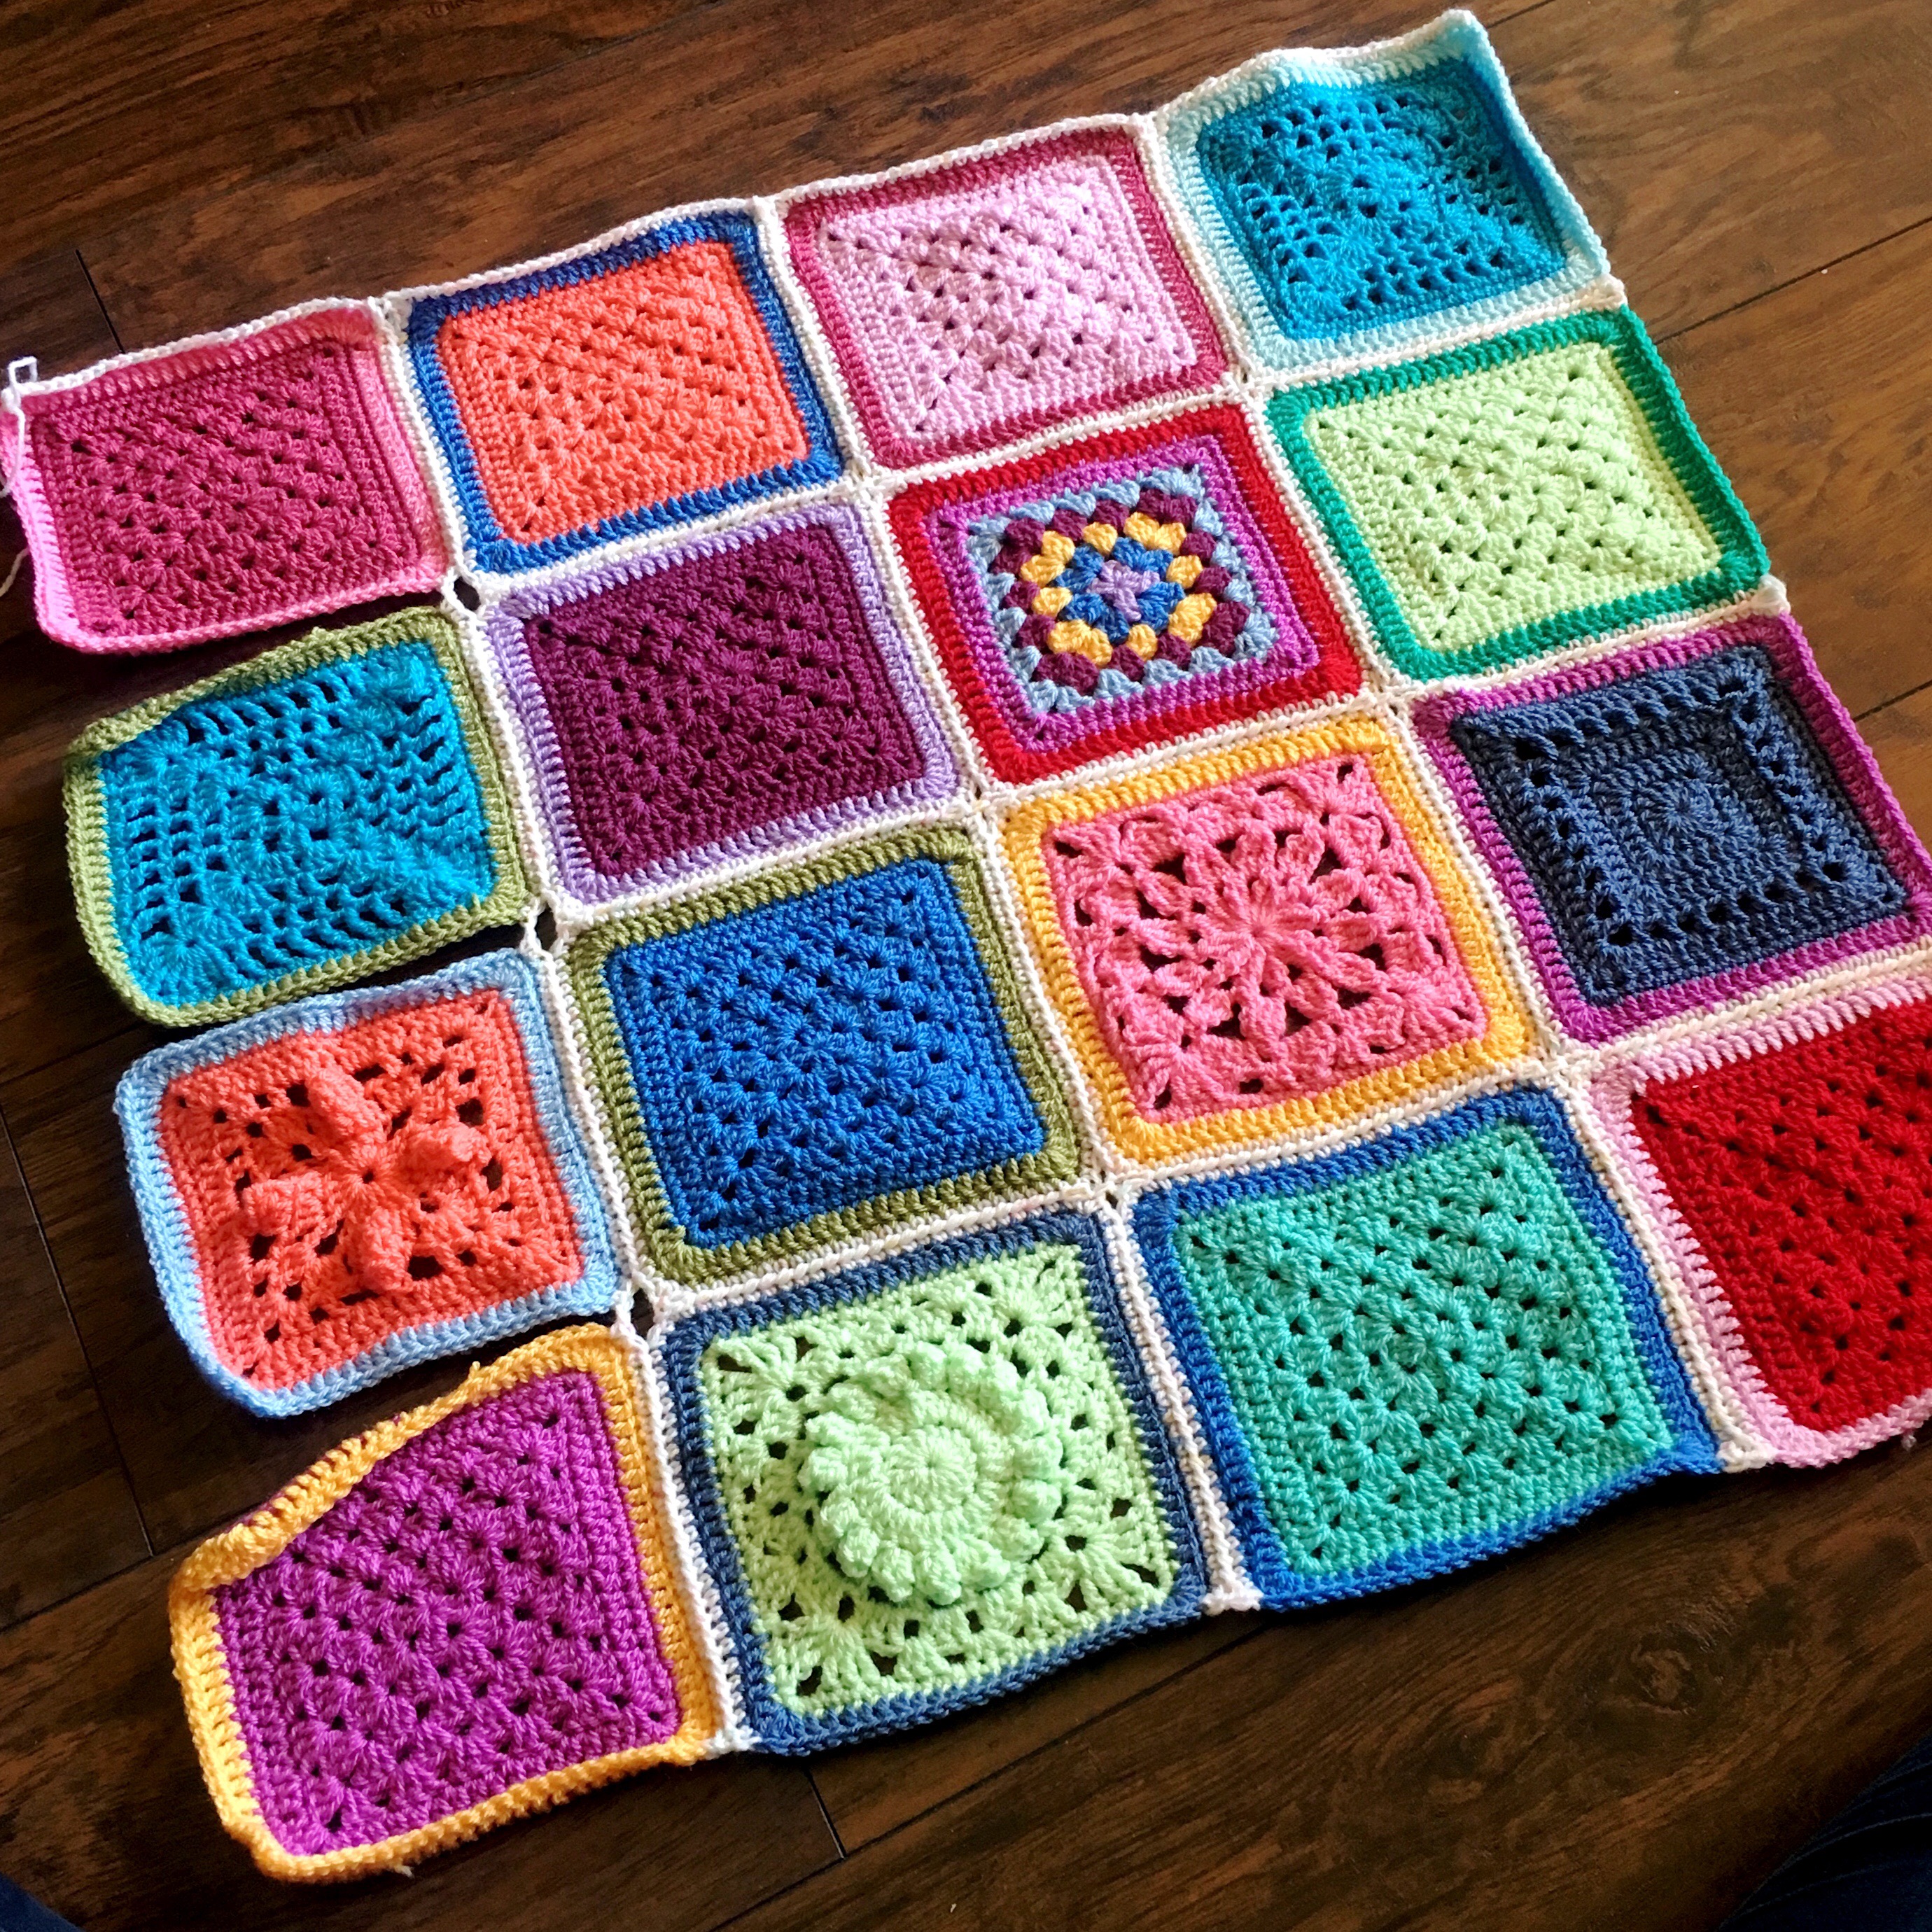
I love how this join makes for a neat and tiny blanket that folds up so nicely.
