
Hi, y’all! It’s time for the release of my Cozy Flowers Blanket free pattern – yay!
Typically I would make a PDF for the free pattern, and make it available in my Ravelry shop and my other shops, but since the majority of the instruction for this pattern is in the YouTube tutorial for the joining method, I thought it would be silly to make a PDF. So here is the full free pattern below.
See the related posts for more details of the blanket process:
Cozy Flowers
Difficulty: Perfect for a beginner who wants to learn some new techniques.
Materials
Yarn: Scheepjes | Catona (10 50g balls – all different colors) and Sweet Treat (10 25g balls – all different colors)
Colors
Note: these are the colors I actually ended up using in the final piece. The blanket is worked from right to left, and the colors are used held together until the Catona runs out. There will be a little amount of Sweet Treat left over.
(Catona, Sweet Treat)
Flowers
- (399, 521)
- (128, 398)
- (414, 208)
- (189, 386)
- (516, 256)
Join
- (522, 280)
- (414, 523)
- (409, 252)
- (246, 519)
- (192, 115)
 Note: These two yarns will be held together throughout the piece. In the photo above, the adjacent Catona and Sweet Treat are the ones to be paired up (note: in the final blanket I did swap the orange for more of a bright yellow). I chose my 10 Catona shades first, then I chose 10 Sweet Treat shades that were very similar to the Catona shades, but not identical. It doesn’t matter what color palette you want to work with, but to get the neat and cozy textured effect of this blanket, you want the shades to be similar, but not the same.
You can see the paired yarn effect clearly in this photo:

[Related link: Shop this yarn: Catona* // Sweet Treat*]
Hook: US hook size 5.5mm (I) for blanket body, and size 5mm (H) for the final border round – I use mine from the set I ordered on Amazon – my favorite crochet hooks ever.
Tapestry needle for weaving ends
General Info
Final Dimensions: 38x52in
Gauge: Full motif measures 3in across
Stitches and abbreviations (US terms)
- beg beginning
- beg cl beg dc (does not count as a st here), (yoh, insert hook in st/sp indicated, yoh, pull up loop, yoh, draw yarn through 2 loops on hook) 3 times, yoh, draw yarn through all 4 loops on hook
- beg dc (sc, ch 1) – counts as 1 dc
- beg tr (sc, ch 2) – counts as 1 tr
- bet between
- ch(s) chain(s)
- ch-sp(s) chain space(s)
- ch-1 sp(s) chain 1 space(s): number denotes number of chains in chain space
- cl cluster: (yoh, insert hook in st/sp indicated, yoh, pull up loop, yoh, draw yarn through 2 loops on hook) 4 times, yoh, draw yarn through all 5 loops on hook
- corner-sp corner space
- dc double crochet
- hdc half double crochet
- incl including
- lp(s) loop(s)
- rep(s) repeat(s)
- RS right side
- sc single crochet
- sc2tog single crochet 2 together: (insert hook in next st/sp, yoh, pull up loop) twice, yoh, draw through all loops
- ss slip stitch(es)
- st(s) stitch(es)
- tog together
- tr treble crochet
- WS wrong side
- yoh yarn over hook
Instructions
Make full and half motifs, join full motifs using continuous granny st join as you go for hexagons youtube video, add in half motifs, straighten zig-zag edges, add sc border with smaller hook. Et voila! Done! 🙂
Motifs
Full Motif (Make 94) – I used 5 of my Catona and Sweet Treat pairs to make the full motifs – the upper set of 5 pairs in the yarn photo at the beginning of this post are the ones I used.
Rnd 1 Slip knot, ch 3, ss in third ch from hook to make ring. All in ring: Beg dc, 11 dc.
Rnd 2 Beg cl in first st, (ch 2, cl in next st) 11 times, ch 2, ss in beg cl, cut yarn.

Half Motif (Make 10) – Using same set of 5 yarn pairings
Row 1 (WS) Slip knot, ch 3, ss in third ch from hook to make ring. All in ring: Beg dc, 7 dc, turn.
Row 2 Beg tr in first st, ch 1, (cl, ch 2) 5 times, cl, ch 1, tr in final st, cut yarn.

Join Full Motifs
Using the other 5 yarn pairings, (I used the more pale shades for this part). The join is: Continuous Granny St Join-as-you-go for Hexagons – Follow the instructions in this YouTube video tutorial for joining – video is in 2 parts.
Note: This blanket is meant to be cozy, so when the yarn ran out, I just began a new yarn pair, no matter where that color change happened to take place in the blanket.
You can see in the photo below that the yarn join changes color randomly.

Join Half Motifs to Blanket Body
You will be joining 5 half motifs at each short end of the blanket. Holding half motif with RS facing, join background yarn with ss in first st. Depending on where your motif is located on the edge, you will have a (plain side, joining side, joining side), 3 joining sides, or a (joining side, joining side, plain side).
First plain side: Beg tr, ch 1, 2 dc in first ch-sp, 3 dc in next ch-sp, 2 dc, in next ch-sp to make first half of corner,
Joining side: work as for joining blanket body.
Final plain side, 2 dc in ch-sp to complete corner, 3 dc in next ch-sp, 2 dc in final ch-sp, ch 1, tr in final st.
 Straighten Zig-Zag Sides
Holding blanket body with RS facing, join background yarn with ss in first st. (Sk 1 ch, sc in 2 sts, hdc in 2 sts, dc, tr in 2 sts, tr in next 2 sts on following motif, dc, hdc in 2 sts, sc in 2 sts) rep across side to end, ss in final st, cut yarn. Rep for opposite side.

This photo shows the edge repeat.

Border Round
I have made this border a plain sc round just to keep it simple and cozy, and also as a great base to add any border.
Switch to smaller hook. Ss in first ss of either zig-zag side. (3 sc in same ss, sc in all sts across to next corner, 3 sc in corner ss, sc evenly across short side, placing 3 sc in the side of each tr st, 2 sc in the side of each dc, and 1 sc in the center ring of each half motif) rep 1 time, ss in first st, cut yarn. Fin!

Finished blanket – hurrah!

Edging shown more clearly:
Working on my Cozy Flowers blanket today for an energizing moment. You can’t help but feel the electricity in this palette, and moving from hot to sweet colors is making me feel like a painter! Oh and also it’s making me feel like I’m channeling my inner Susan Felted Button and Kirsten Haak Maar Raak! ❤️❤️
 For this piece, I am using Scheepjes | Sweet Treat and Catona held together – see all the colors I’m using in my previous post (spoiler alert: I did add another color to the flowers and take one away from the background).

Yarn deets:


To make things easier on me, I wound one big ball using the two yarns, this way I wouldn’t have two yarn balls rolling all around. The Catona runs out first! Here’s how much of the Sweet Treat is left over, once all the Catona is gone. Not much! Dreaming of an embroidery project now, by the way ❤️

Then I started cranking out flowers. This is pretty much the easiest project ever, especially because the continuous granny stitch join (YouTube Tutorial) is so cute and boy is it fast!

Pics just for fun ❤️❤️


*Support my free content by shopping through affiliate links, buying patterns or becoming a patron! I promise no ads ever! ❤️
Hello, y’all! I’m pleased to show off a finished object today despite the fact that I’ve had an extremely busy week. Sometimes you just know if you don’t finish a certain project, you’ll pull your hair out, am I right? So I stayed extra focused and plowed through!
And now I present Cozy Flowers: Free Pattern Here!
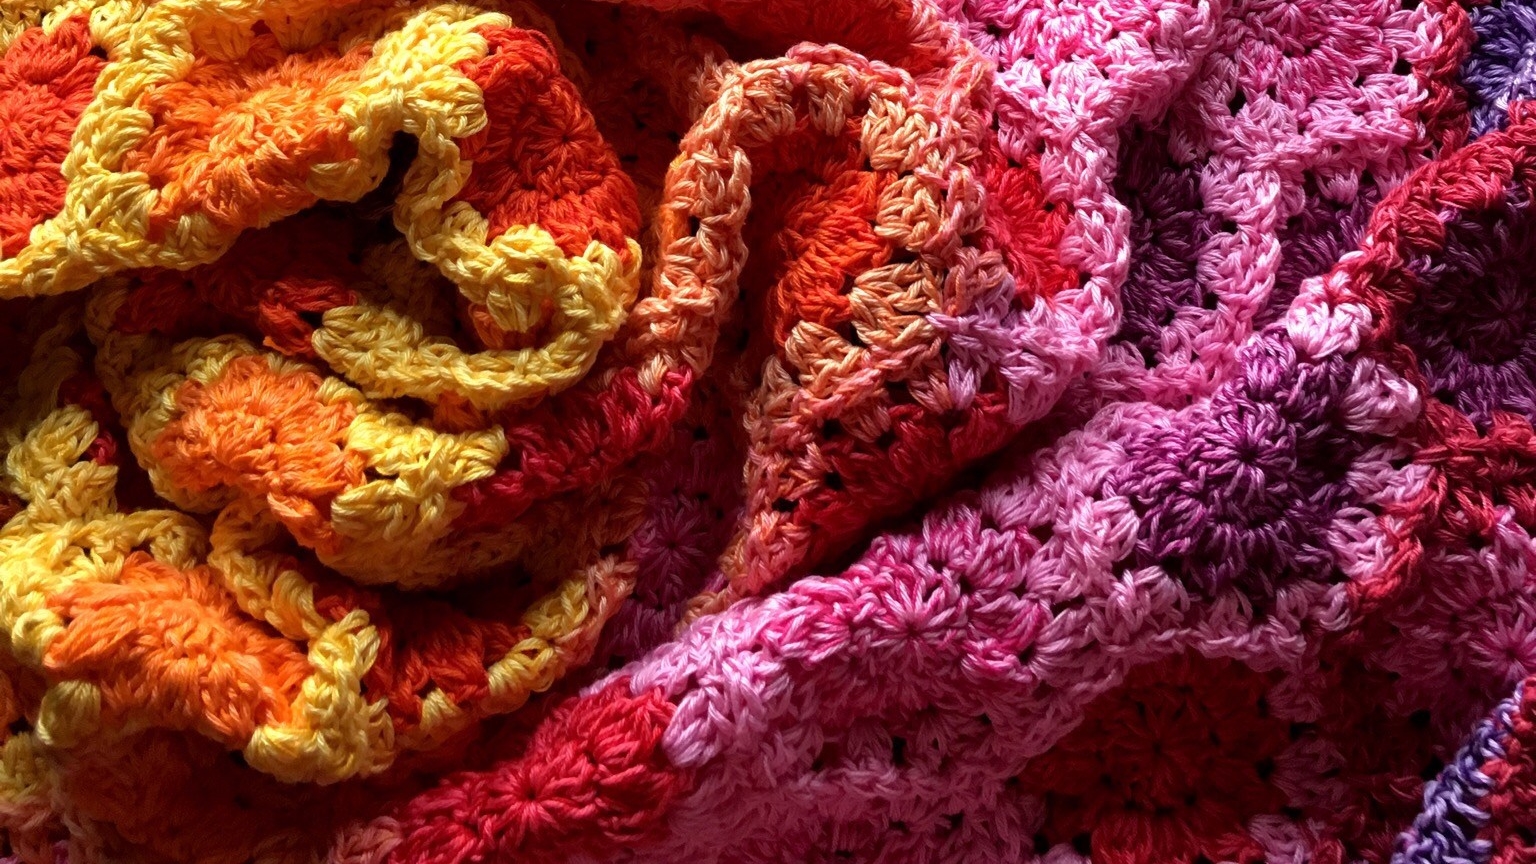
Color palette – Sweet-Fire – so named for the sugary pastels that give way to those burning oranges.

Scheepjes | Catona and Sweet Treat held together throughout – I’ll list numbers on the free pattern when i release it!
Shop Catona*, and Sweet Treat* Yarns – it looks awesome when you hold these Yarns together. If you zoom in on the pics you can see the neat texture it creates. Plus I used a size 5.5mm hook – so it works up fast.
Here’s a shot of Cozy Flowers in progress – with the Continuous JAYG Granny St for Hexagons (YouTube Tutorial) and color palette just shining away (I know you can tell I️ introduced a bright yellow to the palette!)
 Some unapologetic FO shots for you!
 Can’t wait to wrap up this pattern and release it! Churn out the tiny 2-round flowers and then join them all continuously before creating the super simple border…. It comes together so quickly!
 For now, just imagine the infinite color palette possibilities for this pattern… Swoon!!
I definitely felt like I channeled Susan of Felted Button and Kirsten of Haak Maar Raak! for this piece… these saturated colors are very energizing to work with and I can see why Susan and Kirsten always have these hues on their hooks ❤️


 <Shopping through affiliate links (marked with an asterisk) doesn’t cost you anything extra, and will help support CypressTextiles. ❤️❤️