
Let’s celebrate the PLT Join by putting it to good use in our Vibrant Vintage CAL!
Today I’m going to show you how to do a regular join-as-you-go method, in case you don’t feel ready to take the Continuous JAYG plunge 🙂
If you are feeling adventurous or are already familiar with the CJAYG, then wait for that post! I do recommend the continuous join. Only a few ends to weave in (versus 2 per square), and adds great integrity to the piece since it forms kind of a “net” of stability. I will be using the CJAYG version for my piece, and I’ll show it on the Joining post when we get there.
If you’re making squares ahead of time (you’ve edged all your squares in DC), and you want to start joining, then go ahead! Enjoy! 🙂
SC Join-As-You-Go – featuring PLT Join
Work first motif complete:
Start by joining yarn with a slip stitch in any corner DC. All in same stitch: (SC, Chain 2, SC) – corner made

SC in all stitches around, placing (SC, chain 2, SC) in all corners

Join with a slip stitch to first SC.

Cut yarn and weave ends. First motif will be referred to as “completed motif”

Pick up second motif (this one will be joined below the first motif).
Work one side of second motif up through the first chain of the corner

Through corresponding corner on completed motif, slip stitch to complete corner 
Here is the slip stitch after completing. This is just a plain old slip stitch – no PLT here in the corner.

Work SC in same st on motif in progress to complete the corner.
Now that the slip stitch corner join is complete, let’s work a “side.”
As pictured below, work one SC

PLT join with corresponding stitch on completed motif. Pictured below is hook ready to Pull Loop Through.

And here is the loop pulled through

SC on motif in progress,

Hook ready to pull loop through pictured below.
(If you need to check out the PLT Join post, please do.. Scroll down to where it says “official PLT Join maneuver” to learn how to release loop from hook, insert hook in corresponding stitch on completed motif, place loop back on hook, Pull Loop Through, and continue)

Continue PLT Join in every SC across the side – remember on the sides, there is no slip stitch performed.

Below I have stopped just before the corner.

SC in corner, Slip Stitch (not PLT) in corner chain space on completed motif, Chain 1,

And SC to complete corner.

Finish the motif around all sides. Cut yarn and weave ends.

Pick up the next motif and join 1 side in the same manner.

When you’ve joined all motifs in that first column, you’re ready to go back up to the top and join the first motif on its right hand side. In the photo above, we’ll be joining the red square with plum edging.
Work 1 side plain as before, through to 1 chain of the corner.

Slip stitch in adjacent corner of square to the right – which is the corner of the first square we made (here it is blue with green border) SC to complete corner, and start on the “side”
Work first SC of the side

And join up the side as before. Work your top right corner and continue around the square.

Here is a close-up of that corner.. You can see that both diagonal squares are joined with a slip stitch to the corner of the top right (blue and green) square.

Pick up the next motif in the column. Work 1 side plain, chain 1, join with slip stitch to corner, PLT join one side. In the photo below, I’ve worked the first SC of my corner.

Remove the hook from your working loop and insert it through both diagonal corner chain spaces just like in the photo below. Note that the hook is placed through pointing to the bottom right.

Place the working loop back on the hook, and pull it up through both corners.

Complete a small chain to tack the corners together, and SC to complete your corner.

Work across the second joining side, and connect the top left corner.

Here is a close-up of the 4 corners meeting.

Join remaining squares in the same manner.

That’s it! Now you can go around the entire piece with an SC border if you like, to get it ready for edging of choice.

Now, I’ve got to get back to work on photographing the steps of the Continuous SC Join-As-You-Go 🙂
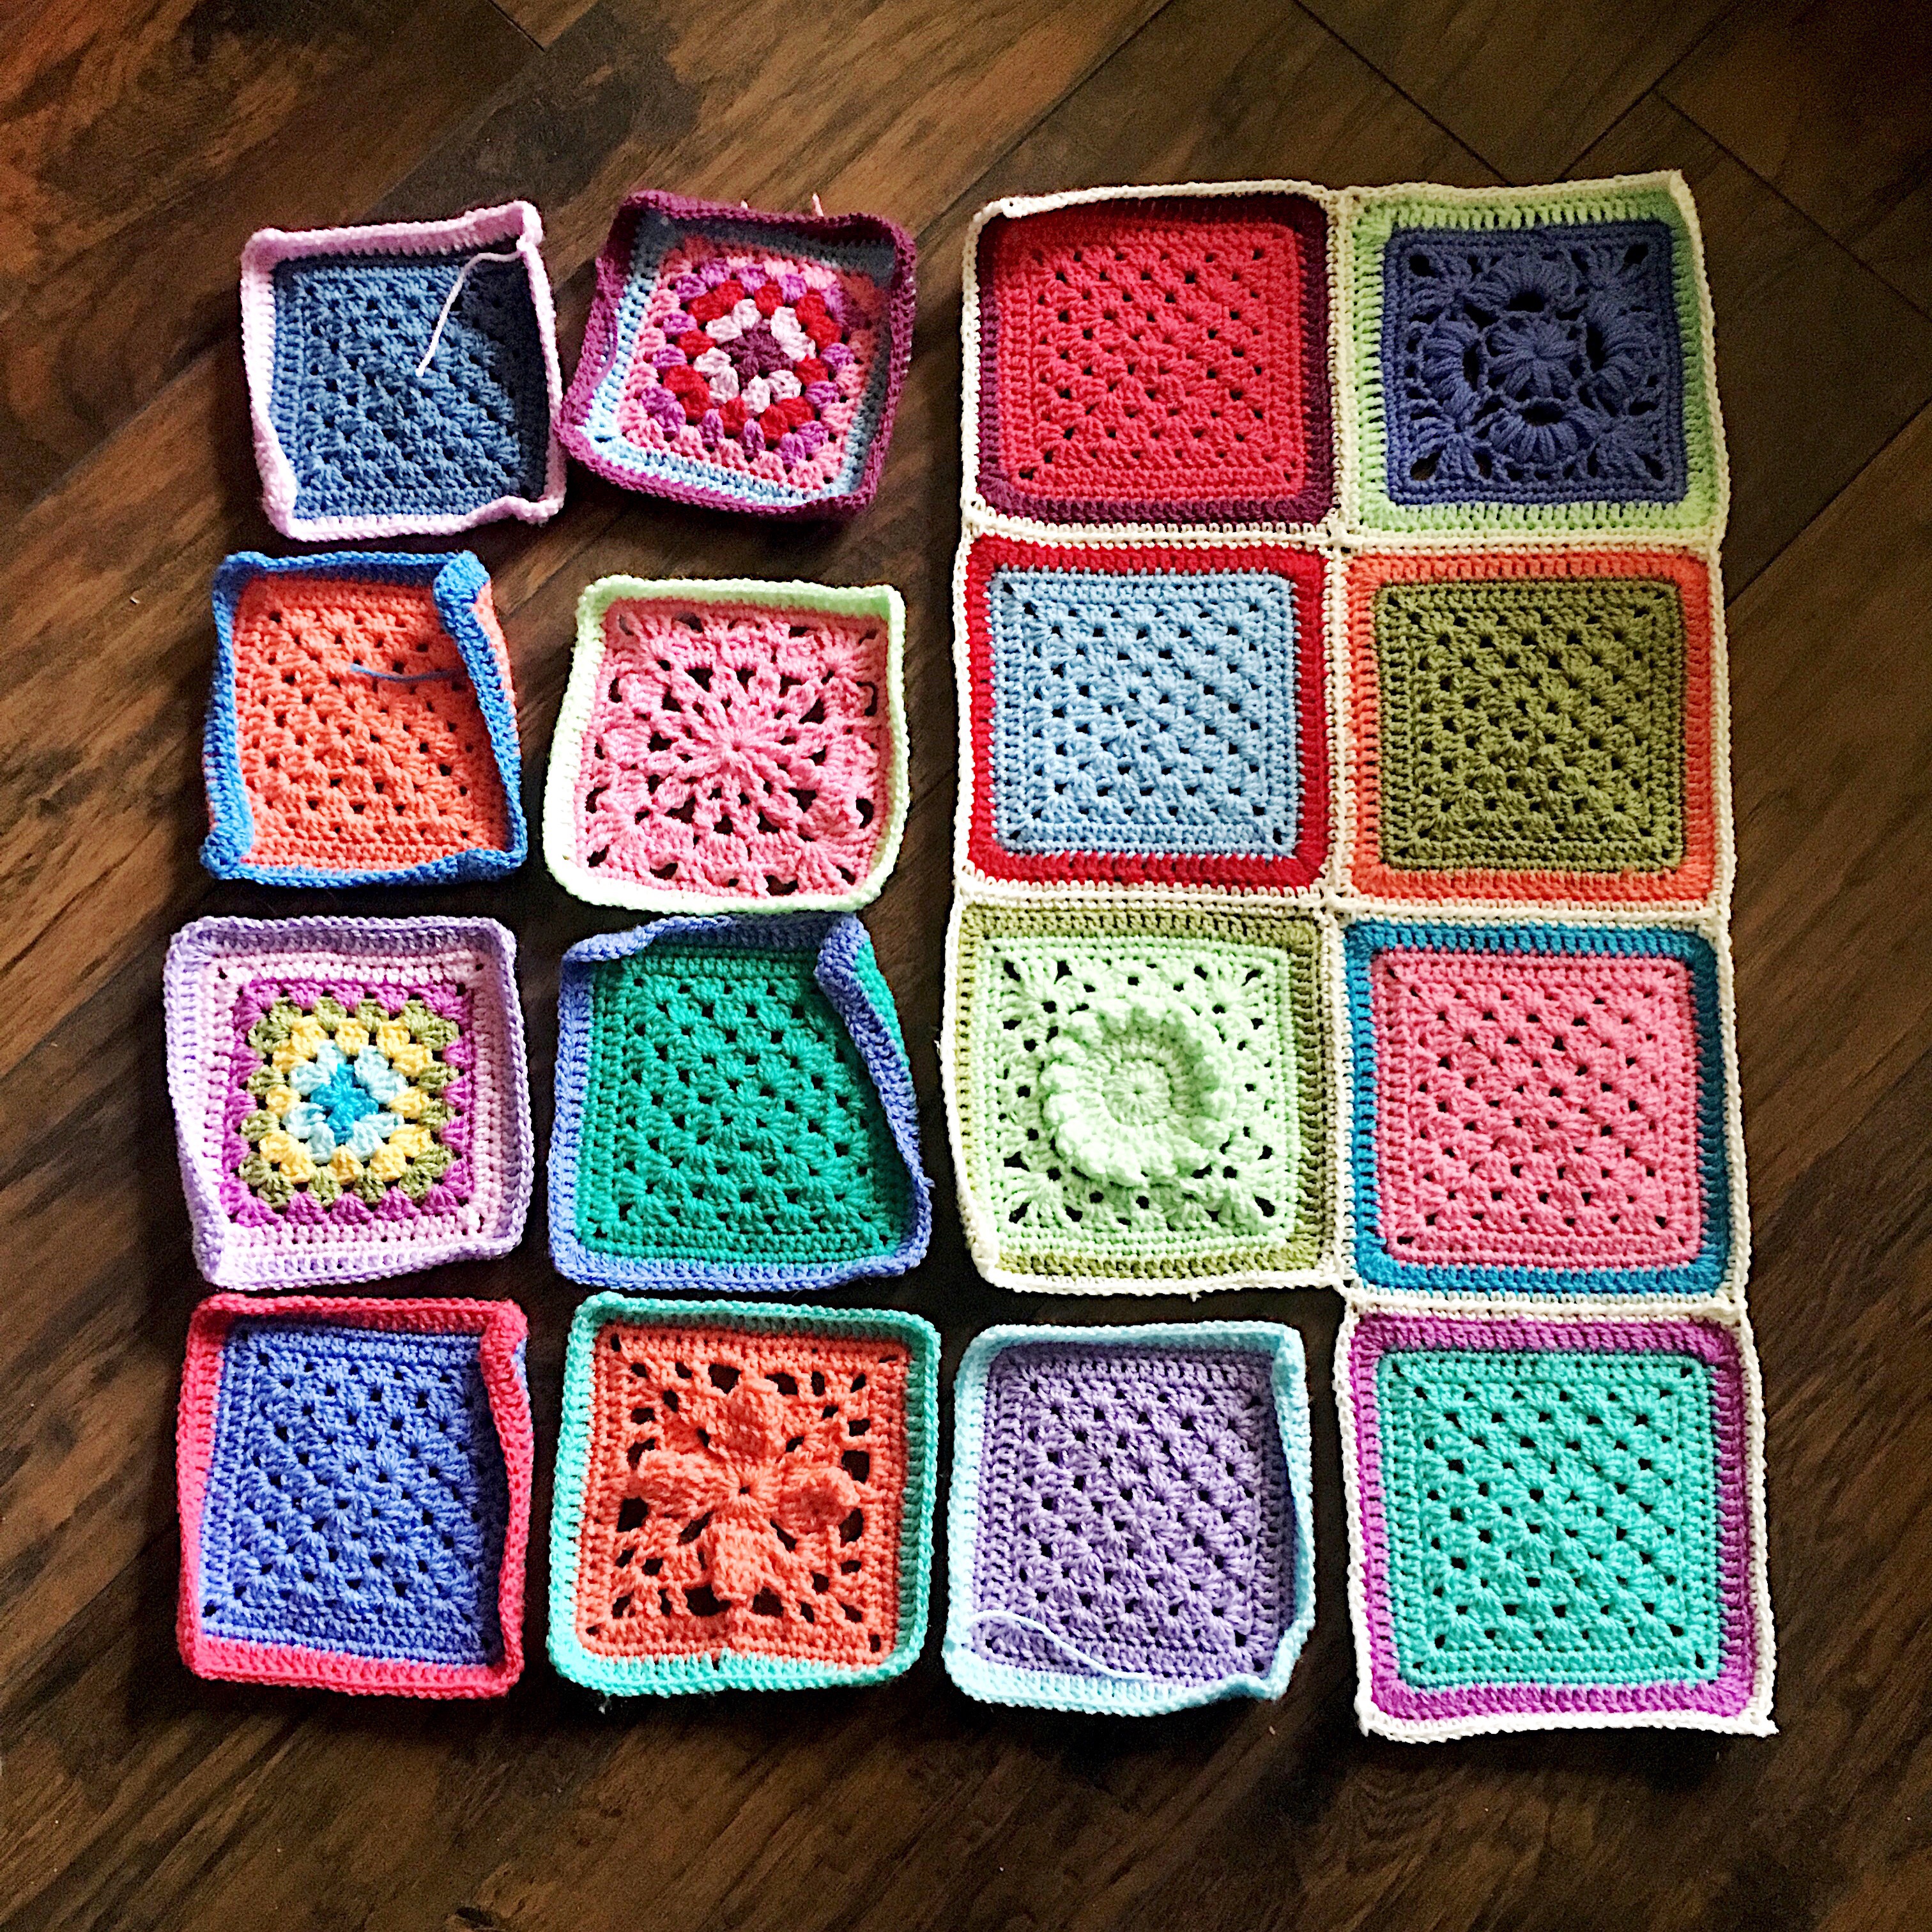
My workspace is looking very colorful as of late! Enjoy the join, lovelies! Comment with questions and I’ll help as best as I can.
