Month: January 2016

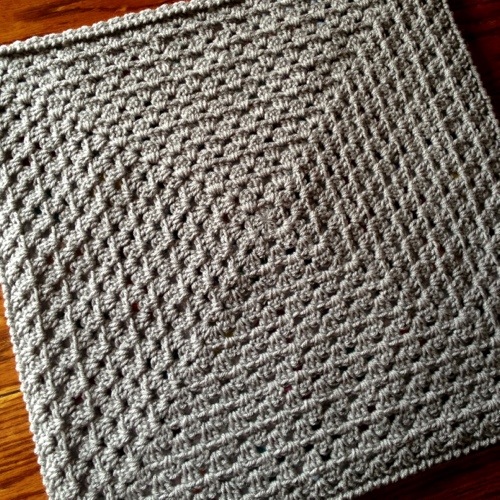
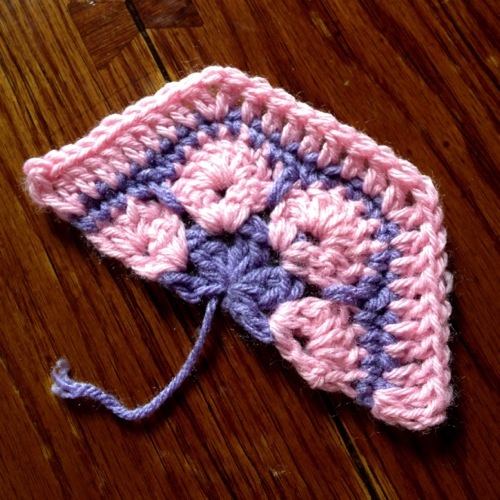
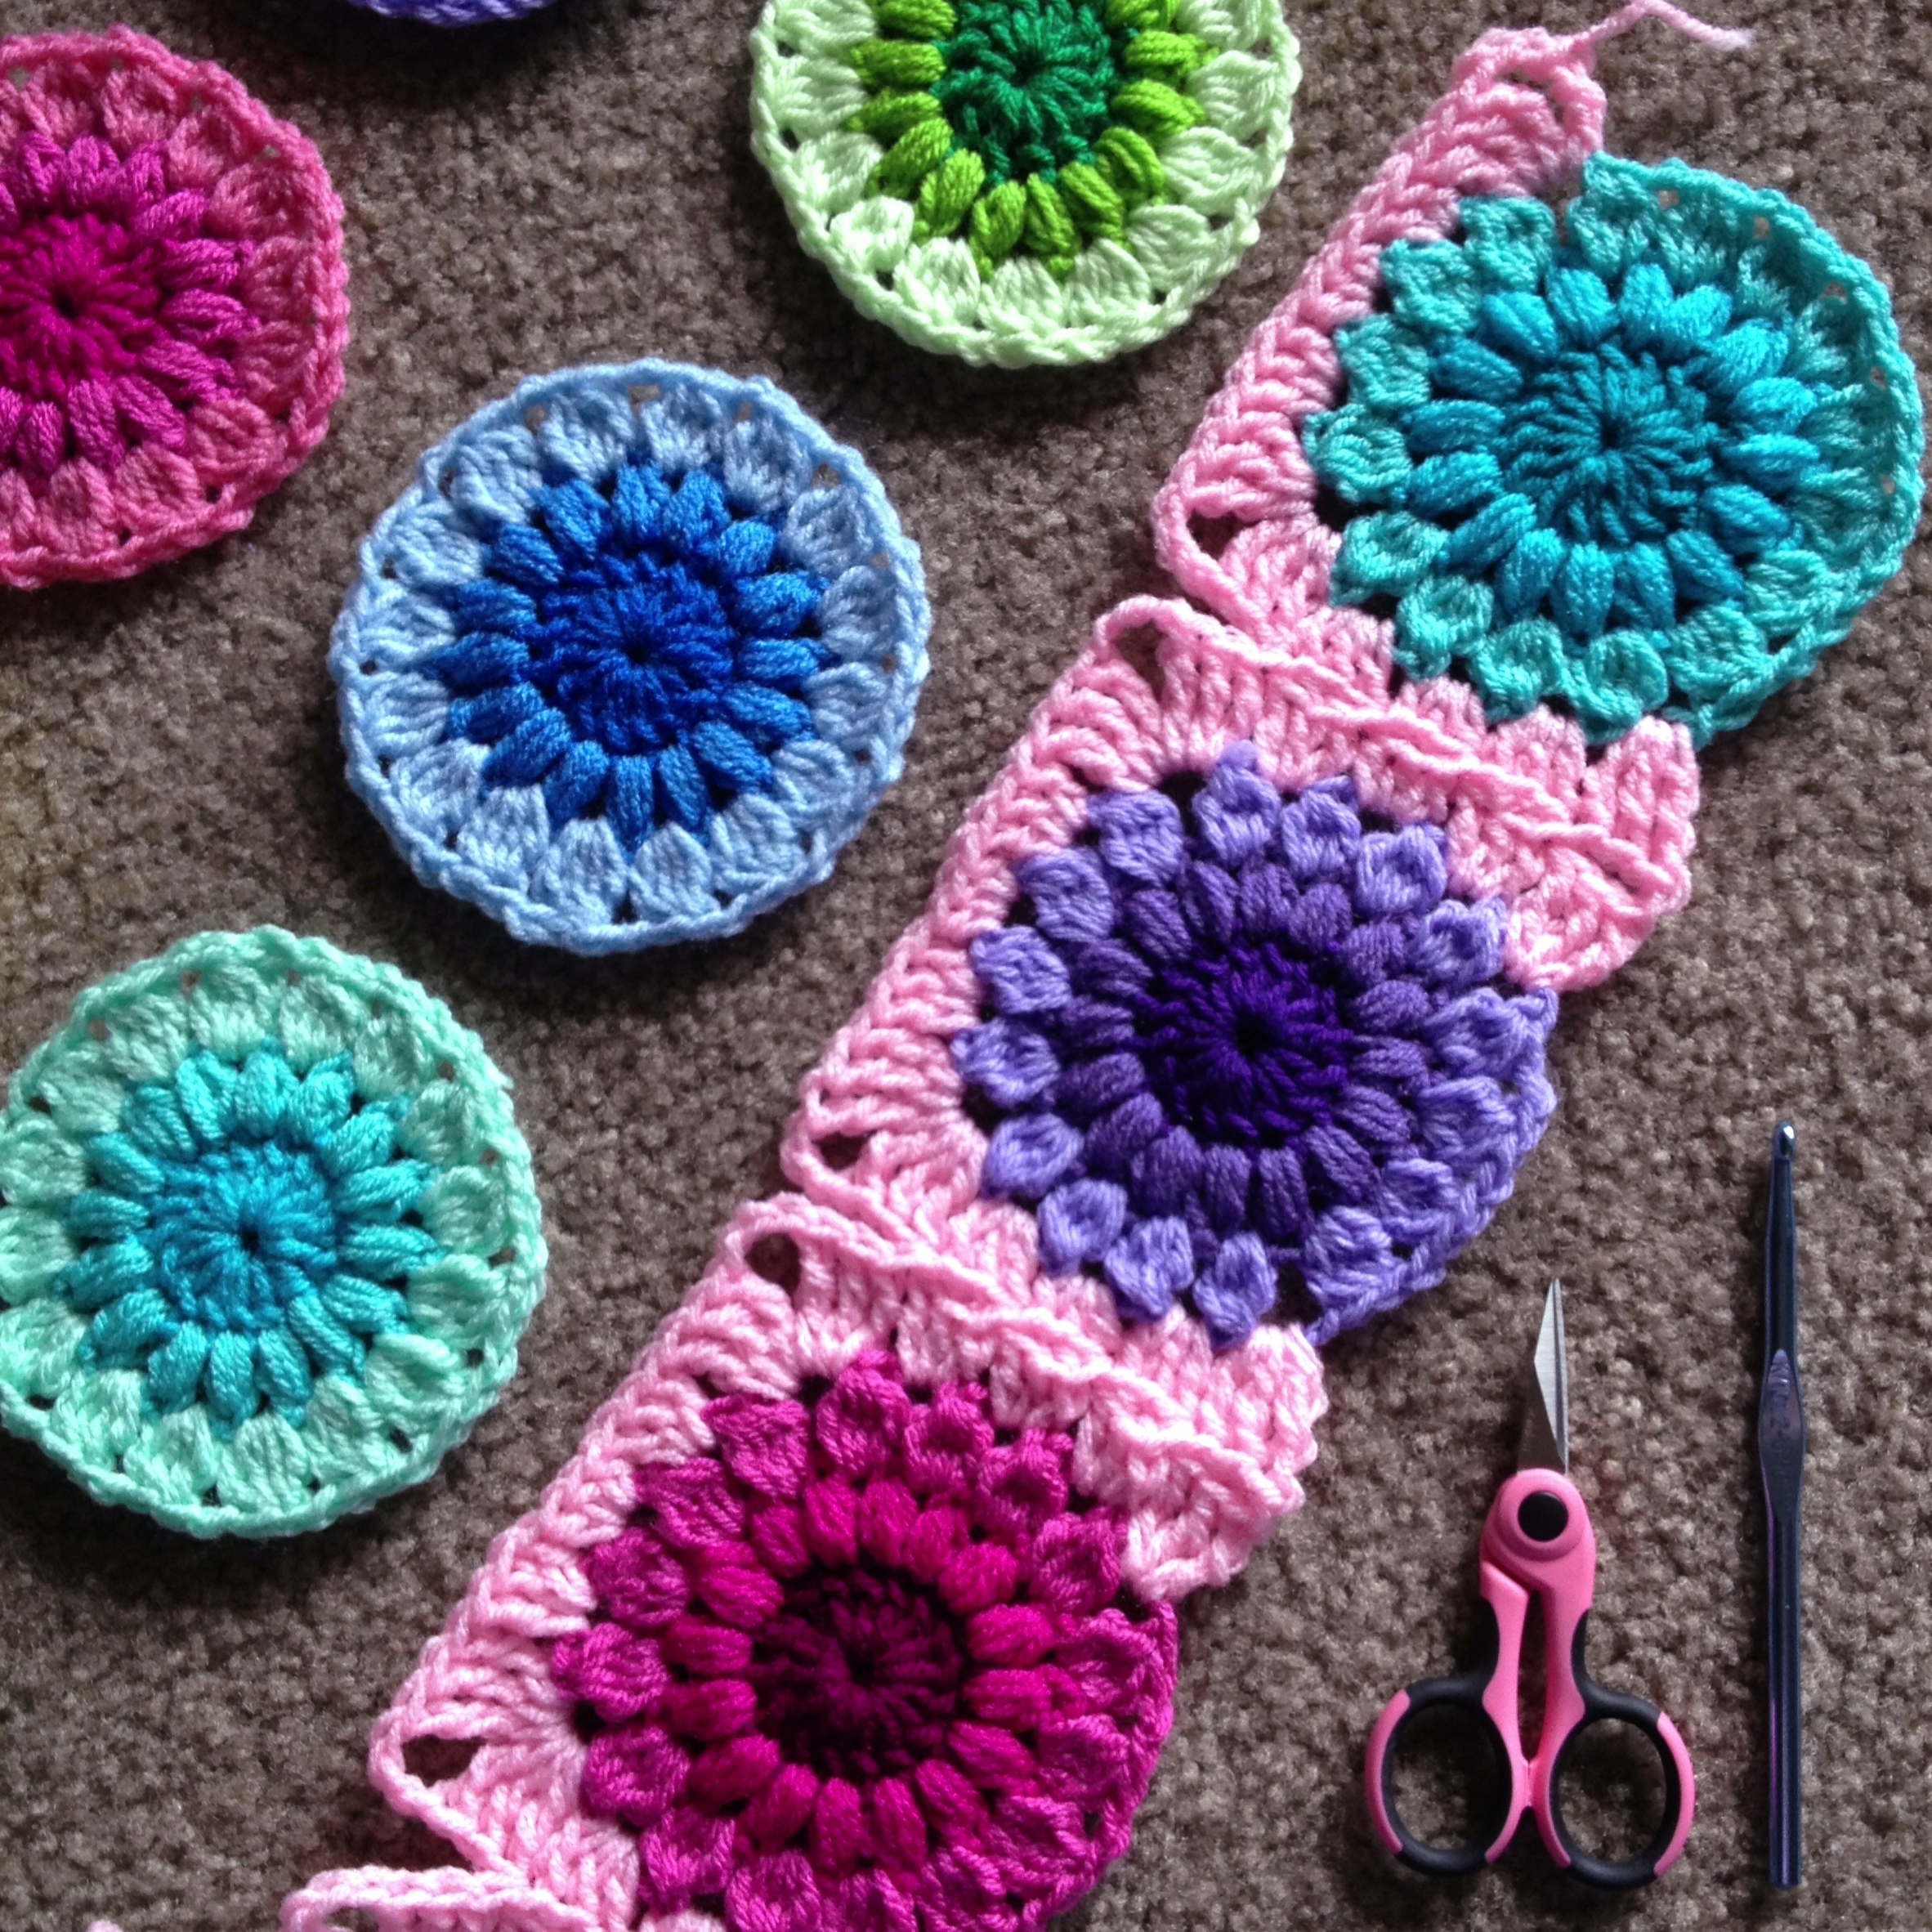
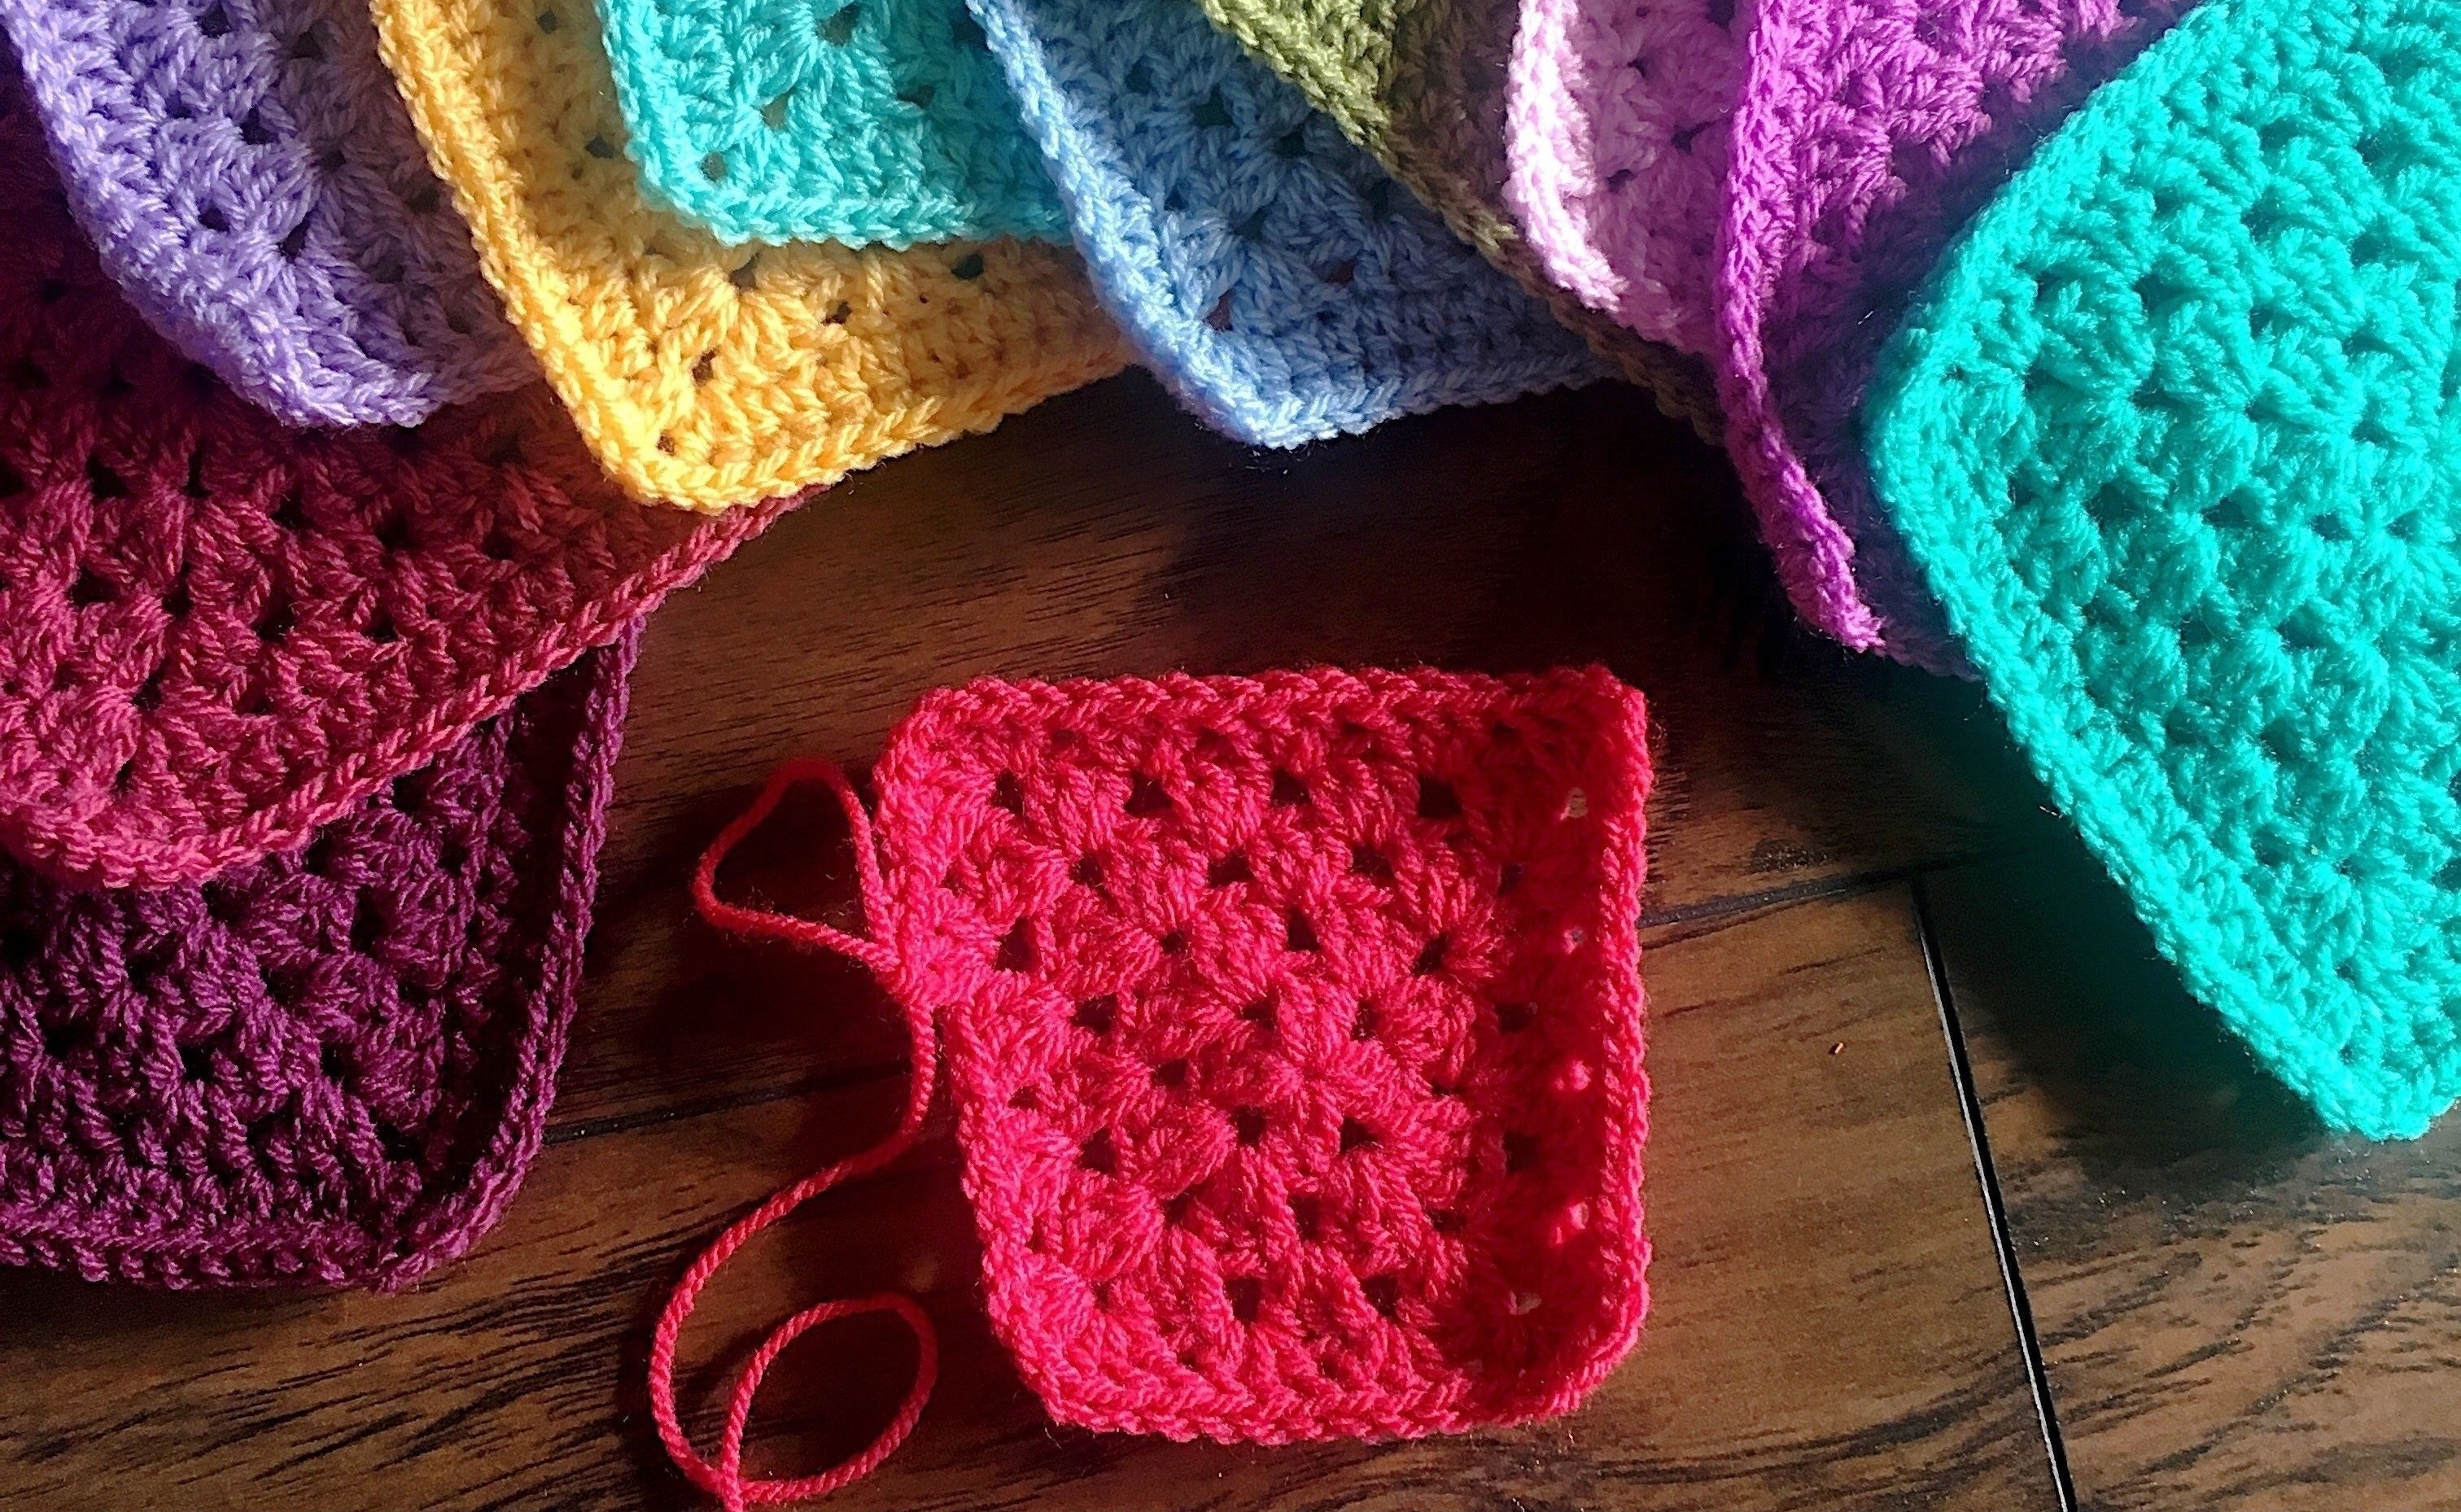
Crochet Motif – Melissa Square

Melissa Square VVCAL Pages Pin Me! Related Links Charted instruction: Written instruction US Terms: For UK Terms and Video Instruction, scroll down. Special stitches Foundation: Ch-3 and join in first Ch to make ring. Round 1: All in ring, Beg DC, (Chain 3, 2DC) 3 times, Chain 3, DC, join with a slip stitch in top of Beg DC _8 DC, 4 Chain-2 spaces total_     Round 2: In first chain space: (Beg DC, 3DC), (Chain 1, 7DC in next corner space) 3 times, Chain 1, 3DC in first corner to complete it, join with a slip stitch in top of Beg DC _28 DC, 4 Chain-1 spaces total_ Round 3: In same stitch as join: (Beg DC, 3DC), **Chain 1, skip 2 DC, (DC in next DC, Chain 1) 2 times, 7DC in corner DC -corner made- , repeat from ** 3 times more, omitting “corner” on third repeat, 3DC in first corner to complete it, join with a slip stitch in top of Beg DC _36 DC, 12 Chain-1 spaces total_ Round 4: In same stitch as join, (Beg DC, 3DC), **Chain 1, skip 2 DC, (DC in next DC, Chain 1) 4 times, 7DC in corner DC -corner made- , repeat …

Crochet Motif – Darlene Square

Darlene Square VVCAL Pages Pin Me! Related Links Charted instruction: Written instruction US Terms: For UK Terms and Video Instruction, scroll down. Special stitches Foundation: Ch-4 and join in first Ch to make ring. Work 5 Rounds as follows… Round 1: All in ring, working over center tail so as to pull center circle closed tight when square is complete: Make Beg DC, (Chain 5, 5DC) 3 times, Chain 5, 4DC, join with a slip stitch in top of Beg DC _20 DC, 4 Chain-5 spaces total_     Round 2: Slip Stitch in 2 chains, All in same chain space: (Beg DC, Chain 3, 3DC), ** Ch1, 1dc, 2dc in next st, 1dc, 2dc in next st, 1dc, Chain 1, (3DC, Chain 3, 3DC) in corner chain space -corner made- , repeat from ** 3 times more, omitting “corner” on third repeat, 2DC in first corner chain space to complete it, join with a slip stitch in top of Beg DC _52 DC, 4 Chain-3 spaces, 8 Chain-1 spaces total_ Round 3: In first chain space: (Beg DC, Chain 3, 2DC), ** Chain 1, skip next stitch, DC in next stitch, Chain 3, skip next DC, Make Popcorn Petal, …

Crochet Motif – Nicolas Square

Nicolas Square VVCAL Pages Pin Me! Related Links Charted instruction: Written instruction (US Terms): For UK Terms and Video Instruction, scroll down. Special stitches Foundation: Ch-3 and join in first Ch to make ring. You may also make a magic circle if you prefer that method. Also feel free to chain more stitches if you are used to chaining 4 or 5. I like to chain 3 for my ring, because I like the center hole to disappear when I weave ends. Work 6 Rounds as follows… Round 1: All in ring, working over center tail so as to pull center circle closed tight when square is complete: Make Beg TR, (3DC, TR) 3 times, 3DC, join with a slip stitch in top of Beg TR _12 DC, 4 TR total_     Round 2: (Beg TR, 2DC) in same stitch as join, **DC in next 3 stitches, (2DC, TR, 2DC) in next TR -corner made- repeat from ** 2 times more, DC in next 3 stitches, 2DC in same stitch as Beg TR, join with a slip stitch to top of Beg TR.  _28 DC, 4 …

SC JAYG – with PLT Join

Let’s celebrate the PLT Join by putting it to good use in our Vibrant Vintage CAL! Today I’m going to show you how to do a regular join-as-you-go method, in case you don’t feel ready to take the Continuous JAYG plunge 🙂 If you are feeling adventurous or are already familiar with the CJAYG, then wait for that post! I do recommend the continuous join. Only a few ends to weave in (versus 2 per square), and adds great integrity to the piece since it forms kind of a “net” of stability. I will be using the CJAYG version for my piece, and I’ll show it on the Joining post when we get there. If you’re making squares ahead of time (you’ve edged all your squares in DC), and you want to start joining, then go ahead! Enjoy! 🙂 SC Join-As-You-Go – featuring PLT Join Work first motif complete: Start by joining yarn with a slip stitch in any corner DC. All in same stitch: (SC, Chain 2, SC) – corner made SC in all …

PLT Join

Update!! Instagram user (and crochet friend!) @StitchGwen has made an excellent mini demo video of this join on her feed – go check it out! Her motions are exactly how I do it, so two thumbs up! IG StitchGwen PLT demo link See all of the projects where I’ve used PLT join HERE – over 100 blankets! What can I say about this join? When I started to teach myself crochet as a way to pass the time in college, I came across the work of Priscilla Hewitt. Often, I refer to her as my Crochet Idol, because her methods really intrigued me. I loved that her patterns were so innovative and complex, and I wanted to use them as a springboard into my own spin on the craft. Through working some of Priscilla’s patterns, I developed the PLT (or Pull Loop Through Join. Back then I didn’t have a name for it, and the closest I could come to describing it to everyone who asked was that it’s “like a flat braid join, but …

VVCAL – Edging Squares

Every 8 weeks during the VVCAL (as indicated in the weekly schedule on the Main Post) we will edge the granny squares that we’ve made so far with a DC round. You can also do this after you make them every week! I prefer to edge mine in batches. *********************************************************** The pattern to edge your squares is as follows: Beg DC = (SC, Chain-1) DC Round: Join new yarn with a slip stitch in any corner SC. In same St as join, (Beg DC, 2DC), **DC in all sts across to corner st, 5DC in corner st, repeat from ** 3 times more, DC across all sts to first corner, 2DC in first corner to complete it. Join with a slip stitch to top of Beg DC and cut yarn/finish off. (104 DC sts total) *********************************************************** What color should I use? One edging color option is to mix and match from the colors you’re using for your squares like I’ve done below – if you’re using even just 12 balls of Stylecraft Special DK for the squares, you’ll still have enough for all …

Crochet Motif – Cecilia Square

Cecilia Square VVCAL Pages Pin Me! Related Links Charted instruction: Written instruction (US Terms): For UK Terms and Video Instruction, scroll down. Special stitches Foundation: Ch-3 and join in first Ch to make ring. You may also make a magic circle if you prefer that method. Also feel free to chain more stitches if you are used to chaining 4 or 5. I like to chain 3 for my ring, because I like the center hole to disappear when I weave ends. Work 7 Rounds as follows… Round 1: All in ring, working over center tail so as to pull center circle closed tight when square is complete: Beg DC, 15DC, join with slip stitch in top of Beg DC  _16 DC total_  Round 2: (Beg DC, DC) in same stitch as join, 2DC in all stitches around, join with a slip stitch in top of Beg DC  _32 DC total_ Round 3: Skipping joining stitch and instead, working in next DC: (Beg DC, Beg Popcorn), (Chain 2, Skip 1 stitch, Popcorn) 15 times, Chain 1, join with a slip stitch to top of Beg …

Crochet Motif – Ana Maria Square

Ana Maria Square VVCAL Pages Pin Me! Related Links (2016) Charted instruction: Written instruction US Terms: For UK Terms and Video Instruction, scroll down. Special stitches Foundation: Ch-3 and join in first Ch to make ring. You may also make a magic circle if you prefer that method. Also feel free to chain more stitches if you are used to chaining 4 or 5. I like to chain 3 for my ring, because I like the center hole to disappear when I weave ends. Work 5 Rounds as follows… Round 1: All in ring, working over center tail so as to pull center circle closed tight when square is complete: Make Beg TR, TR (Ch-3, 2TR Cluster) 11 times, Ch-3, join with a slip stitch in top of Beg TR.  _12 2TR Cluster, 12 3-chain loop total_  Round 2: In first chain loop: (Beg DC, 2DC Cluster), **((Chain 4, 3DC Cluster in next chain loop)) twice, Chain 3, 3DC Cluster, Repeat from ** 2 times more, Repeat from (( to )) twice, Chain 3, join with a slip stitch to top of Beg DC. …

Crochet Motif – Rebecca Square

Rebecca Square VVCAL Pages Pin Me! Related Links Charted instruction: Written instruction US Terms: For UK Terms and Video Instruction, scroll down. Special stitches Foundation: Ch-3 and join in first Ch to make ring. You may also make a magic circle if you prefer that method. Also feel free to chain more stitches if you are used to chaining 4 or 5. I like to chain 3 for my ring, because I like the center hole to disappear when I weave ends. Work 6 Rounds as follows… Round 1: All in ring, working over center tail so as to pull center circle closed tight when square is complete: Make Beg Tall Puff, **Ch-2, make Tall Puff, repeat from ** 6 times more, Ch-1, HDC in top of Beg Tall Puff to complete round _8 Tall Puff, 8 chain loop total_     Round 2: SC in same spot – over HDC, Ch-6, **SC in next chain space, Ch-6, repeat from ** 6 times more, join with a slip stitch to first SC.  _8 6-Chain Loops, 8 SC total_ Round 3: Slip stitch …

Celtic Lace Join

Yarn Recommendation Try this fun join in a built tough, but super soft DK weight yarn like: Scheepjes Colour Crafter Notes **I wrote this pattern in 2013, but I’ve relocated it here from my portfolio site to further organize my free pattern library – Thank you!* Note: This pattern was added by a crafter to my Ravelry pattern library – check out that addition via this link and add your own project! You can also find this pattern on AllFreeCrochetAfghanPatterns.com. Celtic Lace Join (Created in 2013) I originally made this join for my 13th Textured Circles piece, but I ended up re-working that to attain my final measurement. I am working on updating the pattern with photos and videos. Social Media: Use hashtag #CelticLaceJoin and #CypressTextiles to show off your pics! I always add community photos to my story highlights, so head to Instagram @cypresstextiles and click “Joining” in the story highlights on my profile to see all of the folks using Celtic Lace Join. In addition to Celtic Lace Join, I also added two more versions to …

Perfect Granny Square

*I wrote this pattern in 2013, but I’ve relocated it here in order to further organize my free pattern library – Thank you!* Here is a quick tutorial for the Perfect Granny Square! 🙂 **Note: Find this and other patterns by looking under the “Free Patterns” tab in the menu in my website header. (Or under the tag “Free Patterns“)** (US Terminology, Worsted weight yarn, size K/6.5mm hook) I have featured this tutorial on Facebook, but I have decided to give it a permanent home, here on my website. I have found that I’m not the only one who does this method, but maybe you’ll learn something new! The yarn I am using is a soft and sturdy economical powerhouse, KnitPicks Brava Sport. Read more about this yarn on my Crafter site! Okay, I like to start with an adjustable ring (“Magic Ring”) – see it at Crochet Cabana (.com) tutorial. You can also chain 4 and join to make a ring. Round 1: All in ring, SC, chain 2, (3DC, chain 1) 3 times, …

African Flower Half-Hexagon

*I wrote this pattern in 2013, but I’ve reproduced it here to further organize my free pattern library – Thank you!* African Flower Half-Hexagon Pattern Hi, Y’all! Let’s talk hexie blankets. I love a good hex blanket, but I have so much trouble with the edges because in my mind a blanket must have a straight edge. Of course your mileage may vary and you may love the fun-shaped border, but I just HAVE to fill in the gaps to square off. Someone asked me for advice on a hexie blanket border (Instagram user @theoriginaldumblonde) and I thought I’d do a quick tutorial for a half-hex. I’ve never done an African Flower (although I’ve seen it a zillion times and it’s gorgeous!) so I Googled it and saw the Ravelry pattern from Heidi’s Bears. I used this pattern to make my half-hex design. Then I went ahead and searched for “Half African Flower Motif” and I did find some hits. BUT My method is different. Here we go! Slip knot, chain 4, join with a …

Postage Stamp Block

Postage Stamp Block Pattern This is the block I am using for my version of Bear’s Rainbow Blanket, which is the blanket in the Scrappy Crochet-Along. Mary from Crafty Goodness Crochet and I are the hosts. Written in American crochet terms Work a “solid granny square” Chain 4 and join to make a ring (or Magic Circle) Round 1: SC in ring and Ch 2. (3 DC in ring, Ch 1) three times in ring. 2 DC in ring and join to first chain, leaving the second chain as the corner chain. Round 2: SC in corner chain and Ch 2. 2 DC in corner. (DC in the next 3 sts, *2 DC, Ch 1, 2DC* in corner) three times around the square. DC in next 3 sts and DC in corner. Join in first chain, leaving the second chain as the corner. Round 3: SC in corner chain and Ch 2. 2 DC in corner. (DC all sts across, *2 DC, Ch1, 2 DC* in corner) three times around square. DC in all sts across final side and …

Continuous Join As You Go: Master Post

I love this join so much that it I decided to dedicate a complete post to it. Where can I learn it? Find the YouTube tutorial here (by Crochet Cabana). It would be easiest to get some granny squares that you need to join and actually follow along with the video. When I learned it I had to pause and rewind a bunch! See a flat braid version here (by my YouTube crochet idol – Bethintx1). ***** I made 2 tutorials so far whilst using the join on 2 projects. See the original tutorial here (pink Sunburst Granny). See my second *most popular!* tutorial here (green cushion cover). See my Partial CJAYG for Squares HERE See the Hexagon version of the Partial CJAYG HERE ***** Why should I love it? CJAYG is a no-sew join with a ton of integrity. Without all the fastening off and re-joining of the yarn, you have a neat, durable, and professional join. I have increased my speed with this join because it’s more of an over-all completion process versus a one-at-a-time process. …

Crochet Plain Granny Square, One Color or Multi-Color

Plain Granny Square: Solid Related Links (2016) Charted instruction: Written instruction US Terms: For UK Terms and Video Instruction, scroll down. Foundation: Ch-3 and join in first Ch to make ring. You may also make a magic circle if you prefer that method. Also feel free to chain more stitches if you are used to chaining 4 or 5. I like to chain 3 for my ring, because I like the center hole to disappear when I weave ends. Work 7 Rounds as follows… Round 1: All in ring, working over center tail so as to pull center circle closed tight when square is complete: Beg DC, Ch-1, (2DC, Ch-1) 3 times, DC, join with a slip stitch in top chain of Beg DC _8 DC, 4 Ch-1 total_ Round 2: In chain space: (Beg DC, Ch-1, 3DC), (3DC, Ch-1, 3DC) in next chain space -corner made- repeat corner 2 times more, 2DC in first chain space to complete corner, join with a slip stitch in top chain of Beg DC _24 DC, 4 Ch-1 total_ Round …