
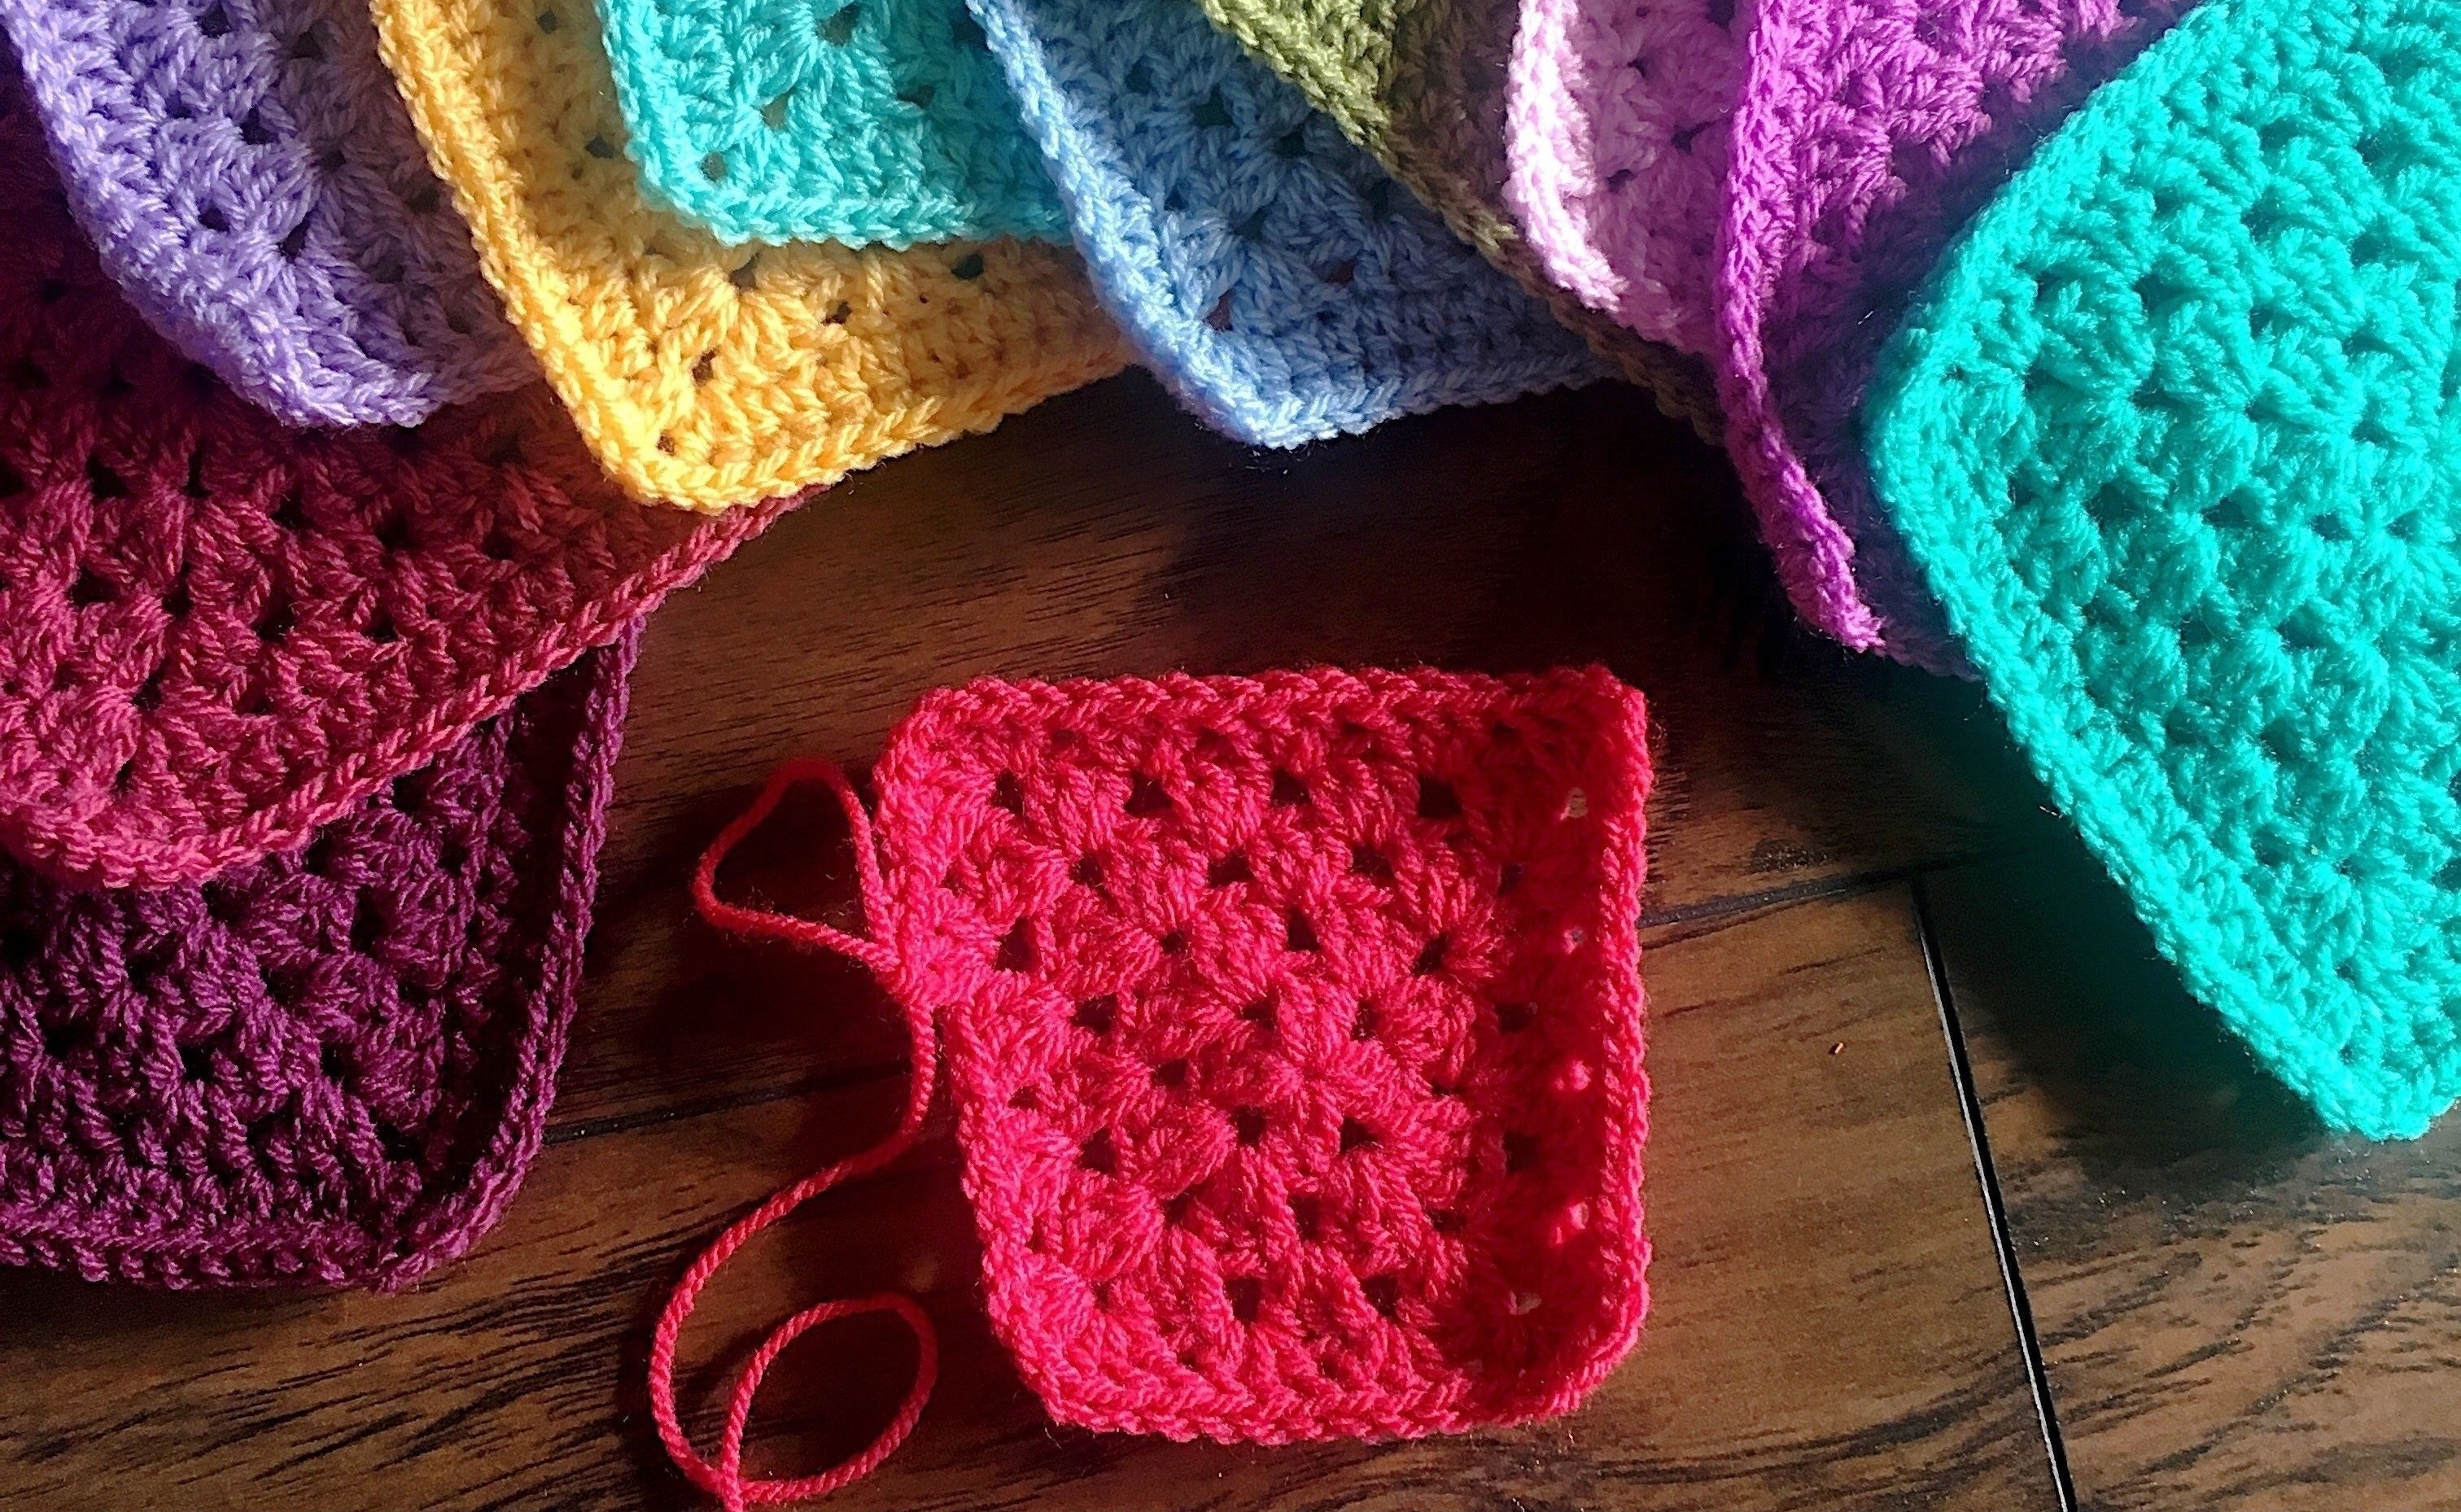
Plain Granny Square: Solid
Related Links (2016)
- Vibrant Vintage main info page
- Ravelry ebook – includes links to all separate patterns (not updated)
- Updated Vibrant Vintage Blanket ebook (Etsy) – Condensed and fully updated 22-page PDF with entire VVCAL Vibrant Vintage Blanket – 33 updated squares, joining method, updated wide lace border
- Ravelry group
- Facebook Group
- Please don’t reproduce these instructions (i.e. Copy and paste) or the PDF instructions anywhere. If you refer to the pattern please use a link to my site. PDF printing is for personal use only. Thank you! Have fun!
Charted instruction:

Written instruction US Terms:
For UK Terms and Video Instruction, scroll down.
- 2dccl (yo, insert hook in st, yo, pull up lp, yo, draw yarn through 2 lps) 2 times, yo, draw yarn through 3 lps
- 4dccl (yo, insert hook in st, yo, pull up lp, yo, draw yarn through 2 lps) 4 times, yo, draw yarn through 5 lps
- beg beginning
- beg 4dccl beg dc, (yo, insert hook in same st, yo, pull up lp, yo, draw yarn through 2 lps) 3 times, yo, draw yarn through 4 lps
- beg dc (sc, ch1) – counts as 1 dc
- beg pcorn beg popcorn (beg dc, 3dc) in st/sp indicated, remove lp from hook, insert hook in beg dc, grab lp, pull lp through to close
- beg tr (sc, ch2) – counts as 1 tr
- bet between
- ch chain
- dc double crochet
- hdc half double crochet
- lp(s) loop(s)
- MR make ring Ss, ch3, ss in third ch from hook
- omt omitting
- pcorn popcorn 4dc in st/sp indicated, remove lp from hook, insert hook in first dc, grab lp, pull lp through to close
- picot ch3, sc in top sode bars of prev st
- prev previous
- puff st yo, (insert hook in indicated spot, yo, pull up lp) 3 times, yo pull yarn through all lps
- rem remaining
- rep rep
- RS/WS right side/wrong side of work
- sc single crochet
- sk skip
- sp space
- ss Ss
- st(s) st(es)
- tr treble crochet
- yo yarn over
Foundation: Ch-3 and join in first Ch to make ring. You may also make a magic circle if you prefer that method. Also feel free to chain more stitches if you are used to chaining 4 or 5. I like to chain 3 for my ring, because I like the center hole to disappear when I weave ends.
Work 7 Rounds as follows…
Round 1: All in ring, working over center tail so as to pull center circle closed tight when square is complete: Beg DC, Ch-1, (2DC, Ch-1) 3 times, DC, join with a slip stitch in top chain of Beg DC _8 DC, 4 Ch-1 total_


Round 2: In chain space: (Beg DC, Ch-1, 3DC), (3DC, Ch-1, 3DC) in next chain space -corner made- repeat corner 2 times more, 2DC in first chain space to complete corner, join with a slip stitch in top chain of Beg DC _24 DC, 4 Ch-1 total_

Round 3: In chain space: (Beg DC, Ch-1, 3DC), **3DC in between clusters of 3DC across to corner space, make corner, repeat from ** 2 times more. 3DC in between clusters of 3DC across to first chain space, 2DC in chain space to complete corner, join with a slip stitch to top chain of Beg DC. _36 DC, 4 Ch-1 total_
Round 4: Repeat Round 3 _48 DC, 4 Ch-1 total_
Round 5: Repeat Round 3 _60 DC, 4 Ch-1 total_

Round 6: In chain space: (Beg DC, Ch-1, 2HDC), **HDC in all stitches across to corner chain space, (2HDC, Ch-1, 2HDC) all in corner chain space -HDC corner made- Repeat from ** 2 times more, HDC in all stitches across to first chain space HDC in first chain space, join with a slip stitch to top of beg DC _76 HDC,4 Ch-1 total_


Round 7: 3SC in chain space, SC in all stitches around, placing 3SC in corners. After final SC, join with a slip stitch in first SC, cut yarn and finish off ends _88 SC total_
Shown below is a closeup of the door just before working a 3SC corner in the chain space. I show this just to clarify where to place stitches, because working into an HDC can be a little confusing. In the photo below, I’m ready to work the 3SC corner.


Plain Granny Square: Multi-color
Work exactly as for Solid square above, but choose 5 colors for Rounds 1-5, and a sixth color for both Rounds 6 and 7.
Cut yarn and weave in ends after every color round, and join new color with a slip stitch in corner chain space to begin the next round.

UK Terms – for UK Terms and Video Instruction, scroll down.
Special stitches
- Beg tr = (1dc, ch1)
Foundation: Ch3 and join in first Ch to make ring. You may also make a magic circle if you prefer that method. Also feel free to chain more stitches if you are used to chaining 4 or 5. I like to chain 3 for my ring, because I like the center hole to disappear when I weave ends.
Round 1: All in ring, beg tr, ch1, (2tr, Ch1) 3 times, 1tr, join with a slip stitch in top chain of beg tr_8 tr, 4 Ch1 total_
Round 2: In chain space: (Beg tr, Ch-1, 3tr), (3tr, Ch-1, 3tr) in next chain space -corner made- repeat corner 2 times more, 2tr in first chain space to complete corner, join with a slip stitch in top chain of Beg tr_24 tr, 4 Ch-1 total_
Round 3: In chain space: (Beg tr, Ch-1, 3tr), **3tr in between clusters of 3tr across to corner space, make corner, repeat from ** 2 times more. 3tr in between clusters of 3tr across to first chain space, 2tr in chain space to complete corner, join with a slip stitch to top chain of Beg tr. _36 tr, 4 Ch-1 total_
Round 4: Repeat Round 3 _48 tr, 4 Ch-1 total_
Round 5: Repeat Round 3 _60 tr, 4 Ch-1 total_
Round 6: In chain space: (Beg tr – counts as 1 htr, Ch-1, 2htr), **htr in all stitches across to corner chain space, (2htr, Ch-1, 2htr) all in corner chain space -htr corner made- Repeat from ** 2 times more, htr in all stitches across to first chain space, htr in first chain space, join with a slip stitch to top of beg tr _76 htr,4 Ch-1 total_
Round 7: 3dc in chain space, 1dc in all stitches around, placing 3dc in corners. After final dc, join with a slip stitch in first dc, cut yarn and finish off ends _88 dc total_

Shown below is a closeup of the door just before working a 3dc corner in the chain space. I show this just to clarify where to place stitches, because working into an htr can be a little confusing. In the photo below, I’m ready to work the 3dc corner.
Video Instruction:
Note: This video is from the 2020 VVCAL, but the square is very similar, but there are a couple of differences. In this video, Round 1 has 3-dc groups instead of 2dc groups. If you prefer that, this will not change your final square much. However, the video also shows (US) dc on round 6 instead of (US) hdc. You should definitely use hdc as the you could run of yarn if you are using a color pack.
Happy crafting,
Rachele C.
You may also enjoy:
Support My Work
You’re supporting by just being here! You can read my blog (Start Here!), like and comment on socials, and message me for a chat. All of this supports my work free of charge!
- Affiliate links – Shopping through my links supports me at no additional cost to you as I get a small commission through my affiliates. Jimmy Beans Wool // WoolWarehouse // Amazon.com
- Buy my pattern book – I wrote a super neat crochet blanket pattern book, published under Penguin Random House. You can buy it here!
- Browse my self-published patterns – I have over a hundred patterns on Etsy and Ravelry
- Creative Art Blanket Course – Check it out on Teachable
Where to Find Me
- Instagram: @cypresstextiles
- Facebook Page: CypressTextiles
- YouTube Channel: Rachele Carmona
- Pinterest: CypressTextiles
- Tumblr: CypressTextiles
- Etsy: CypressTextiles
- Ravelry: Rachele Carmona
- Teachable: Creative Art Blanket Course