
Hello, lovely crafter! Today I want to show you what I have been working on while everyone is busy with the Colour Lab CAL Part 7. First, I want to show off a few of the many, many WIPs that you can find in the Scheepjes International Facebook Group, and then I will reveal my project. As you know, I have been working on a Whirl project and a Scrumptious project, but there is a twist with both of them, and I want to share with you how you can also replicate these demo blankets.
In the past, I have shared my Whirl version and my Scrumptious version of the Colour Lab CAL. Check them out if you like!

Related Links
If you have not seen this project yet, here are all of the quick links so that you can see more and get started!
- The Scheepjes website page for the CAL
- Scheepjes official Tips and Tricks PDF
- My Tips and Tricks Post US Terms with some photo tutorials of tricky stitches
- My Tips and Tricks Post UK Terms with some photo tutorials of tricky stitches
- Scheepjes International Facebook Group
- Scheepjes Dutch Facebook Group
- YouTube videos for the CAL (Videos are in UK Terms): Right-Handed // Left-Handed
- Ravelry Pattern Page
- Colour Lab CAL Blog Posts UK Terms: Main Page, Part 1, Part 2, Part 3, Part 4, Part 5, Part 6, Part 7 US/UK Terms, Part 8, Bonus Project
- Colour Lab CAL Blog Posts US Terms: Main Page, Part 1, Part 2, Part 3, Part 4, Part 5, Part 6, Part 7 US/UK Terms, Part 8, Bonus Project
- USA: Jimmy Beans Wool Metropolis Kit / Scrumptious Kit
- UK/Worldwide: WoolWarehouse Metropolis Kit / Scrumptious Kit
- Find a Scheepjes Retailer near you!
Where to Find Me
- Instagram: @cypresstextiles
- Facebook Page: CypressTextiles
- YouTube Channel: Rachele Carmona
- Pinterest: CypressTextiles
- Tumblr: CypressTextiles
- Etsy: CypressTextiles
- Ravelry: Rachele Carmona
- Teachable: Creative Art Blanket Course
More Colour Lab CAL WIPs
The Colour Lab CAL projects have been so beautiful, and I am proud of how many people are participating. Everyone has given the project their own creative spin, and it has been lovely to see.
Instead of just showing the sample colorways, they have challenged everyone to create their own color layout, and I’ve been floored looking at all of the possibilities. Here are just a few of them, and it was so hard to choose just a few, but you should really check out the Facebook groups linked above to see them all!
First I wanted to show you this one because of the sweet colorway! I just love these shades.

This next WIP is so neat with its colorfade from purple to yellow.

Look at the beautiful craftsmanship of this next project!

And this next sample is absolutely gorgeous in Scrumptious.

Look at this stunning project! And what a great job on Part 7 of the CAL.

Here are some more CALers who have made a great start on Part 7!
Loving these blues – so pretty!

Now this is my kind of mess! My work looks like this consistently until it’s finished. It’s my happy place!

I’ve been watchin the progression of this next CALer and can’t wait to see the project come together.

And this cutie color palette is just amazing!

Now let’s take a look at my Scrumptious Project WIP.
Scheepjes Scrumptious Yarn
For my Scrumptious Project, I am using the yarn from the Scrumptious Kit. Here is what the yarn looks like.

Scrumptious Kit
The Colour Lab CAL Scrumptious Kit contains:
- 13 x 100g balls of Scrumptious in 3 base colours
- 1 Scrumptious Colour Pack (80 x 30g). Please note: this Colour Pack was produced exclusively for the CAL and is not available separately.
- Classified Colour Lab booklet,
- Darning needle
- Limited Edition Scheepjes lanyard
- ‘Access All Areas’ pass granting exclusive extra content
Scheepjes Scrumptious (50% Recycled Polyester, 50% Acrylic; 100g/300m)
- Yarn A: 302 Buttercream Icing x 6 balls (+ 1 x 30g ball from colour pack)
- Yarn B: 380 Black Sesame Muffin x 3 balls (+ 1 x 30g ball from colour pack)
- Yarn C: 301 Charcoal Ice Cream x 4 balls (+ 1 x 30g ball from colour pack)
- Scheepjes Scrumptious Colour Pack (50% Recycled Polyester, 50% Acrylic; 80 x 30g/97m)
- Yarns D-BBBB: see relevant colourway schematic (Schematics 1-3) or assign your own colours using the Colour Lab booklet (included in Official Scheepjes CAL Kits)
- 3mm crochet hook (for final round of Blanket border only)
- 3.5mm crochet hook
- 4mm crochet hook (for joining motifs in Part 8 only

Buy an Official Kit!
To purchase a kit, you can see if there is a Scheepjes Retailer near you, or please consider heading to one of the links below, as I am personally affiliated with these two shops. Purchasing through these links will gain me a small commission to help support my work, at no additional cost to you. I appreciate your support!
- USA: Jimmy Beans Wool Metropolis Kit / Scrumptious Kit
- UK/Worldwide: WoolWarehouse Metropolis Kit / Scrumptious Kit
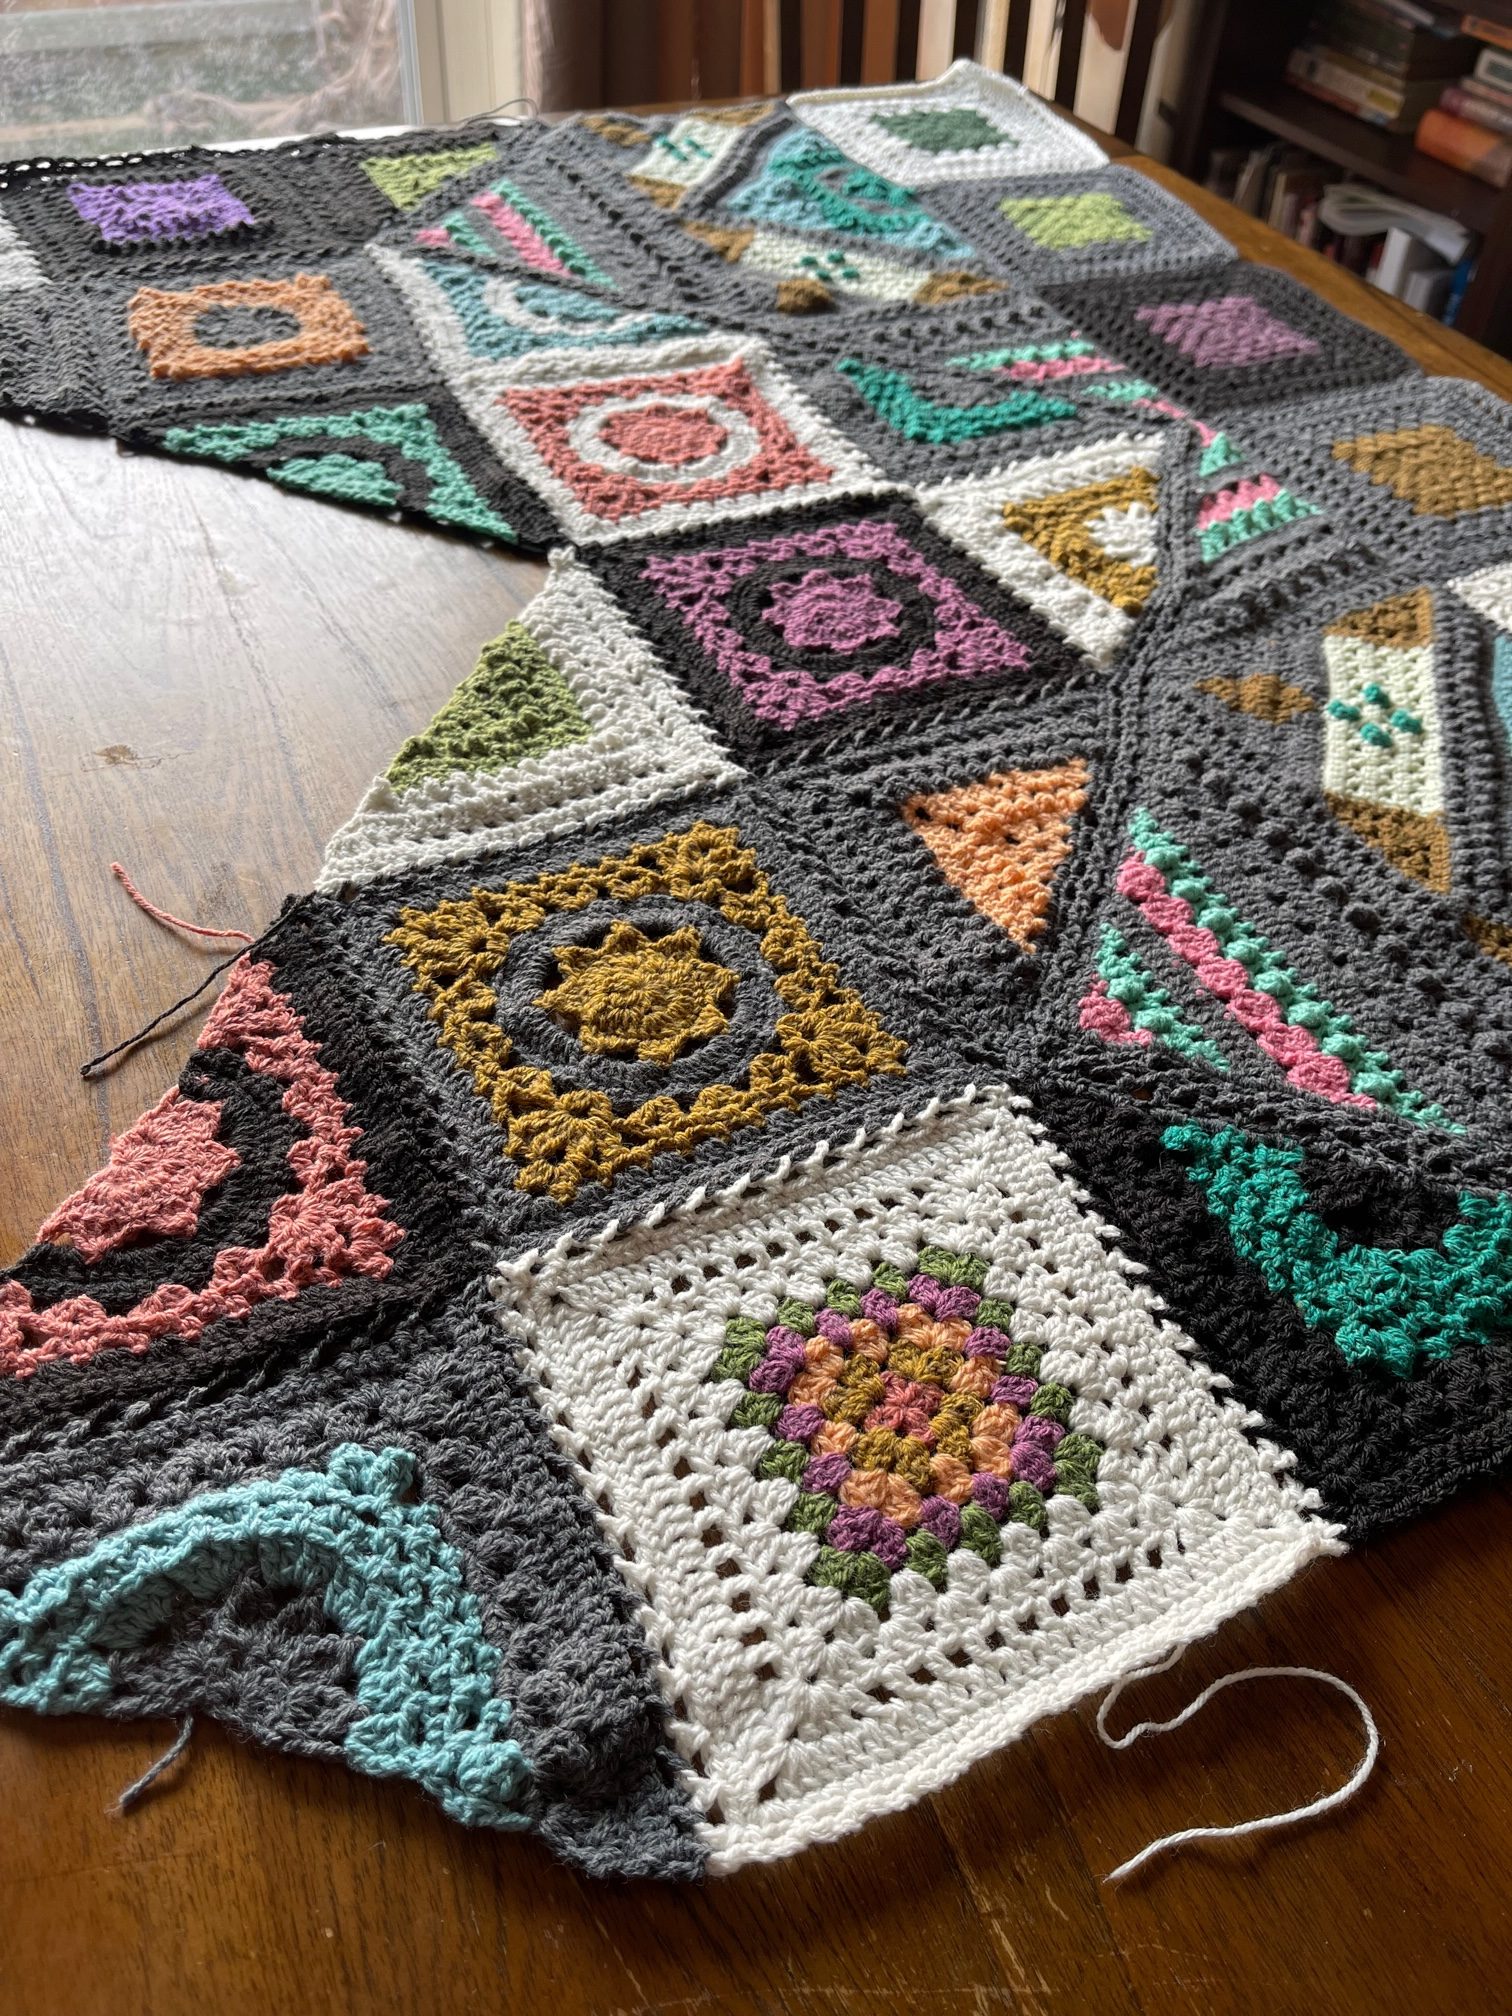
My Scrumptious Demo Colour Lab CAL!
And now to show you my work in progress! Here is an example of the mini balls from the kit compared to the full balls! The fun part of doing a random layout is that I can just pick a group of colors that I think go great together. This yarn is a dream! So squooshy!

Parts 1-4 Progress Photos
I am making an abbreviated version of the Colour Lab CAL for my Scrumptious Demo because for the step-by-step photos of the tricky parts, I don’t need to create every piece of the blanket. So, since I am constantly designing on other projects, I decided to save some time on this one and make the blanket smaller. I will show you how I did it below!
Here’s a reminder of how my demo blanket looked in earlier WIP photos. I told you I am messy when I create!

Of course I had to include another shot of my Della Q bag from Jimmy Beans Wool in the photo. The one I have is the Maker’s Roll Top. (aff)
Parts 1 and 2 are all joined up, and I am just loving these colors.

I will say that the Scrumptious yarn colors are so eye-pleasing and calming. It is a more muted palette without a lot of neon technicolor type shades, so all of the colors look incredible side by side.
Here is the right hand side.

This is one of my favorite parts of the blanket. I enjoyed working up this section!

And my squares for Part 3. I only have one granny style square but that’s okay! I also took some creative license with the motif placement. I eliminated one motif altogether and then I just used the others in a random layout.
Parts 3 and 4 were the most fun!

If you are going to replicate this abbreviated version one day, you can follow the actual pattern if you like, or go rogue like me! There will be plenty of yarn to play with since the blanket is smaller.

And this is a shot of the whole thing together. This blanket is going to be ours to keep, and I just love it so much.

I have made a small start on Part 5 as well, which I have already shown, but this is that pic in case you’d like to see!

How I Did it!
In order to make a smaller demo version, I took out some of the schematic. Here in this schematic I have greyed out what I did not include in the piece.
Regarding Part 6 and the greyed out zig-zag portion: In the original pattern, the bottom edge is fewer rows than in the upper edge. I am not quite there yet, but when I get to Part 6, I will be working the bottom edge on the upper edge as well. This is so the blanket length isn’t too long compared to the width.

So here is how the blanket schematic looks when you piece all of the sections together. I may make some minor adjustments on the fly, but I like how this looks. Of course the original has my heart, and my Whirl version is a full original version, but as I said, just to save time I have made this demo smaller.
I know some folks will ask me how I managed it, and so I wanted to share that so you may use this method for a smaller blanket in the future.

Whirl Progress
Well, you’re going to be mad at me, but my Whirl project still looks the same! When I worked my Whirl version, I went all the way through from Parts 1-6, and I left a little but of Part 4 unfinished. Remember the WIP photos?

And another angle:

Just a reminder of which Whirls I am using and how many Whirls and Whirlettes.
For my Whirl project, I am using three of the Lemon Cassis Cream Whirl yarn and then what I think will end up to me about 6 Whirlettes. Here is what the Lemon Cassis Cream Whirl looks like.

Order Whirl Yarn
These are all affiliate links and shopping through them will gain me a small commission. It is a great way to support my work at no additional cost to you!
Find the 3 x 220g balls of Scheepjes Whirl Lemon Cassis Cream (or color of your choice) at one of these shops.
Order Whirlette Yarn
Find the 6 x 100g balls of Whirlette No. 860 Ice (or color of your choice) at one of these shops.
Of course you can also search for a retailer near you by clicking this link to the Scheepjes Shop page
Part 7 Beginnings
Part 4 and Part 6 have just a snippet left to finish, and then I’m on to Part 7 like the rest of you! Of course I could not resist making up one of the precious squares from Part 7. This is how all of my Part 7 squares will look, with a white center stripe.

As for how I will arrange the colors as they change with the Whirl, I’ll be continuing with the color fade just like in the WIP photos.
My Whirl Placement Schematic
I had a few folks ask about my color placement on the Whirl demo, so I did make up a schematic for you! The grey areas are where the Whirl goes. I worked the blanket in the exact order of the pattern for the most part, This will tell you how I decided to place the actual color changes of the motifs in the pattern. To make it very simple, I really didn’t change a thing.

You can see what I mean above when I say that in Part 7, I will make all of my motifs with that white center stripe. As I am working on the motifs, I may decide to throw a random one in here and there with the colors reversed, because you know I tend to lean toward the random.
Well, I want to say thank you so much for checking out my demo blanket update, and I hope the slight variations can help you in the future! I have enjoyed showing you, and hope you loved it.
Happy crafting!
Rachele C.
The Art of Crochet Blankets (affiliate)
Support My Work
You’re supporting by just being here! You can read my blog (Start Here!), like and comment on socials, and message me for a chat. All of this supports my work free of charge!
- Affiliate links – Shopping through my links supports me at no additional cost to you as I get a small commission through my affiliates. Jimmy Beans Wool // WoolWarehouse // Amazon.com
- Buy my pattern book – I wrote a super neat crochet blanket pattern book, published under Penguin Random House. You can buy it here!
- Browse my self-published patterns – I have over a hundred patterns on Etsy and Ravelry
- Creative Art Blanket Course – Check it out on Teachable
- My new Creative Clarity Blog Post Series