
Hello, lovely Colour Lab CALer! Welcome to the Tips and Tricks page. This page is full of all the information you should know before you begin, and it’s a great place to come if you’re ever stuck during the crochet-along.
The official Scheepjes Tips and Tricks PDF is also very handy, and can be found on the Scheepjes website and as a file in the Scheepjes Facebook groups, where the Colour Lab CAL is hosted. Please read through this entire post, as you may have questions that are answered within. Note: If you work out any of these photo tutorials, it is best to use stash remnants, so as not to break into any of your kit yarn just yet.
This page has photo tutorials in US Terms. If you would prefer to see them in UK Terms, click here!
Related Links
As these sites become live, I will hyperlink them.
- The Scheepjes website page for the CAL
- Official Scheepjes Tips and Tricks PDF
- Scheepjes International Facebook Group
- Scheepjes Dutch Facebook Group
- YouTube videos for the CAL (Videos are in UK Terms): Right-Handed // Left-Handed
- Ravelry Pattern Page
- Colour Lab CAL Blog Posts UK Terms: Main Page, Part 1, Part 2, Part 3, Part 4, Part 5, Part 6, Part 7 US/UK Terms, Part 8 US/UK Terms, Bonus Project
- Colour Lab CAL Blog Posts US Terms: Main Page, Part 1, Part 2, Part 3, Part 4, Part 5, Part 6, Part 7 US/UK Terms, Part 8 US/UK Terms, Bonus Project
- USA: Jimmy Beans Wool Metropolis Kit / Scrumptious Kit
- UK/Worldwide: WoolWarehouse Metropolis Kit / Scrumptious Kit

Where to Find Me
- Instagram: @cypresstextiles
- Facebook Page: CypressTextiles
- YouTube Channel: Rachele Carmona
- Pinterest: CypressTextiles
- Tumblr: CypressTextiles
- Etsy: CypressTextiles
- Ravelry: Rachele Carmona
- Teachable: Creative Art Blanket Course

Buy an Official Kit!
To purchase a kit, you can see if there is a Scheepjes Retailer near you, or please consider heading to one of the links below, as I am personally affiliated with these two shops. Purchasing through these links will gain me a small commission to help support my work, at no additional cost to you. I appreciate your support!
- USA: Jimmy Beans Wool Metropolis Kit / Scrumptious Kit
- UK/Worldwide: WoolWarehouse Metropolis Kit / Scrumptious Kit

Where to Get Support
During the CAL, if you need pattern support, there is definitely a ton of help out there! It has been proven time and time again that the Scheepjes CALs turn beginners into rock stars. Please do not worry if the pattern looks complicated, as this safety net of support points will be there for you, just a click away.
- Facebook Group Support – Definitely join the Scheepjes Facebook Groups, so you can post progress pics, get inspired by others, and of course, ask for help. The groups are wonderful and very supportive! Worldwide: Scheepjes International Facebook Group and for Dutchies: Scheepjes Dutch Facebook Group
- CypressTextiles Website Support – For each pattern release week, I will make a blog post here on the CypressTextiles website where I will include many, many step-by-step photos of any possibly tricky parts. The entire pattern won’t be photographed here, but I will do my best to make everything clear in my still photos.
- YouTube Support – The very talented Esther of It’s All in a Nutshell has graciously made videos for this CAL which will appear weekly on her YouTube Channel. Her videos are well known worldwide, and she is an absolute treasure.

CAL Start Info


Contents of this Post
Below you will find information on how to help you get gauge. You will also find a full list of the terms and abbreviations used in the pattern, and some general photo tutorials that will be useful to know before you begin the blanket. These abbreviations and all tutorials below are in US Terms, since the Colour Lab CAL pattern is also available in US Terms.
If you will be following the UK Terms version, click here for Tips and Tricks in UK Terms.
- Making gauge: Adjusting the height of your stitches to meet vertical gauge (golden loop)
- Full list of special terms and abbreviations plus repeat formats
- Beginning treble crochet: A Closer Look
- Beginning Stitches: beg dc, beg tr, beg cluster, beg popcorn, beg decrease
- Joining Rounds: beg dc, beg cluster, beg popcorn
- Changing color mid-round: sc, dc, cluster
- Making your tall sts neater: dtr
- PLT Join: General overview of this joining maneuver
- Hidden stitches in the corners
You will notice that weaving ends is missing! Please don’t worry! That’s because as each part is released, I will have photo tutorials on how to weave the ends on that part.
Of course, when each CAL part is released, I will provide photo tutorials for the trickier portions, and how to weave the ends during your project. Reference the official Tips and Tricks PDF for a lot more detailed info.

Making Gauge
Gauge is important for this project in order for all of the panels of the blanket to fit together. Pay attention to the height of your double crochet especially as this can be greatly affected by the manner in which you crochet. There is a maneuver made during the creation of a double crochet that determines its height, and this is called the Golden Loop. Please check out this blog post and watch this video by Esther of It’s All in a Nutshell to learn more about the Golden Loop.
There will not be a separate gauge swatch made before the CAL begins, rather we will use the first motif of the blanket to make sure and get gauge during Part 1 in the first official week of the CAL beginning January 11.

Special Terms and Abbreviations (US Terms)
Please read through these as we will be discussing them in photo tutorials below.
- beg 2dc-cl beginning 2 double crochet cluster: (beg dc, 1dc) in same st/sp
- beg 3tr-cl beginning 3 treble crochet cluster: beg tr, *(yoh) twice, insert hook in st/sp, yoh, pull up lp, (yoh, draw through 2 lps) twice; rep from * once more (3 lps on hook), yoh, draw through all lps
- beg pc beginning popcorn(s): (beg dc, 3dc) in indicated st/sp, remove lp from hook, insert hook front to back in ch of beg dc, place lp back on hook, draw lp through to close pc
- beg tr beginning treble crochet: 1sc, ch2 (counts as 1 tr)
- beg dc beginning double crochet: 1sc, ch1 (counts as 1 dc)
- beg dc2tog beginning dc2tog: beg dc, 1dc in next st/sp (counts as 1 dc2tog)
- beg dc3tog beginning dc3tog: beg dc, dc2tog (counts as 1 dc3tog)
- beg dc4tog beginning dc4tog: beg dc, dc3tog (counts as 1 dc4tog)
- beg dc6tog beginning dc6tog: beg dc, dc5tog (counts as 1 dc6tog)
- bobble bobble stitch(es): (yoh, insert hook in st/sp, yoh, pull up lp, yoh, draw through 2 lps) 4 times (5 lps on hook), yoh, draw through all lps
- pc popcorn(s): 4dc in same st/sp, remove lp from hook, insert hook front to back through first dc, place lp back on hook, draw lp through to close pc
- picot ch3, work 1sc in side of st at base of ch-3 (instead of in third ch from hook)
Repeat Formats
*…….; rep from * x times/to end work instructions after * and then repeat that section as specified; the same applies to any number of asterisks: **…….; rep from ** etc.
(…….) once/twice/x times work instructions between brackets the total number of times stated

Beg dc: A Closer Look
The beginning double crochet is my favorite substitute for the first double crochet of the round. I’ll talk about this more below in the “Beginning Stitches” section. For now, let’s focus on the beginning double crochet, since this is the most common beginning stitch in the blanket.
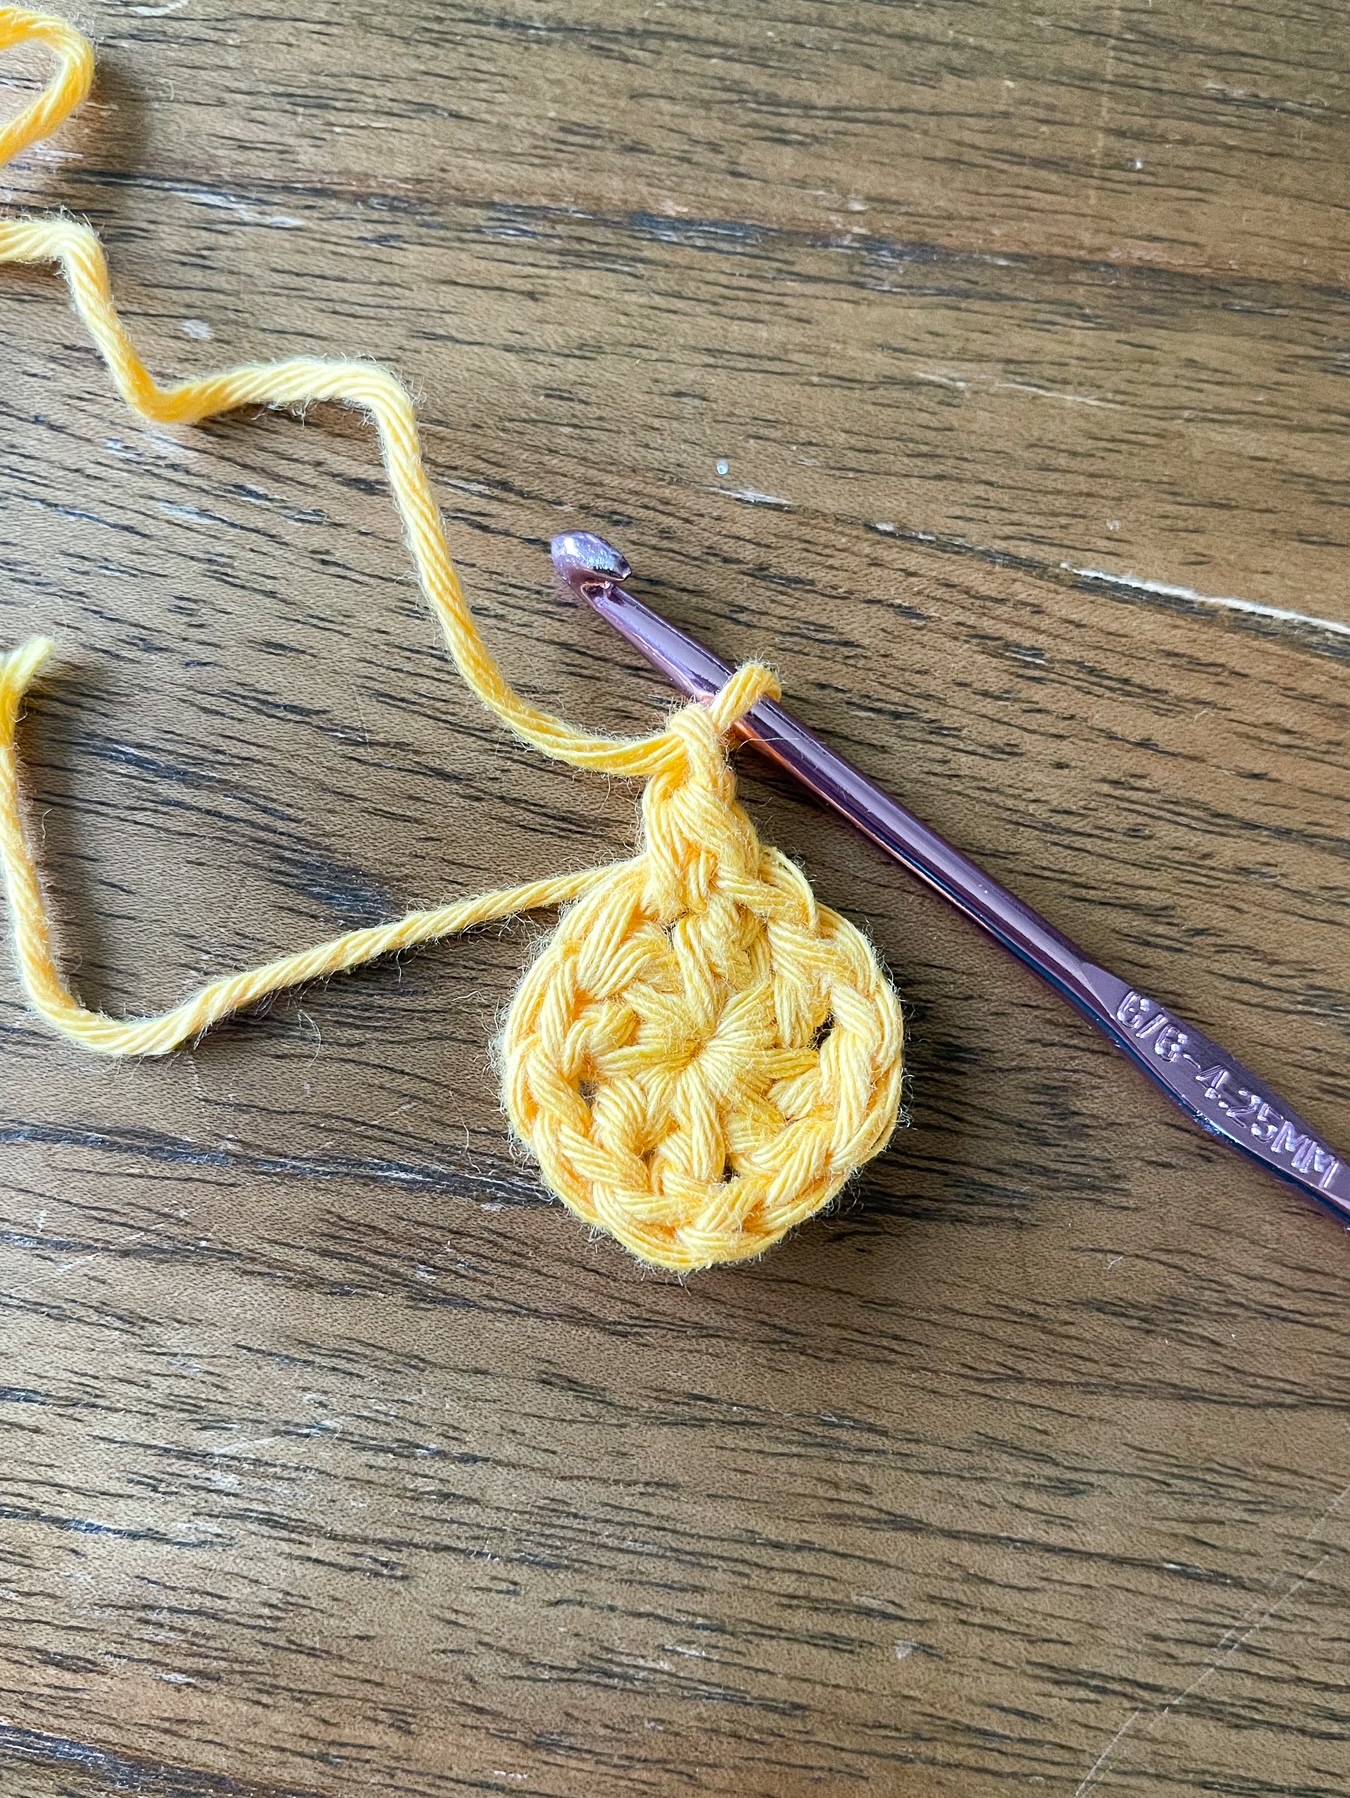
Making the beg dc
Work single crochet into the stitch or space indicated, and then chain 1, as follows:
Single crochet

Chain 1

Joining into a beg dc
To finish the round, join with a slip stitch in the chain of the beg dc, as follows:
Ready to join the round

Slip st in chain of beg dc

Starting the next round
The pattern will state in which stitch to begin the next round. Sometimes it is required to begin the next round in the same stitch as the join, but for the most part, I will have you work into the next stitch or space to start the new round, because that is how the beg dc looks its best.

Compare the beginning dc with a regular full dc
In the photo below, the beg dc is on the left, and a full regular dc is on the right. Especially when you work into the next st/sp for the following round, as is typical, you can see that the sc looks like the bottom half of the dc (black arrow comparison), the ch1 looks like the top half of the dc (blue arrow comparison), and the slip st join looks like the “V” that is across the very top of the dc (red arrow comparison). Doesn’t the beg dc look a lot like the real deal?

Beginning Stitches
For a crochet pattern in general, there must be a way to jump to the height of the stitch on the next round. For example, many times you will see “chaining up”, like ch1 for a (US) single crochet, ch2 for a half double crochet, ch3 for a double crochet, and so on. Or perhaps you will find standing stitches in a pattern, or there are other solutions out there.
In CypressTextiles patterns, I use something called “beginning stitches” which refer to the first stitch of the round from (US) double crochet and taller, as well as any cluster stitches, bobbles, or popcorns, etc. I do not use any method before a (US) Single crochet, because for that short stitch, I just go right into making the sc without chaining up. Since the single crochet is the foundation for the beginning stitches, there is no “chaining up” in my patterns.
beg tr beginning treble crochet
Make single crochet, then chain 2, as follows:
Single crochet

Chain 2

beg 2dc-cl beginning 2 double crochet cluster
Make beg dc, then 1dc in the same st/sp, as follows:
Beg dc

1dc in the same st/sp

beg 3tr-cl beginning 3 treble crochet cluster
Make beginning tr, then make 2tr cluster in the same st/sp, draw yarn through all 3 loops, as follows:
Beginning tr

2tr cluster in the same st/sp


Draw yarn through all 3 loops

beg pc beginning popcorn(s)
Make beg dc, then make 3dc in the same st/sp, remove the loop from the hook, insert hook front to back through the chain of the beg dc, grab the loop, and pull it through to the front of the work, closing the popcorn, as follows:
Beg dc

3dc in the same st/sp

Remove the loop from the hook, insert hook front to back through the chain of the beg dc,

Grab the loop, and pull it through to the front of the work, closing the popcorn

beg dc2tog beginning double crochet 2 together
Make beg dc, and then 1dc in the next st/sp, as follows:
Beg dc

1dc in the next st/sp

beg dc3tog beginning double crochet 3 together
Make beg dc, then make dc2tog over the next 2 sts/sps, pull yarn through all 3 loops, as follows:
Beg dc

Dc2tog over the next 2 sts/sps

pull yarn through all 3 loops

More Special Stitches
bobble bobble stitch(es)
A bobble stitch is just a 4dc-cluster st worked between 2 sc sts so it is squashed down. The round is worked on the WS so that the bobble stitch pokes out on the front side of the piece, as follows:
Here, I am working on the WS, and I have completed the first sc, and the 4dc-cluster step,

Now, you can see once I make the next sc sts, the cluster can no longer be seen very well from the WS because it is squashed down,

When we turn the work to the RS, you can see the bobble st poking out!

pc popcorn(s)
4dc in same st/sp, release loop from hook, insert hook front to back in first tr of 4-dc group, grab loop, pull loop to front of work, closing popcorn. This is very similar to the beginning popcorn, and here is the stitch circled below.

picot
Note: Photos for instruction “ch3, work 1sc in side of st at base of ch-3 (instead of in third ch from hook)” will be added in a few hours. For now, shown below, the sc is worked into the 3rd chain from the hook.
Chain 3, and sc in 3rd chain from hook, as follows:
Chain 3

Sc in 3rd chain from hook

Here is how the picot looks when you continue the round:

Joining Rounds
When working in the round, you will need to join with a slip stitch to the beginning stitch of the round. For the following beginning stitches, I’ll show you how to join with a slip stitch. Since I already showed how to do this for the beg dc above, I’ll demonstrate for beg 2dc cluster, beg 3tr cluster, and beg popcorn.
beg 2dc cluster
Insert the hook through the front two loops of the first full dc stitch of the beg 2dc cluster (skipping the beg dc), yarn over hook, and make the slip stitch to join, as follows:
Ready to join the round, and the blue arrow shows where to insert the hook to prepare to slip stitch,

yarn over hook,

Make the slip stitch to join

beg 3tr cluster
Insert the hook through all 3 loops of the beg 3tr cluster stitch, yarn over hook, and slip stitch to join, as follows:
Ready to join the round,

Insert the hook through all 3 loops from the beg 3tr cluster stitch, and yarn over hook,

Slip stitch to join the round

beg popcorn
Insert hook through ch of beg dc on beg popcorn, yarn over hook, and slip stitch to join, as follows:
Ready to join the round,

Insert the hook through the chain of the beg dc,

Yarn over hook and slip stitch to join the round

Changing Color
To change color in the middle of a round, pull the new color yarn through during the final step of the stitch in progress, as shown in the photos below. I am showing examples below for sc, dc, and cluster.
single crochet


double crochet


cluster


Make Neater Tall Stitches
Tall stitches like dtr can look looser than shorter stitches like sc, resolve this by wrapping
yarn (‘yoh’ steps) around hook tightly and close to hook tip.
First let’s look at a dtr when the wraps are not close to the tip:


Note the large gap.

And now let’s see what happens when we bring the wraps tightly toward the tip of the hook:

The gap is gone! Much neater.

PLT Join
Use this method to join motifs as you go as folls: *remove hook from lp, insert hook from
front to back through corresponding st/sp of adjoining motif, place lp back on hook, pull
up lp to front of work (first PLT join complete), work st as indicated; rep from * to end.
Below, I demonstrate the PLT Join in general, not from the actual pattern, just so you can see what the joining maneuver is like.
—————————————
The PLT is just a simple maneuver to connect the motifs, so you can use it in many different ways, as you’ll see. I’m showing you the join with a certain granny square motif, but it’s just an example.
First, remove the loop from the hook. Then insert the hook through the exact corresponding stitch on the completed motif. So, since the stitch I’ve just worked on the motif in progress is the second DC of the corner, that’s the same stitch I put the hook through – reference the photo below.

Replace the working loop on the hook.

Pull Loop Through to the front of the completed motif.

Work the next stitch on the motif in progress – here it’s the next DC – notice you don’t work any chains or slip stitches. Just work the next stitch as normal.

Now, repeat the PLT maneuver – here in the next photo, I’m all ready to Pull Loop Through.

Keep repeating until you’re done with the stitches indicated in the pattern.

Hidden Stitches in the Corners
Be aware that when working stitches into a corner space, sometimes the next st will be “hidden” by the sts you have worked into the space. Be sure not to skip any of those sts when you continue down the side. In the example photo below, the potential hidden stitch is indicated with an arrow.

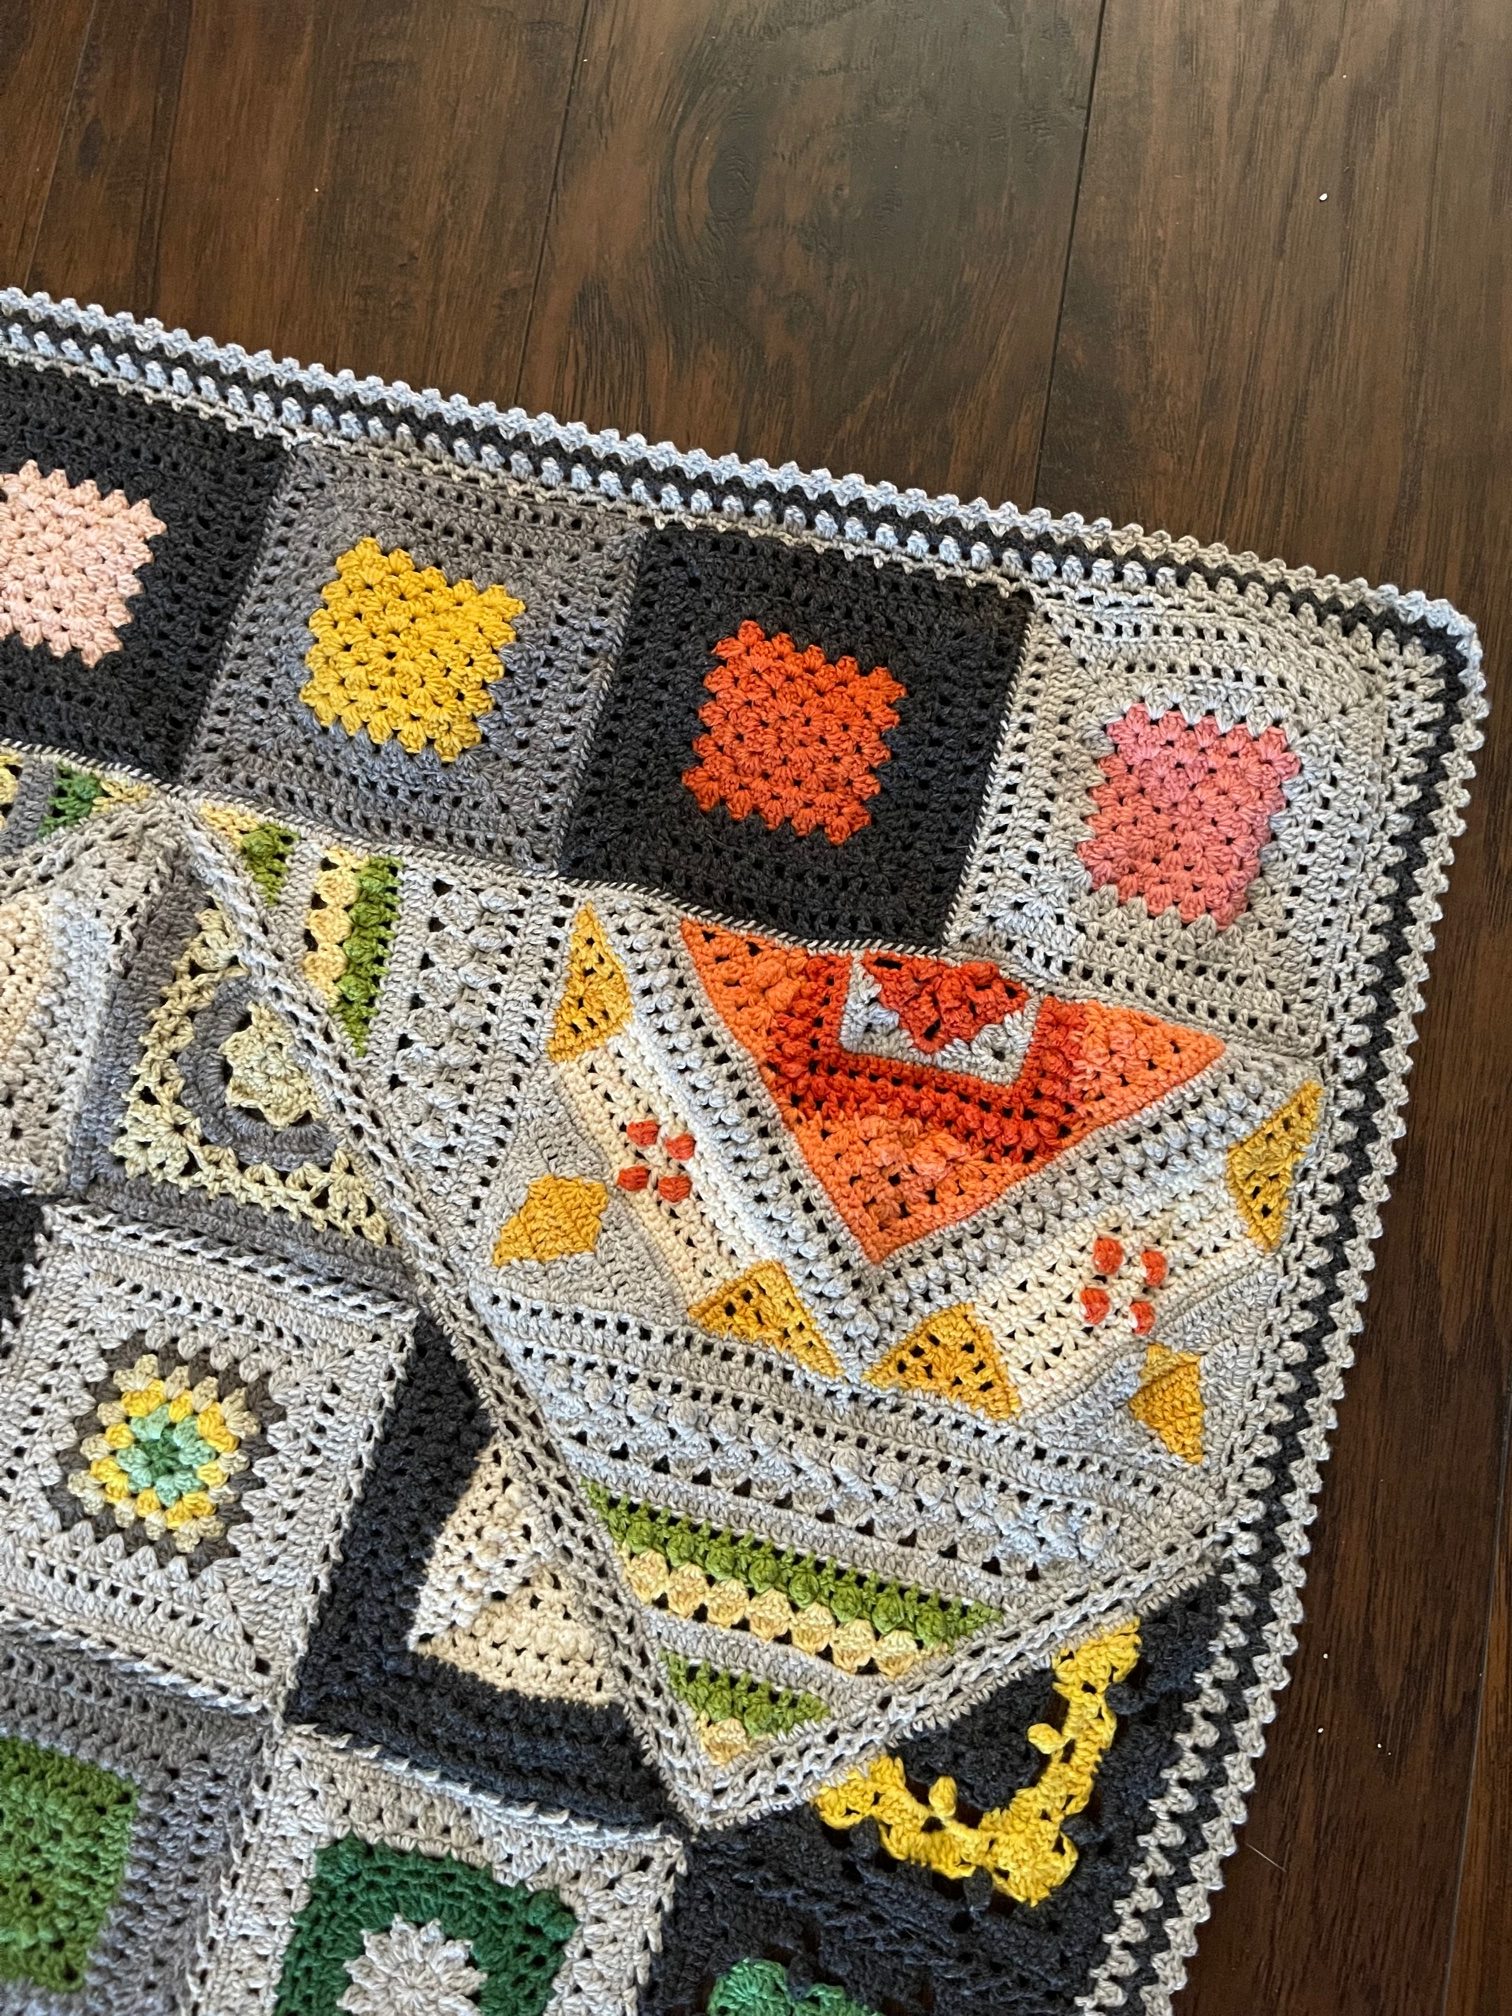
And that should be it for the Tips and Tricks! I am so excited to begin the Colour Lab CAL with you! I will be working on my own layout of the Scrumptious Kit for the duration of the CAL, and holding your hand through the entire process, and especially through the two largest mental hurdles that I have seen in the Facebook Groups: The color layout, and “all those ends”!! Don’t worry! We will work through that as each part is released.

Thank you for reading along with the Tips and Tricks, and I do hope they help you to see a little bit more of what is to come during the Colour Lab CAL.
Happy crafting!
Rachele C.
Support My Work
You’re supporting by just being here! You can read my blog (Start Here!), like and comment on socials, and message me for a chat. All of this supports my work free of charge!
- Affiliate links – Shopping through my links supports me at no additional cost to you as I get a small commission through my affiliates. Jimmy Beans Wool // WoolWarehouse // Amazon.com
- Buy my pattern book – I wrote a super neat crochet blanket pattern book, published under Penguin Random House. You can buy it here!
- Browse my self-published patterns – I have over a hundred patterns on Etsy and Ravelry
- Creative Art Blanket Course – Check it out on Teachable
Related Links
As these sites become live, I will hyperlink them.
- The Scheepjes website page for the CAL
- Official Scheepjes Tips and Tricks PDF
- Scheepjes International Facebook Group
- Scheepjes Dutch Facebook Group
- YouTube videos for the CAL (Videos are in UK Terms): Right-Handed // Left-Handed
- Ravelry Pattern Page
- Colour Lab CAL Blog Posts UK Terms: Main Page, Part 1, Part 2, Part 3, Part 4, Part 5, Part 6, Part 7 US/UK Terms, Part 8 US/UK Terms, Bonus Project
- Colour Lab CAL Blog Posts US Terms: Main Page, Part 1, Part 2, Part 3, Part 4, Part 5, Part 6, Part 7 US/UK Terms, Part 8 US/UK Terms, Bonus Project
- USA: Jimmy Beans Wool Metropolis Kit / Scrumptious Kit
- UK/Worldwide: WoolWarehouse Metropolis Kit / Scrumptious Kit