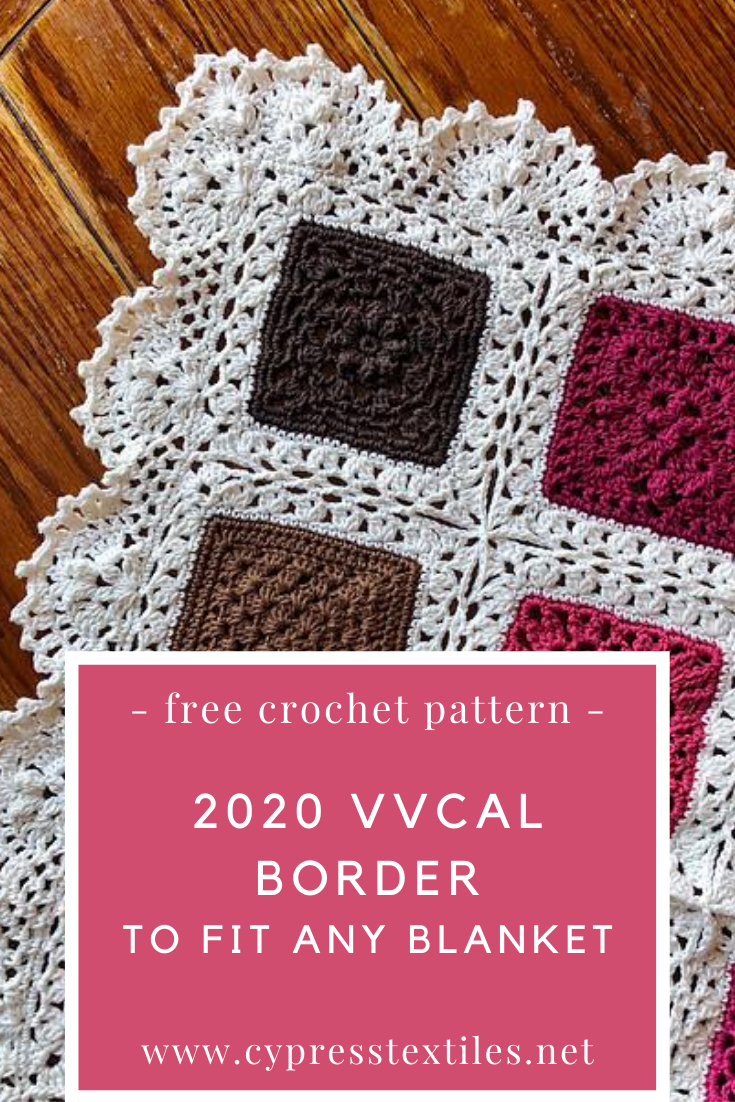
Hello, and a huge welcome to Week 19 of the 2020 Vibrant Vintage Crochet-A-Long (VVCAL)! This week we are working half of the border – the first 3 rounds. But I will share the entire border in this post. Many have already started on the border or even finished their blanket! There are a lot of gorgeous makes out there to look to for inspiration.
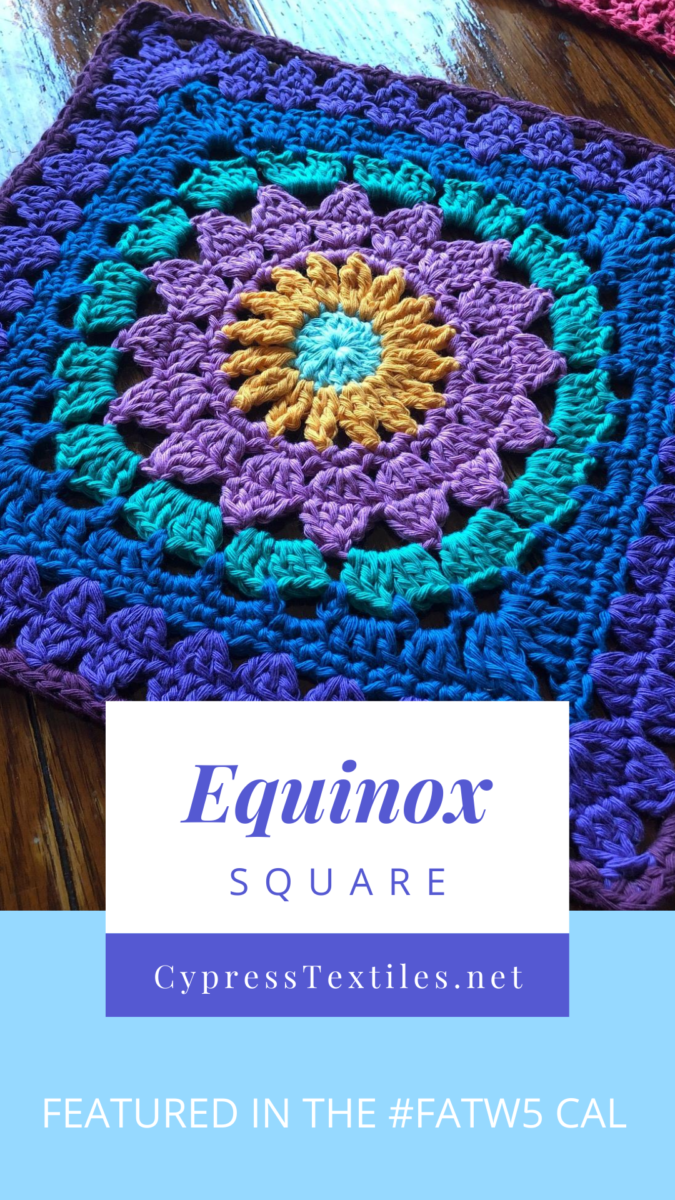
Side note: I have an awesome feature on the CAL – Crochet A Long website for anyone who would like to see my free crochet square pattern Equinox (Week 18 of the #FATW5 CAL)
Announcement
I have made a huge bundle of all of my VVCAL related patterns on Etsy and Ravelry:
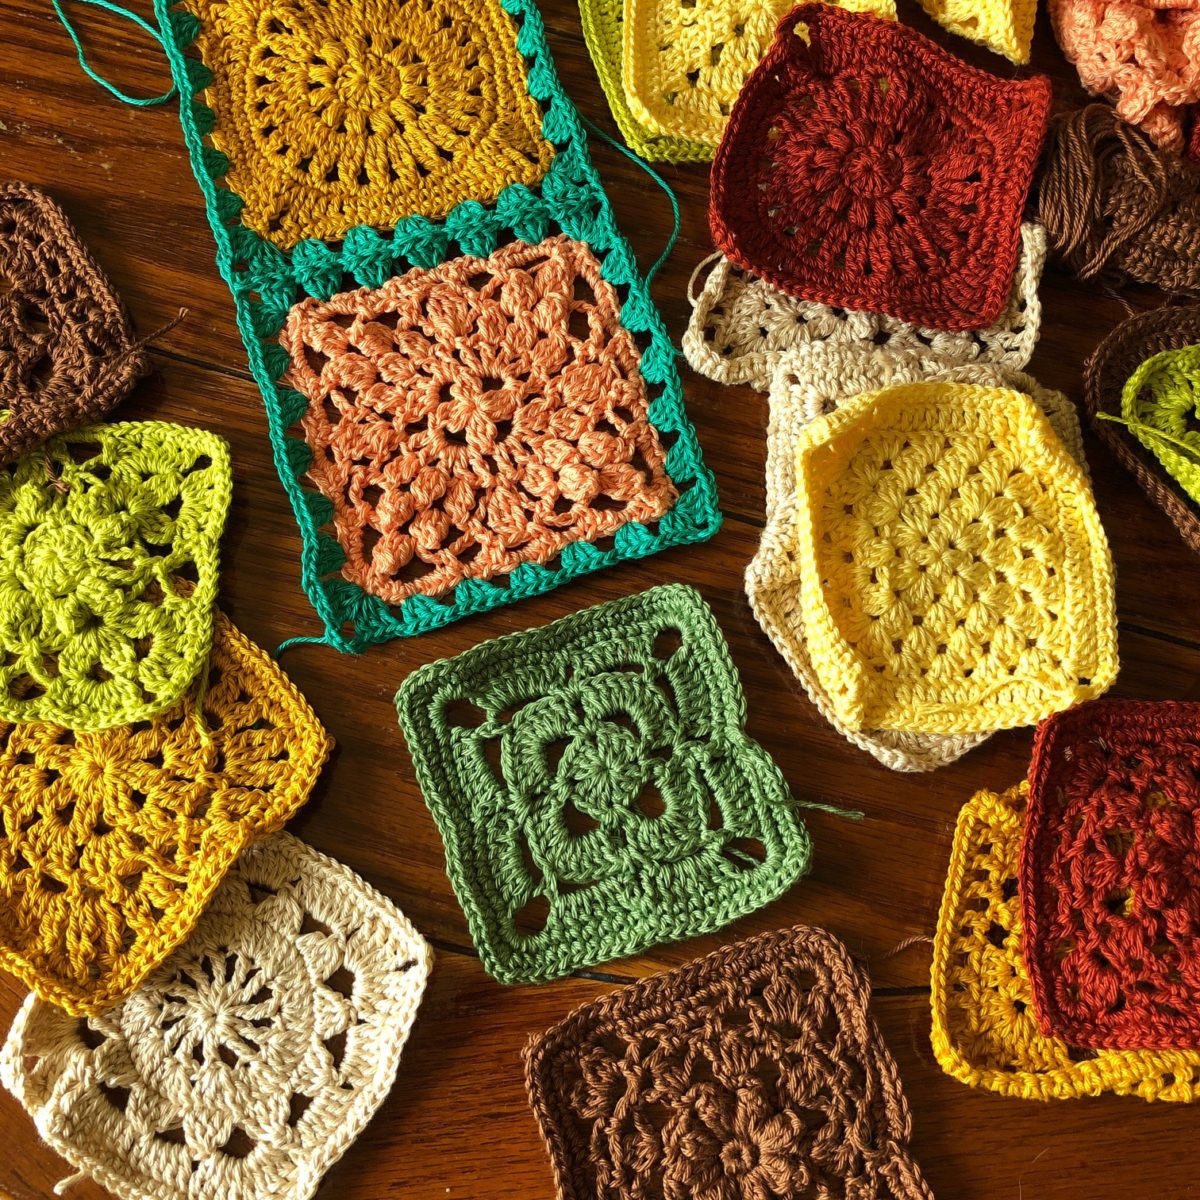
- 101 VVCAL squares, all with the same final stitch count – mix and match!
- 9 Joining methods – Celtic Lace Join, Original, Junior, Mini, and Mini II / Whip st join / SC JAYG and Continuous JAYG with PLT Join / Granny Stitch JAYG and Continuous JAYG
- 3 Lace Borders
The full 2020 VVCAL PDF pattern is up on Ravelry and Etsy! Includes entire pattern – squares, join, and border, and BOTH US and UK Terms PDFs are included. Yay!! The response has been overwhelming. I humbly thank you for your support.
What to Expect Today
- 2020 VVCAL Border pattern in US and UK Terms
- Instructions to fit this border on any blanket!
Colorways
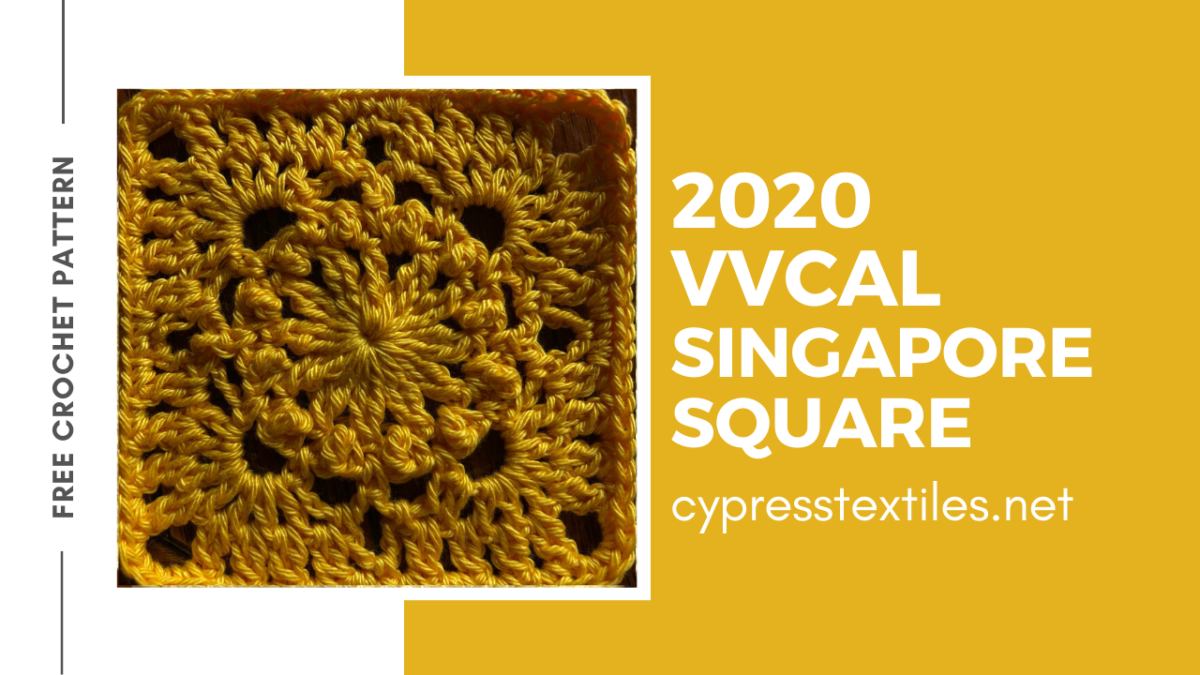
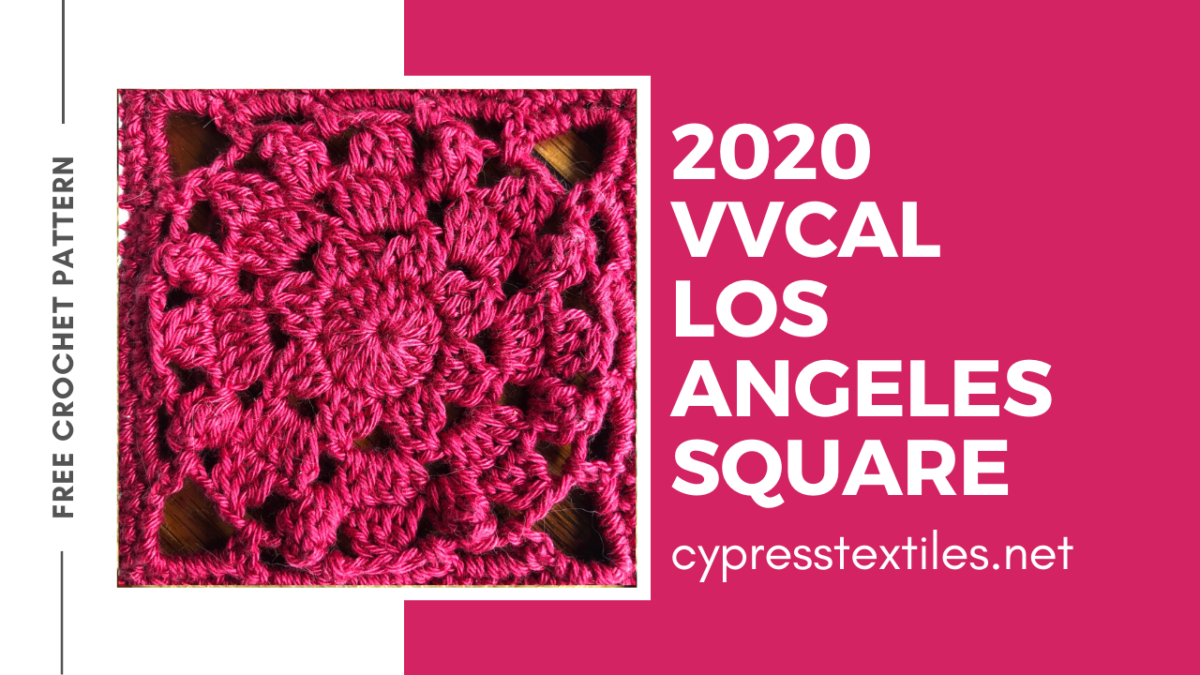
There are 4 versions with their own posts, all in Scheepjes Yarns:
- Catona 10g Colour Pack
- Catona “Shy Violet” Colorway
- Catona “Fresh Earth” Colorway
- Stone Washed and River Washed 10g Colour Pack

Social Media Hashtags: #VVCAL and #CypressTextiles
2020 VVCAL Quick Links
- 2020 VVCAL Main Information Page
- 2020 VVCAL Tips and Tricks Page
- 2020 VVCAL Ravelry ebook Motifs link back to their blog posts. Favorite the square, add it to your Ravelry queue, see others’ projects, and more!
- Vibrant Vintage CAL (Official) Facebook Group Post VVCAL WIP/FO pics, ask questions, post your FO pic of the old 2016 or 2018 VVCAL blanket.
- CypressTextiles Tree Huggers Facebook Group – This is my main FB group (join!). Share your VVCAL progress pics in this group if you like, and I will share CAL highlights here, but the weekly action will be in the other group linked above.
- YouTube Channel (Subscribe!) – Here I will be posting CAL pattern videos weekly for the duration of the CAL.
- 2016 VVCAL Info page and 2018 VVCAL Info page – Just in case you want to substitute some of those patterns in your blanket.

Measurements and Materials
- Measurements: Blanket will measure about 64x72in for all colorways/yarns
- Gauge: Squares measure 4.25in for Catona, 6in for Colour Crafter, 4.5in for Stone Washed/River Washed
- Notions: US Size 3mm hook for Catona, 4.25mm hook for Colour Crafter, 3mm for Stone Washed’/River Washed
- Yarn: Scheepjes Catona or Scheepjes Colour Crafter or Stone Washed/River Washed (See Main Info Page for quantity and colors)
Order Yarn for “Catona Colour Pack” Colorway
Find the Catona 10g Colour Pack at one of these shops.
Find the 14 balls of 50g Catona No. 105 at one of these shops.
Or you can head to the Scheepjes website to find a retailer near you!
Stitch Guide (US Terms)
Note: Scroll down for UK Terms.
- 2dccl (yo, insert hook in st, yo, pull up lp, yo, draw yarn through 2 lps) 2 times, yo, draw yarn through 3 lps
- 4dc-pcorn 4dc in st/sp indicated, remove lp from hook, insert hook in first dc, grab lp, pull lp through to close popcorn
- 2trcl * yoh 2 times, insert hook in st, yoh, pull up lp, (yoh, draw yarn through 2 lps) 2 times, rep from * 1 time, yoh, draw yarn through 3 lps
- beg beginning
- beg 2trcl (beg tr, tr) in st/sp – Counts as 1 2trcl
- beg 4dc-pcorn (beg dc, 3dc) in st/sp indicated, remove lp from hook, insert hook in beg dc, grab lp, pull lp through to close popcorn – Counts as 1 4dc-pcorn
- beg dc (sc, ch1) – counts as 1 dc
- chN chain N number of times
- dc double crochet
- lp loop
- MR make ring: slip knot, ch3, ss in third ch from hook
- picot ch3, sc in top side bars of previous st
- rep repeat
- rnd round
- sc single crochet
- sk skip
- sp space (chain space)
- ss slip stitch
- st stitch
- tr treble crochet
- yoh yarn over hook
Chart

Written Instructions & Step-by-step Photos (US Terms)
Find instructions to fit this border to any blanket right after instruction for Round .
Rnd 1 Join border color with ss in top right corner sp of blanket, (3sc in corner sp, sc 239 evenly across short side of blanket as follows: 3sc in every ch-sp skipping the sc sts, and where two square corners are joined, place 1 sc in each corner space, and put 1 sc in each dc, adding or subtracting the few sts it will take to get the correct st count – 3sc in corner sp, work 329 sc evenly across side as for short side) 2 times, ss in first sc. [1148 sc]
Note: Instructions to Fit This Border to Any Blanket
In order to add this border to any blanket, revise stitch count of Rnd 1 of the border as follows:
When counting from corner st to corner st of the blanket side, including both corner sts in this count: make a multiple of 18sc plus 9.
For example, 18 x 12 + 9 = 225, so 225 is a possible stitch count for a side of the blanket, counting from corner st to corner st, including both corners in the count. 18 x 15 + 9 = 279, so 279 would work for a side.
In this way, you can make Round 1 of the border, and then the other 4 rnds will fit perfectly.
Photo breakdown for Rnd 1
Beginning of Round 1:

End of Round 1:

Rnd 2 ** 3sc in corner st, * sc, sk2, 2trcl in next st, (ch2, 2trcl in same st) 3 times, sk2, sc in next 2 sts, (ch2, sk1, sc) 5 times, rep from * across until 8 sc remain of side, sc, sk2, 2trcl in next st, (ch2, 2trcl in same st) 3 times, sk2, sc, rep from ** 3 times, ss in first sc.
Photo breakdown for Round 2
Beginning of Round 2:


How the side repeat of Round 2 looks:


Approaching corner of Round 2 – work until 8 sc remain:


Start corner of Round 2:


End of Round 2:


Note before you start Round 3: If you have used the Catona 10g Colour Pack, you have an option to make Round 3 using the remnants from the squares – Simply work the round using remnants that are similar in color family to the squares on the outer edge of the blanket. The color doesn’t have to be exact, just in the same color family. It’s better if the color placement is slightly off as you aren’t looking for perfection here.
Change color by dropping and cutting the old color and drawing the new color through on the final step of the last st in the old color. For example: if the last st of your old color is a 2trcl, when you are about to draw the yarn through 3 loops on the hook to close the cluster, cut the old yarn and drop it, grab the new color and draw it through instead. Then continue on with the border until that color is finished or until you want to change colors again.


Rnd 3 ** 3sc in corner st, * 4tr in ch-2 sp, ch2, (4dc-pcorn, ch2, 4dc-pcorn) in next sp, ch2, 4tr in next sp, sc in next sp, (ch2, sc in next sp) 4 times, rep from * until 4 2trcl remain on side, 4tr in ch-2 sp, ch2, (4dc-pcorn, ch2, 4dc-pcorn) in next sp, ch2, 4tr in next sp, rep from ** 3 times, ss in first sc.
Photo breakdown of Round 3
Beginning of Round 3:


How the side repeat of Round 3 looks:

Approaching the corner of Round 3 – work until 4 2trcl remain:


End of Round 3:


Rnd 4 Beg 4dc-pcorn in corner st, ** ch2, 4dc-pcorn in same st, sk 1 tr, * (dc in next tr, ch1) 2 times, dc in next tr, sk 1 sp, 2dccl in next sp, (ch2, 2dccl in same sp) 2 times, dc in next tr, (ch1, dc in next tr) 3 times, sc in next sp, (ch2, sc in next sp) 3 times, dc in next tr, ch1, rep from * across until start of final “shell” of side, (dc in next tr, ch1) 2 times, dc in next tr, sk 1 sp, 2dccl in next sp, (ch2, 2dccl in same sp) 2 times, dc in next tr, (ch1, dc in next tr) 2 times, 4dc-pcorn in corner st, rep from ** 3 times omitting final 4dc-pcorn, ss in beg 4dc-pcorn.
Photo breakdown of Round 4
Beginning of Round 4:


How the beginning corner and side repeat look for Round 4:

Approaching the corner on Round 4:


End of Round 4:

Rnd 5 Beg 2trcl in corner sp, ** (ch3, sc in third st from hook – Picot made, 2trcl in same sp) 3 times, sk 1 dc, * 2dccl in next dc, Picot, 2dccl in next dc, 4sc in ch-2 sp, Picot, 4sc in next ch-2 sp, 2dccl in next dc, (Picot, 2dccl in next dc) 3 times, sc in ch-2 sp, (sc, Picot, sc) in next sp, sc in next sp, (2dccl in next dc, Picot) 2 times, rep from * across side until start of final “shell” is reached, 2dccl in next dc, Picot, 2dccl in next dc, 4sc in ch-2 sp, Picot, 4sc in next ch-2 sp, 2dccl in next dc, Picot, 2dccl in next dc, 2trcl in corner sp, rep from ** 3 times omitting final 2trcl, ss in beg 2trcl, cut yarn and weave ends.
Photo breakdown for Round 5
Beginning of Round 5:


How the side repeat of Round 5 looks:

Corner of Round 5:


End of Round 5:


Instructions to Fit This Border to Any Blanket
In order to add this border to any blanket, revise stitch count of Rnd 1 of the border as follows:
When counting from corner st to corner st of the blanket side, including both corner sts in this count: make a multiple of 18sc plus 9.
For example, 18 x 12 + 9 = 225, so 225 is a possible stitch count for a side of the blanket, counting from corner st to corner st, including both corners in the count. 18 x 15 + 9 = 279, so 279 would work for a side.
In this way, you can make Round 1 of the border, and then the other 4 rnds will fit perfectly.
Stitch Guide (UK Terms)
Note: Scroll up for US Terms.
- 2dtrcl * yoh 2 times, insert hook in st, yoh, pull up lp, (yoh, draw yarn through 2 lps) 2 times, rep from * 1 time, yoh, draw yarn through 3 lps
- 2trcl (yo, insert hook in st, yo, pull up lp, yo, draw yarn through 2 lps) 2 times, yo, draw yarn through 3 lps
- 4tr-pcorn 4tr in st/sp indicated, remove lp from hook, insert hook in first dc, grab lp, pull lp through to close popcorn
- beg beginning
- beg 2dtrcl (beg dtr, dtr) in st/sp – Counts as 1 2dtrcl
- beg 4tr-pcorn (beg tr, 3tr) in st/sp indicated, remove lp from hook, insert hook in beg tr, grab lp, pull lp through to close popcorn – Counts as 1 4tr-pcorn
- beg tr (dc, ch1) – counts as 1 tr
- chN chain N number of times
- dc double crochet
- dtr double treble crochet
- lp loop
- MR make ring: slip knot, ch3, ss in third ch from hook
- picot ch3, dc in top side bars of previous st
- rep repeat
- rnd round
- sp space (chain space)
- ss slip stitch
- st stitch
- tr treble crochet
- yoh yarn over hook
Chart
Written Instructions & Step-by-step Photos (UK Terms)
Find instructions to fit this border to any blanket right after instruction for Round .
Rnd 1 Join border color with ss in top right corner sp of blanket, (3dc in corner sp, dc 239 evenly across short side of blanket as follows: 3dc in every ch-sp skipping the dc sts, and where two square corners are joined, place 1 dc in each corner space, and put 1 dc in each tr, adding or subtracting the few sts it will take to get the correct st count – 3dc in corner sp, work 329 dc evenly across side as for short side) 2 times, ss in first dc. [1148 dc]
Instructions to Fit This Border to Any Blanket
In order to add this border to any blanket, revise stitch count of Rnd 1 of the border as follows:
When counting from corner st to corner st of the blanket side, including both corner sts in this count: make a multiple of 18dc plus 9.
For example, 18 x 12 + 9 = 225, so 225 is a possible stitch count for a side of the blanket, counting from corner st to corner st, including both corners in the count. 18 x 15 + 9 = 279, so 279dc would work for a side.
In this way, you can make Round 1 of the border, and then the other 4 rnds will fit perfectly.
Photo breakdown for Rnd 1
Beginning of Round 1:
End of Round 1:
Rnd 2 ** 3dc in corner st, * dc, sk2, 2dtrcl in next st, (ch2, 2dtrcl in same st) 3 times, sk2, dc in next 2 sts, (ch2, sk1, dc) 5 times, rep from * across until 8 dc remain of side, dc, sk2, 2dtrcl in next st, (ch2, 2dtrcl in same st) 3 times, sk2, dc, rep from ** 3 times, ss in first dc.
Photo breakdown for Round 2
Beginning of Round 2:
How the side repeat of Round 2 looks:
Approaching corner of Round 2 – work until 8 sc remain:
Start corner of Round 2:
End of Round 2:
Note before you start Round 3: If you have used the Catona 10g Colour Pack, you have an option to make Round 3 using the remnants from the squares – Simply work the round using remnants that are similar in color family to the squares on the outer edge of the blanket. The color doesn’t have to be exact, just in the same color family. It’s better if the color placement is slightly off as you aren’t looking for perfection here.
Change color by dropping and cutting the old color and drawing the new color through on the final step of the last st in the old color. For example: if the last st of your old color is a 2trcl, when you are about to draw the yarn through 3 loops on the hook to close the cluster, cut the old yarn and drop it, grab the new color and draw it through instead. Then continue on with the border until that color is finished or until you want to change colors again.
Rnd 3 ** 3dc in corner st, * 4dtr in ch-2 sp, ch2, (4tr-pcorn, ch2, 4tr-pcorn) in next sp, ch2, 4dtr in next sp, dc in next sp, (ch2, dc in next sp) 4 times, rep from * until 4 2dtrcl remain on side, 4dtr in ch-2 sp, ch2, (4tr-pcorn, ch2, 4tr-pcorn) in next sp, ch2, 4dtr in next sp, rep from ** 3 times, ss in first dc.
Photo breakdown of Round 3
Beginning of Round 3:
How the side repeat of Round 3 looks:
Approaching the corner of Round 3 – work until 4 2trcl remain:
End of Round 3:
Rnd 4 Beg 4tr-pcorn in corner st, ** ch2, 4tr-pcorn in same st, sk 1 dtr, * (tr in next dtr, ch1) 2 times, tr in next dtr, sk 1 sp, 2trcl in next sp, (ch2, 2trcl in same sp) 2 times, tr in next dtr, (ch1, tr in next dtr) 3 times, dc in next sp, (ch2, dc in next sp) 3 times, tr in next dtr, ch1, rep from * across until start of final “shell” of side, (tr in next dtr, ch1) 2 times, tr in next dtr, sk 1 sp, 2trcl in next sp, (ch2, 2trcl in same sp) 2 times, tr in next dtr, (ch1, tr in next dtr) 2 times, 4tr-pcorn in corner st, rep from ** 3 times omitting final 4tr-pcorn, ss in beg 4tr-pcorn.
Photo breakdown of Round 4
Beginning of Round 4:
How the beginning corner and side repeat look for Round 4:
Approaching the corner on Round 4:
End of Round 4:
Rnd 5 Beg 2dtrcl in corner sp, ** (ch3, dc in third st from hook – Picot made, 2dtrcl in same sp) 3 times, sk 1 tr, * 2trcl in next tr, Picot, 2trcl in next tr, 4dc in ch-2 sp, Picot, 4dc in next ch-2 sp, 2trcl in next tr, (Picot, 2trcl in next tr) 3 times, dc in ch-2 sp, (dc, Picot, dc) in next sp, dc in next sp, (2trcl in next tr, Picot) 2 times, rep from * across side until start of final “shell” is reached, 2trcl in next tr, Picot, 2trcl in next tr, 4dc in ch-2 sp, Picot, 4dc in next ch-2 sp, 2trcl in next tr, Picot, 2trcl in next tr, 2dtrcl in corner sp, rep from ** 3 times omitting final 2dtrcl, ss in beg 2dtrcl, cut yarn and weave ends.
Photo breakdown for Round 5
Beginning of Round 5:
How the side repeat of Round 5 looks:
Corner of Round 5:
End of Round 5:
Instructions to Fit This Border to Any Blanket
In order to add this border to any blanket, revise stitch count of Rnd 1 of the border as follows:
When counting from corner st to corner st of the blanket side, including both corner sts in this count: make a multiple of 18dc plus 9.
For example, 18 x 12 + 9 = 225, so 225 is a possible stitch count for a side of the blanket, counting from corner st to corner st, including both corners in the count. 18 x 15 + 9 = 279, so 279dc would work for a side.
In this way, you can make Round 1 of the border, and then the other 4 rnds will fit perfectly.

Thank you so much for stopping in for Week 19 of the 2020 VVCAL!
Happy Crafting,
Rachele C. – The Art of Crochet Blankets
2020 VVCAL Quick Links
- 2020 VVCAL Main Information Page
- 2020 VVCAL Tips and Tricks Page
- 2020 VVCAL Ravelry ebook – motifs link back to their blog posts. Favorite the square, add it to your Ravelry queue, see others’ projects, and more!
- Vibrant Vintage CAL (Official) Facebook Group Post VVCAL WIP/FO pics, ask questions, post your FO pic of the old 2016 or 2018 VVCAL blanket.
- CypressTextiles Tree Huggers Facebook Group – This is my main FB group (join!). Share your VVCAL progress pics in this group if you like, and I will share CAL highlights here, but the weekly action will be in the other group linked above.
- YouTube Channel (Subscribe!) – Here I will be posting CAL pattern videos weekly for the duration of the CAL.
- 2016 VVCAL Info page and 2018 VVCAL Info page – Just in case you want to substitute some of those patterns in your blanket.