Quick Links to Each Week: 1/2/3/4/5/6/7/8/9/10/11/12/13/14/15/16/17/18/19/20
PDF Version
2026 VVCAL PDF COMING SOON! – My Online Shop // Etsy // Ravelry
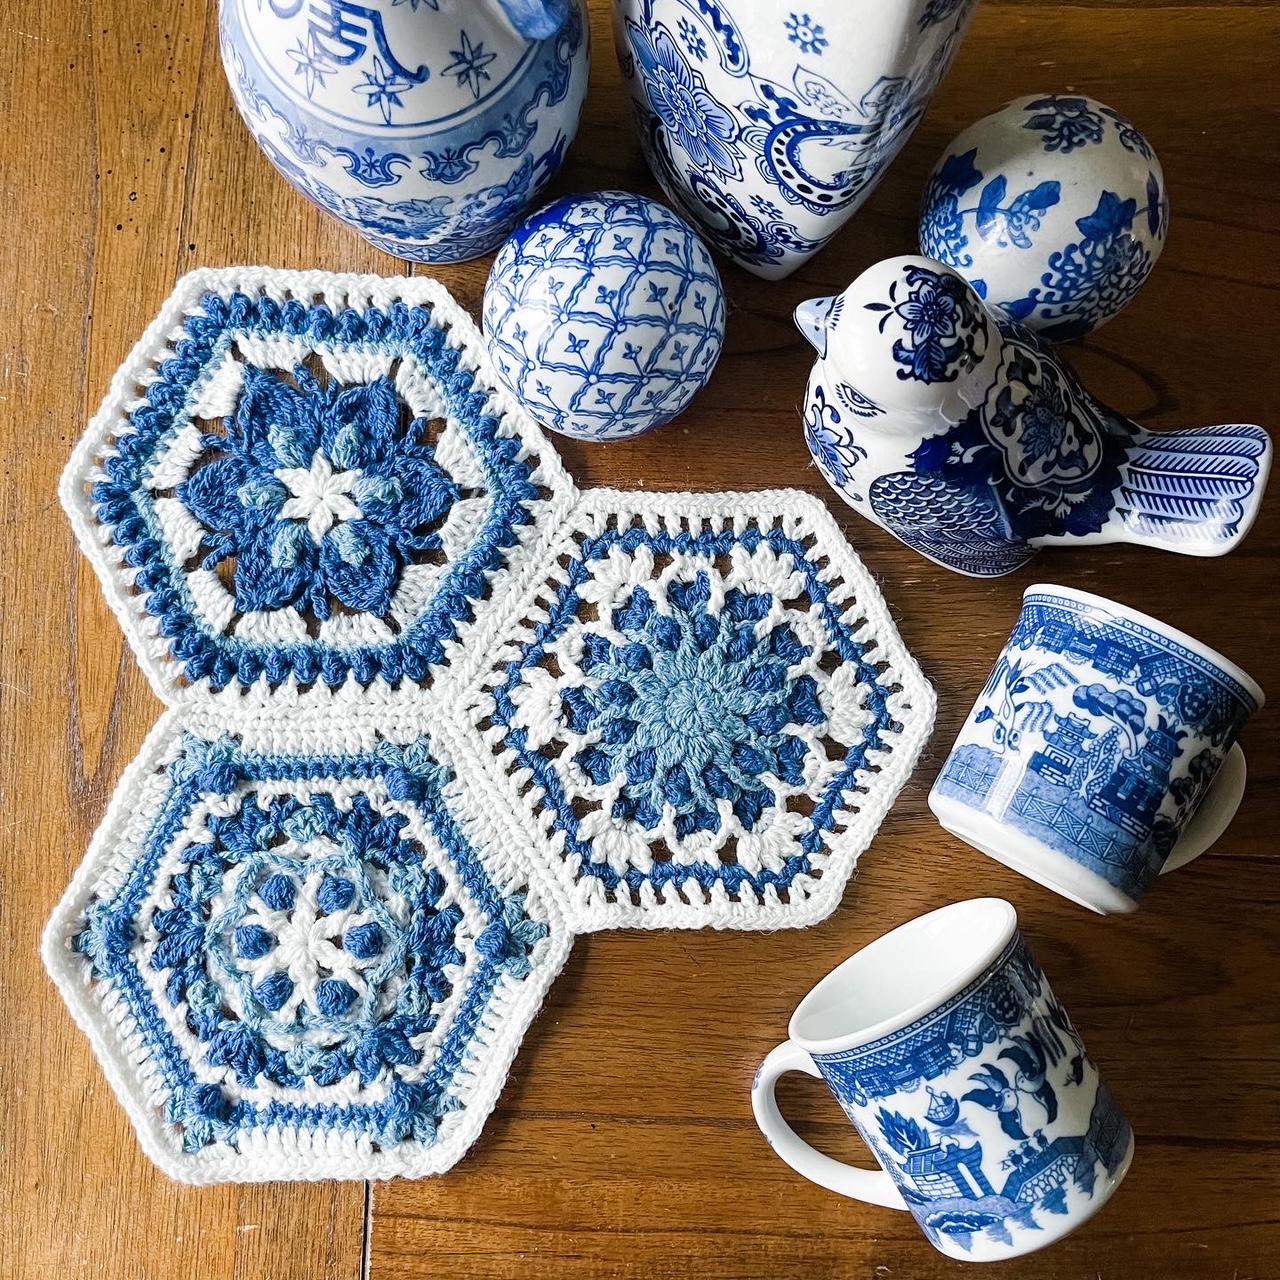
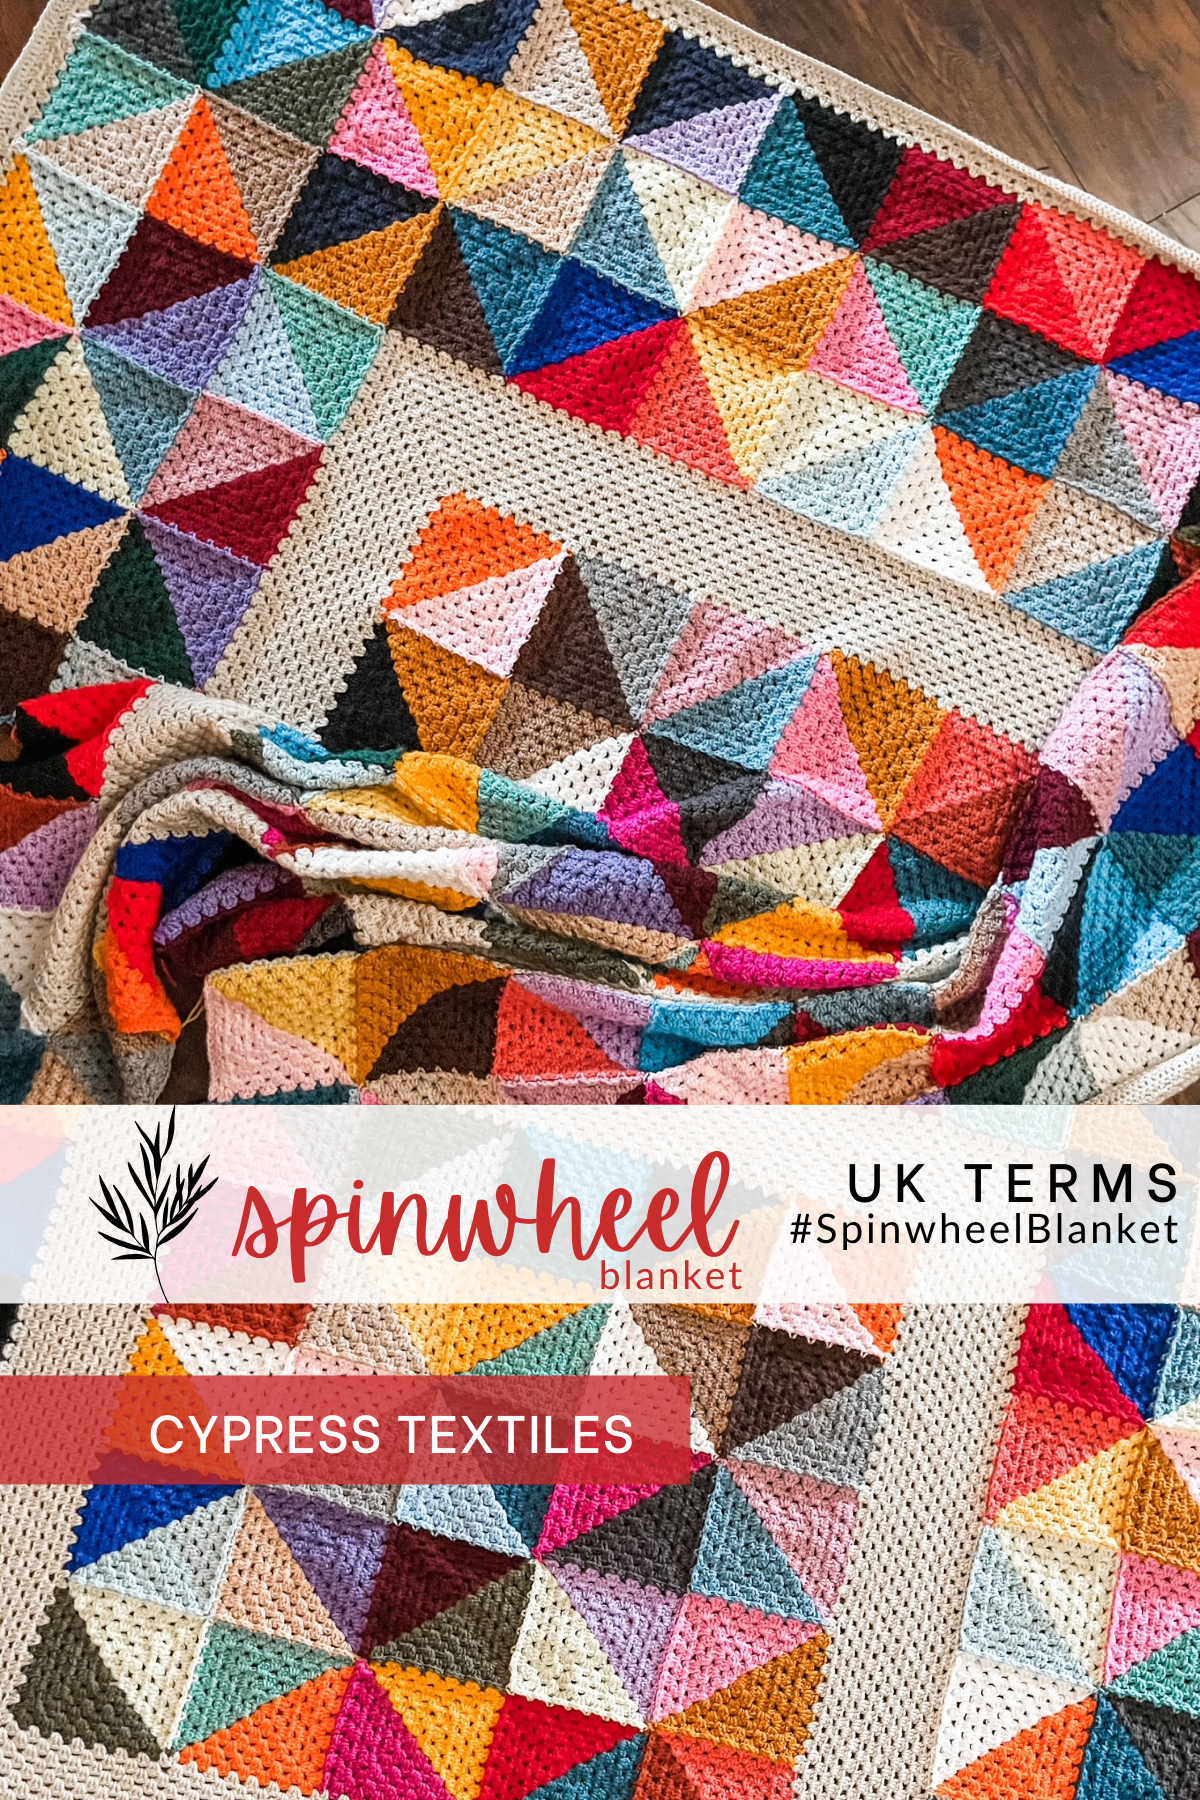
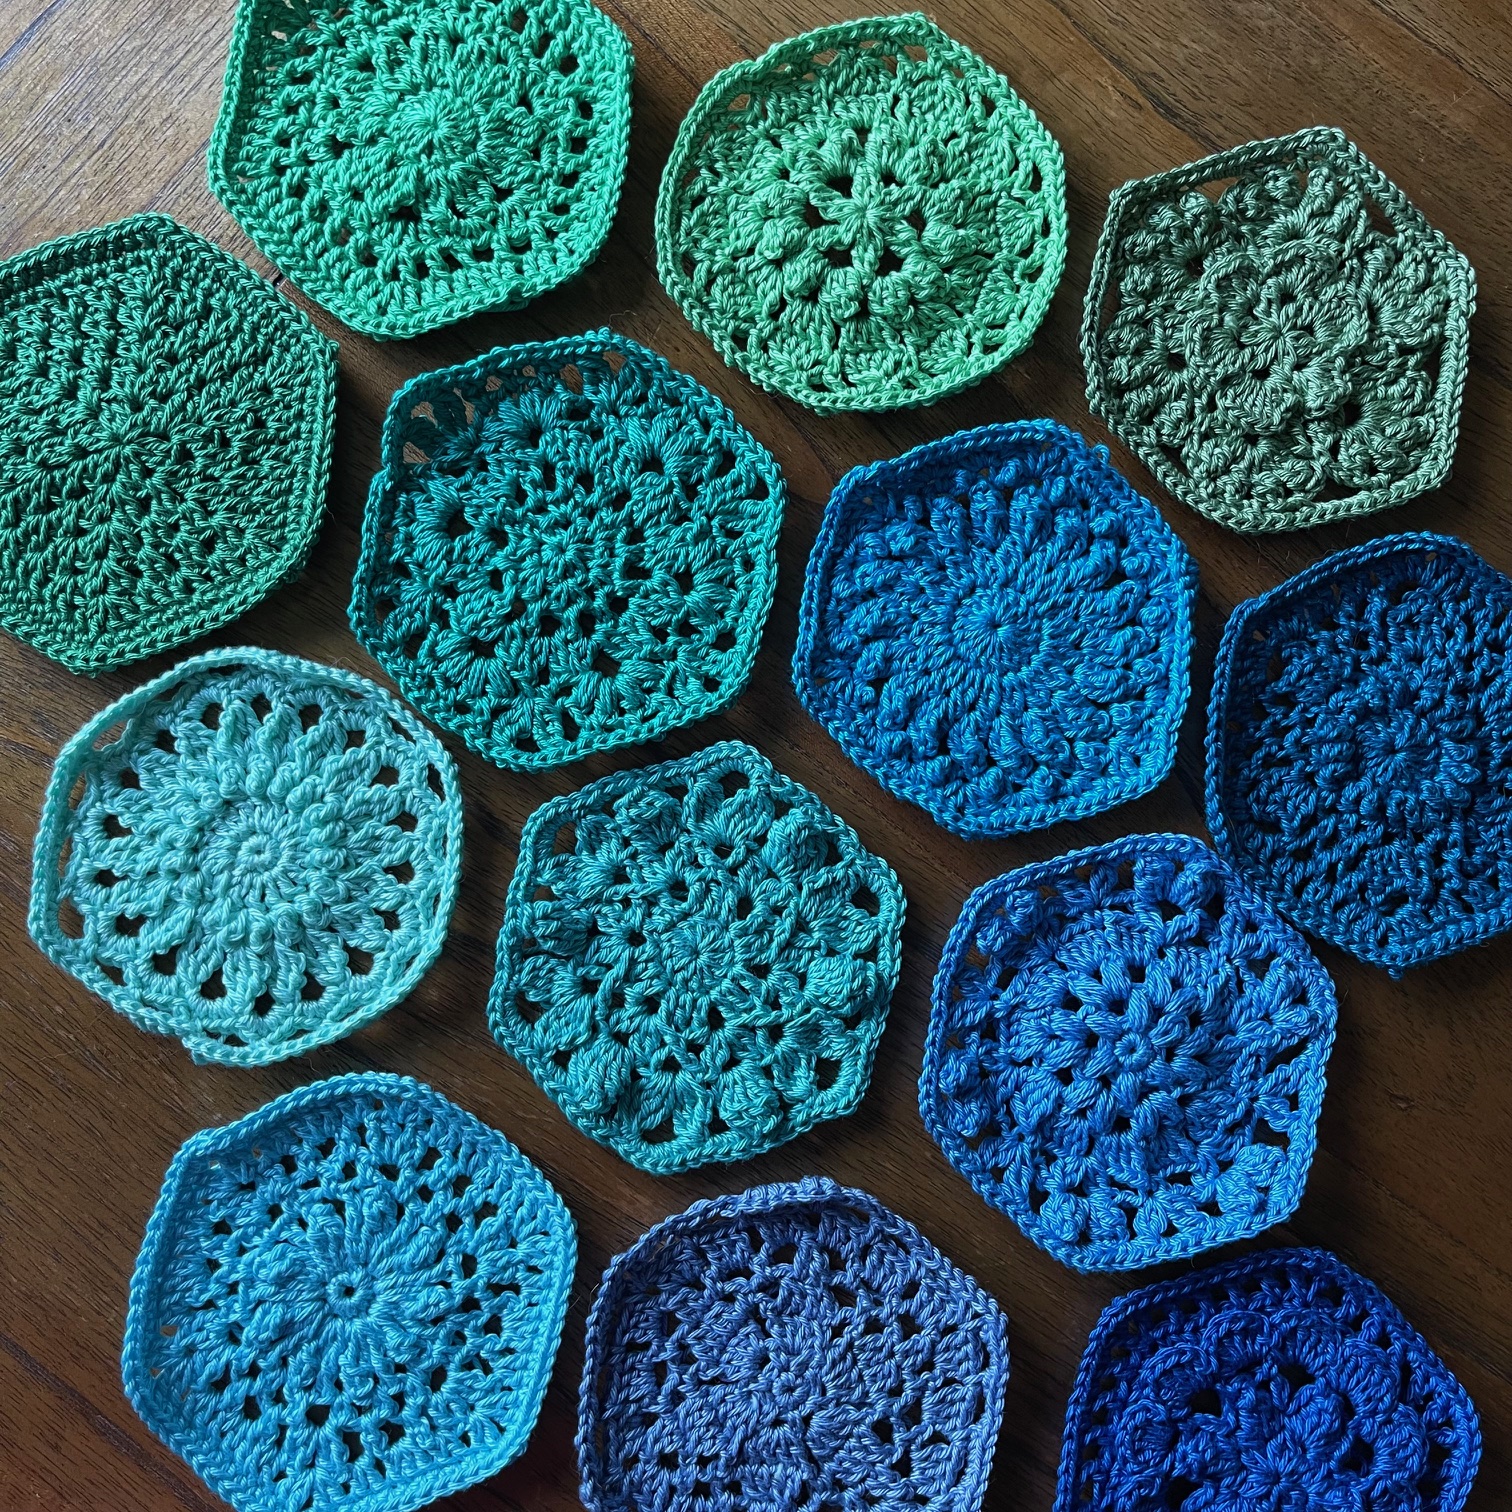
- 36 hexies to mix and match
- 3 Joining methods
- Wide Lace Border
- US and UK Terms included
Of course I have also created a value bundle for you COMING SOON! – 2022, 2024, and 2026 VVCALs US and UK Terms (5 PDFs) – Available on Etsy and Ravelry.

Introduction
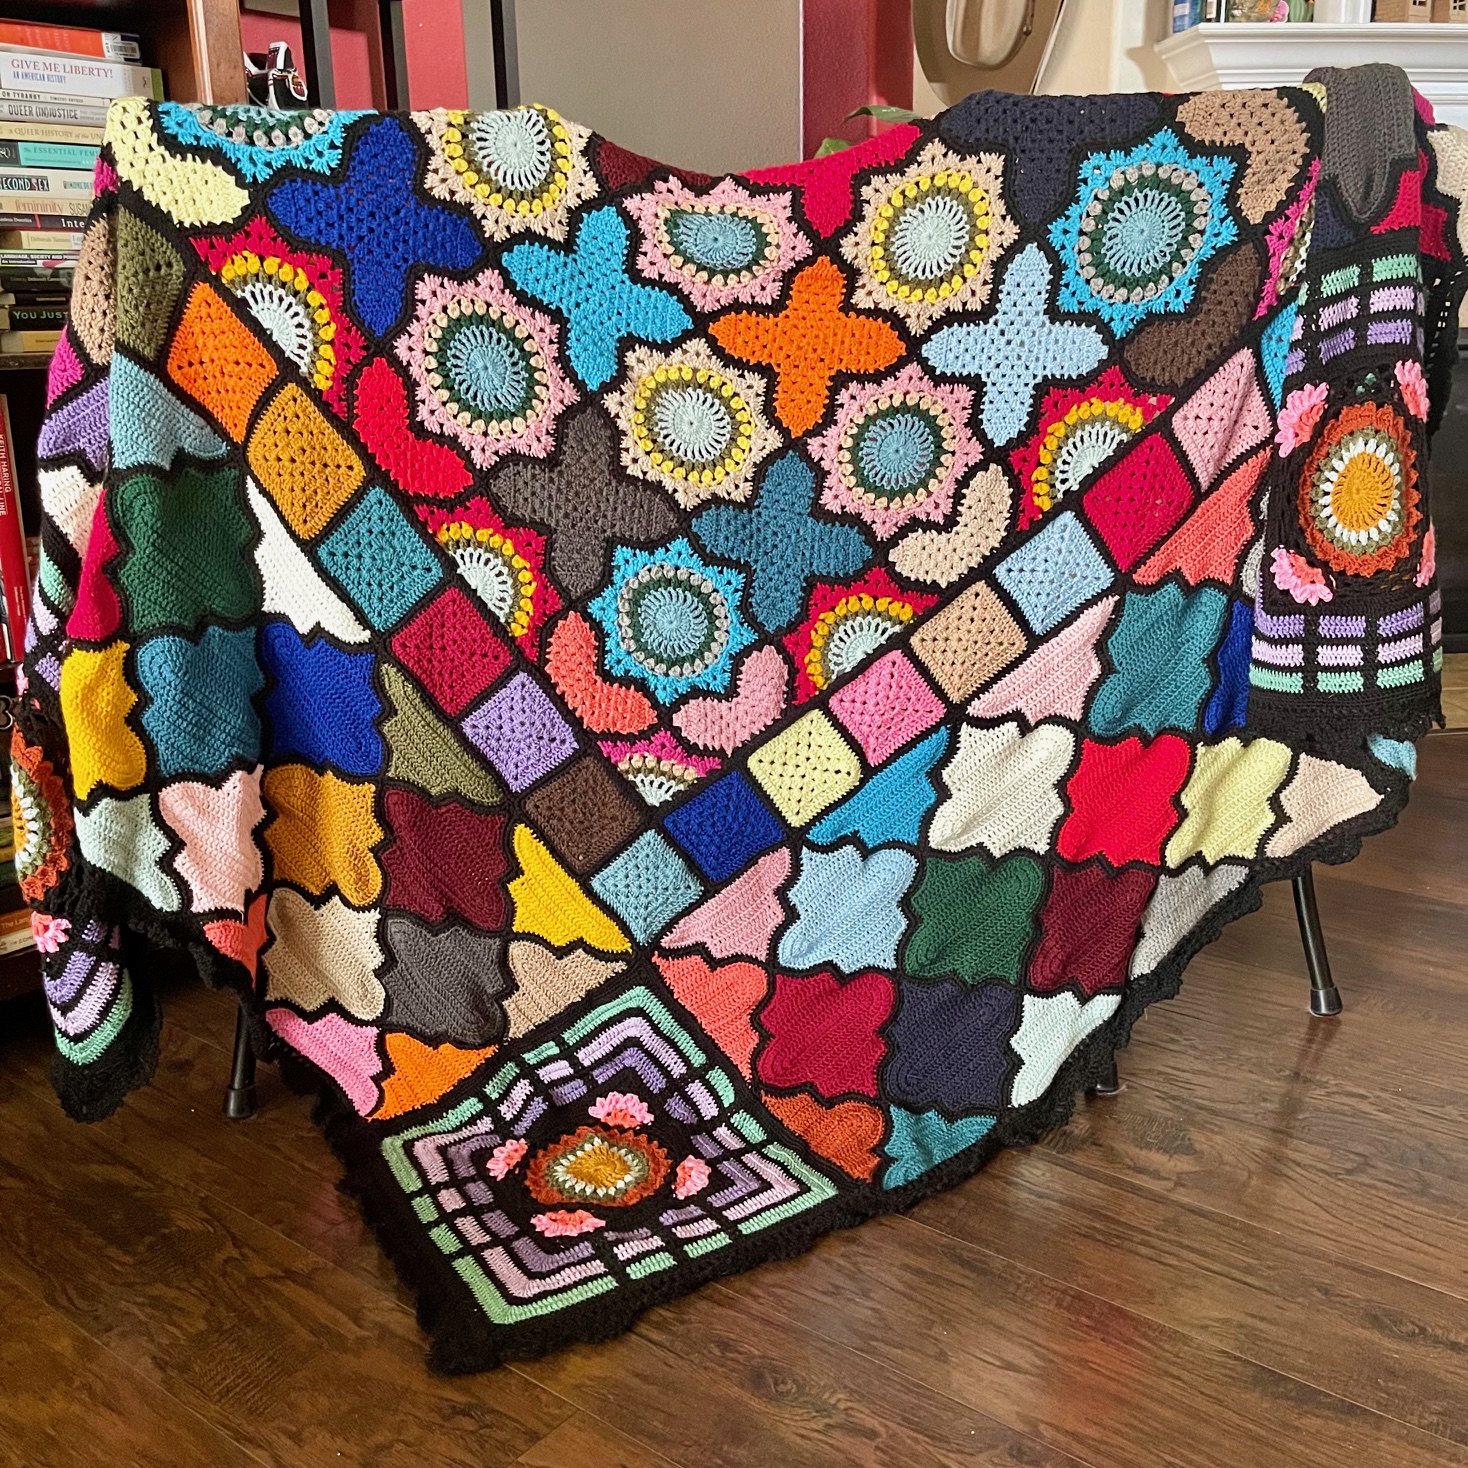
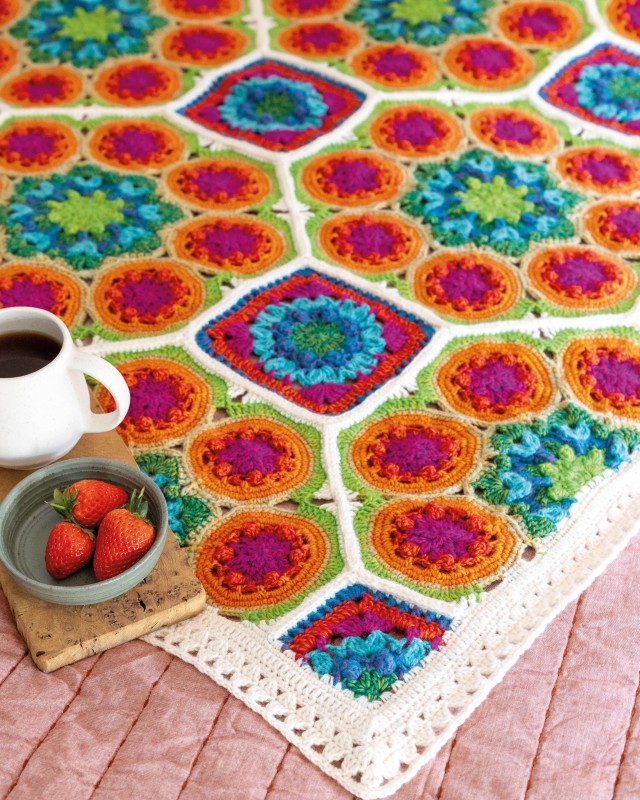
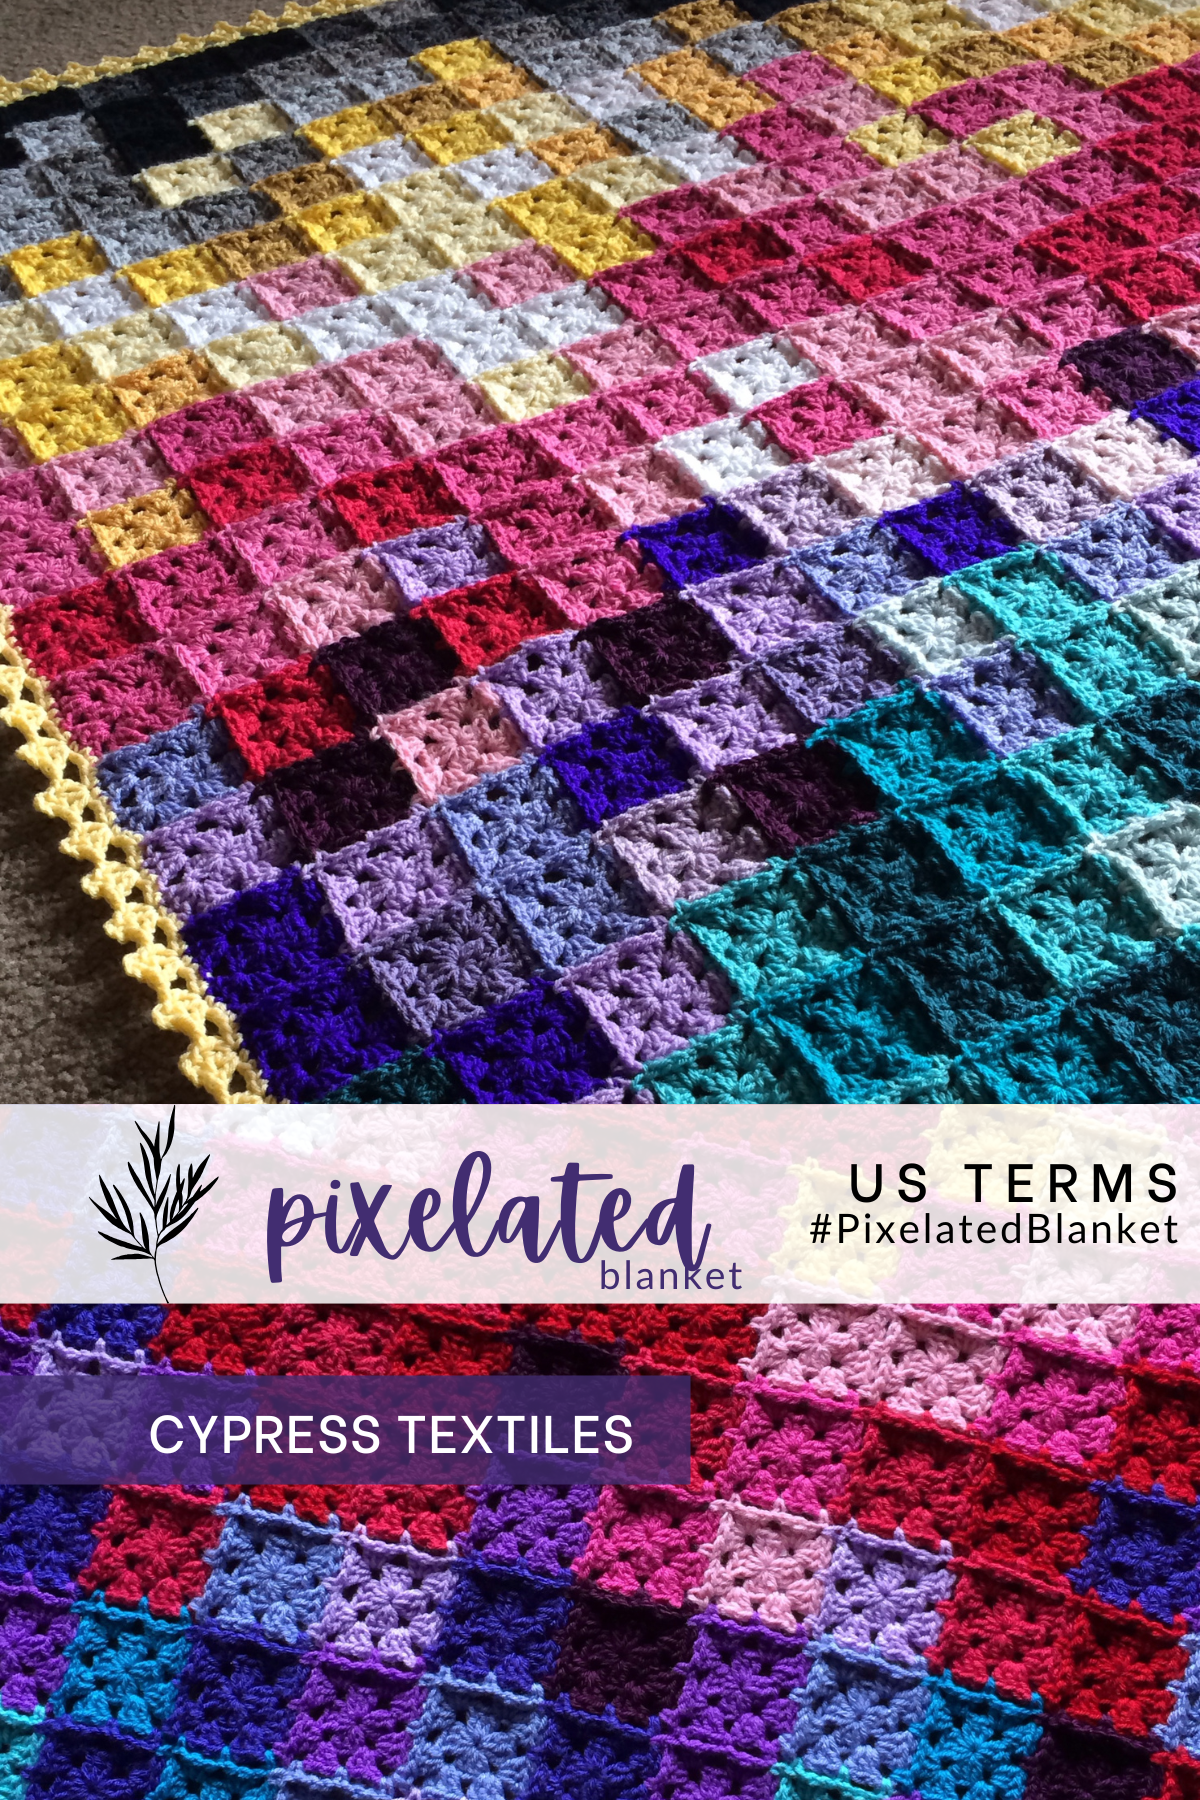
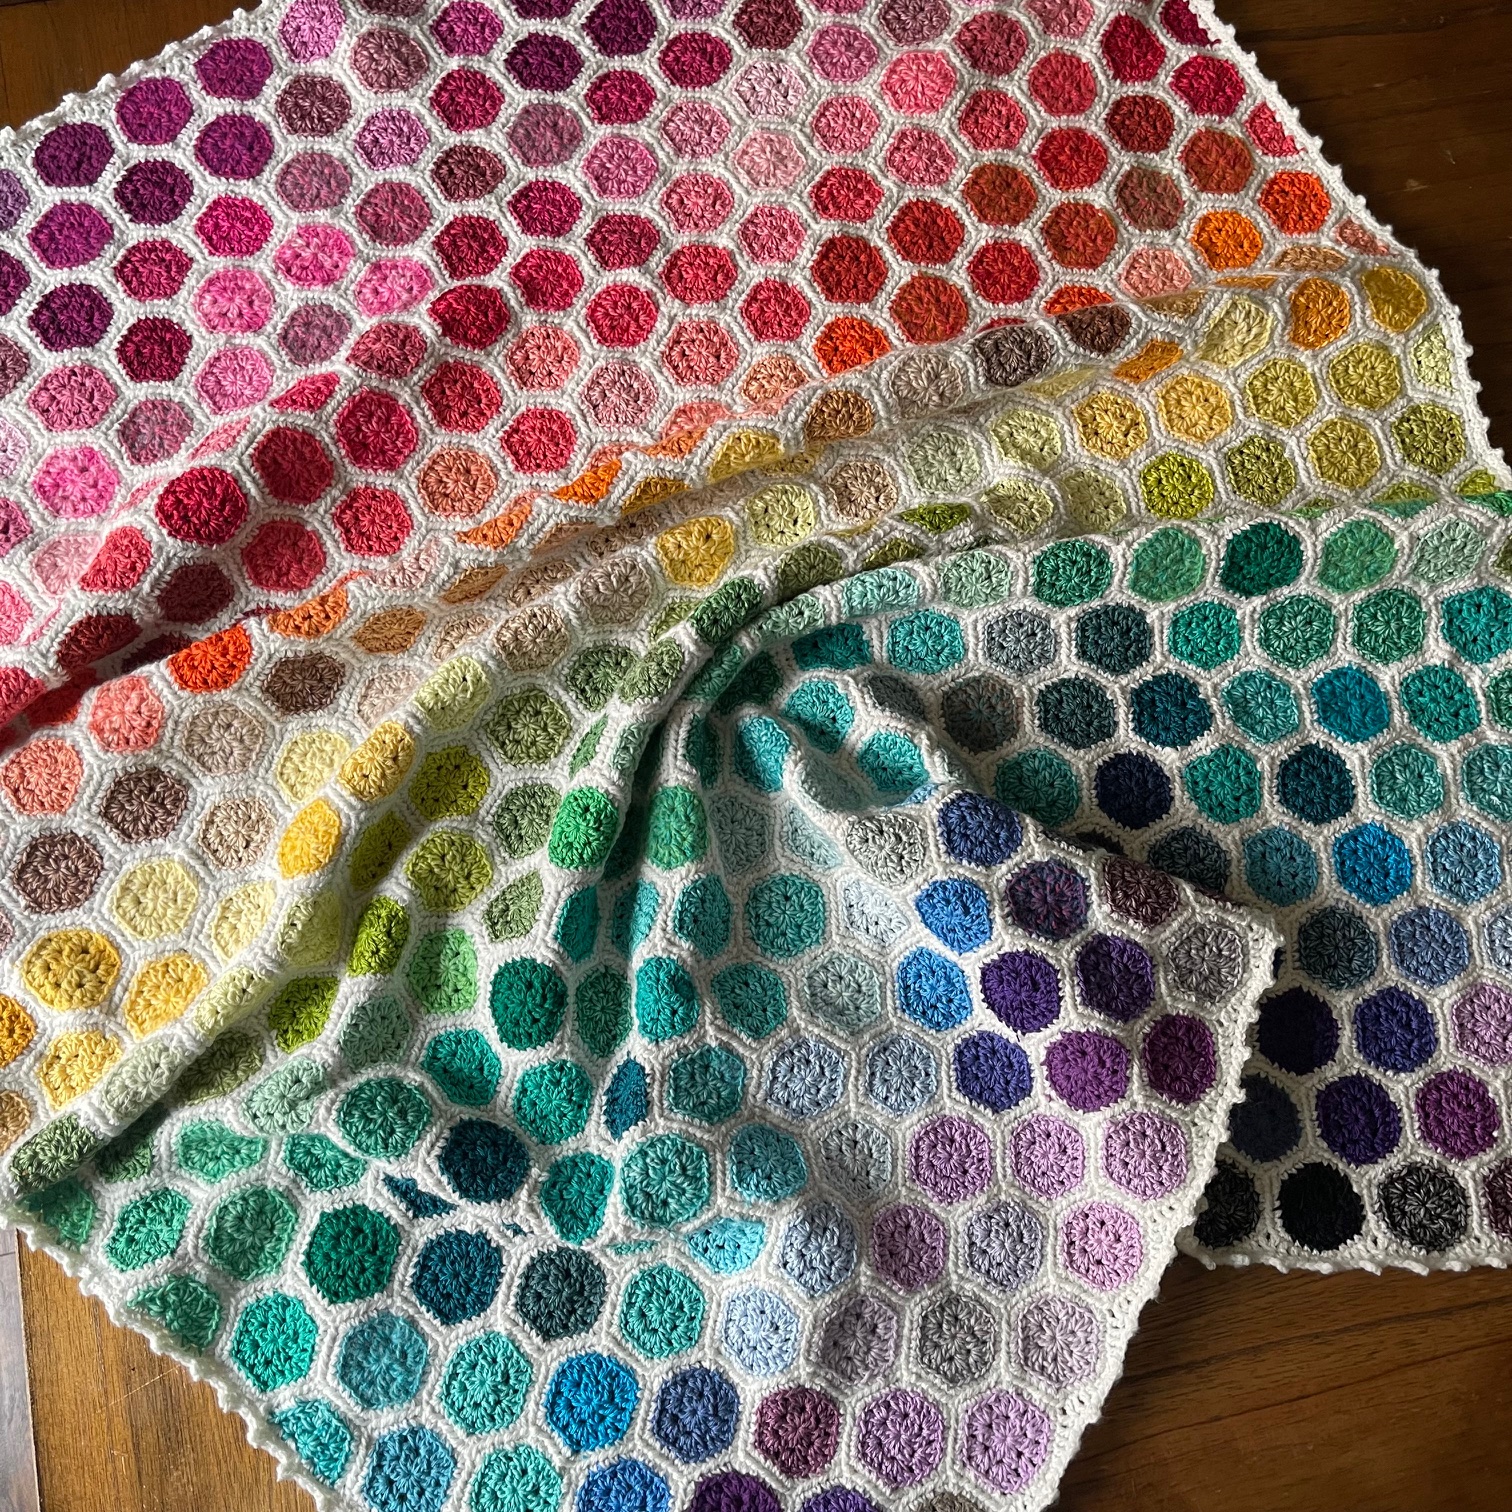
Hello, gorgeous crafter! Today I am shouting out the announcement for my 2026 VVCAL! You may have heard of my 2016 VVCAL, my 2018 VVCAL, 2020 VVCAL, which are made with squares. They tie up nicely in a neat bow in my VVCAL Mega Pack which you can find on Etsy or Ravelry.
For the 2022 and 2024 VVCAL, I wanted to do something different, so I decided to change the game with hexagon motifs. This 2026 VVCAL will be hexagons as well, and they will mix and match with the previous hexie motifs. This is going to be a very exciting make, as I know many of you are interested in making a hexagon blanket, but are looking for new ways to create the layout or start joining them.
Please read through this entire post, as there is a ton of information here.
Theme
Yes we will have a theme! Let’s look at the themes of VVCALs past:
- 2016: Names of important people in my life (This was before I knew the VVCAL would become what it is today!)
- 2018: Beautiful Trees
- 2020: Gorgeous Cities Around the World
- 2022: The Cosmos
- 2024: Ode to Flowers
And the 2026 theme will be… Sea Creatures – Get ready to see some beautiful sea creature named motif posts every Friday during the CAL!
Social Media Hashtags: #VVCAL and #CypressTextiles
This page will be updated with new information every Friday from now until the 2026 VVCAL is over on August 14th.
Read More