
Hello, lovely crafter! Today I’m releasing another simple yet unique baby blanket pattern for you. This is a cozy and minimalist blanket worked side-to-side, with the perfect afterthought border that just adds that little something. Of course, I’m releasing it as a free version in an effort to continually make sure all of my patterns are accessible to everyone, but there is also a paid PDF in case you’d like to support my work and have a convenient printable ad-free version.
Enjoy this breezy and cozy make!
PDF Format
The PDF version of this pattern is available on Etsy, Ravelry, and in my online shop, and US Terms in the download. – Easy UK conversion as only US sc and chains are used. US Terms are provided and instructions on how to use UK Terms are provided as well.
This pattern only uses (US) sc and chains. 1 UK dc = 1 US sc, so simply sub in dc for sc in your mind to make it if you are used to UK Terms.

–
Pattern By Rachele Carmona of CypressTextiles.net
FYI, I have a new book out called Crochet Modular Blankets if you’d like to check it out!
Project Details
- Skill Level Beginner
- Measurements About32x32in // Motifs measure about 5.5in
- Hooks 3mm hook
- Social Media Instagram, Facebook, Twitter, Pinterest, Etsy, Ravelry: CypressTextiles
Yarn Information
Whirl Birthday Cake
- 1 each in colors: 797 Cutie Pie, 798 Berry on Top, and 799 Piece of Cake
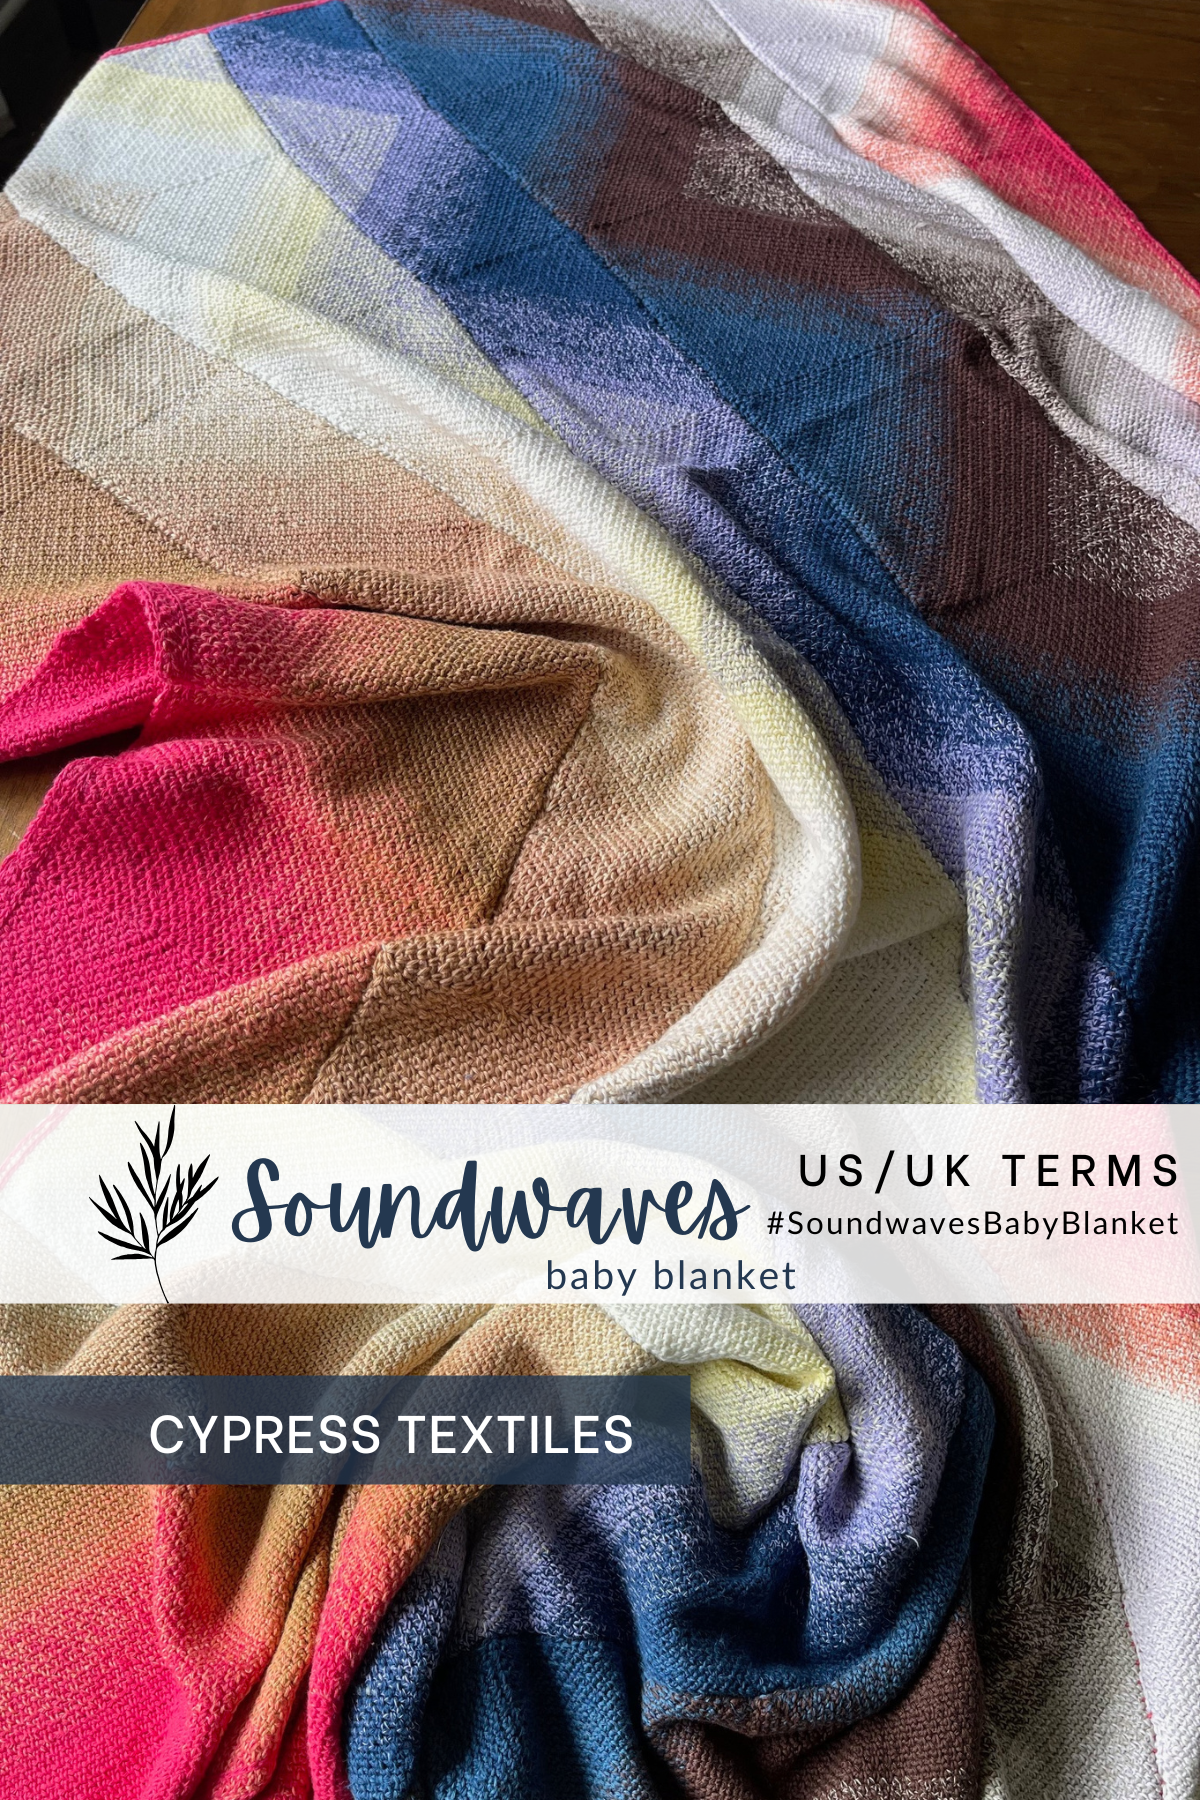
This pattern is written especially to celebrate the release of these Birthday Cake Whirls for the monumental yarn’s birthday! These 3 whirls are meant to flow into each other, color-wise, and that is what gives the Soundwaves Baby Blanket its unique look.
I started each Whirl at the center, using them in the order: 797, 799, 798 so that the blanket begins and ends with a red edge.
Yarn + Affiliate Links
Shopping through these links will gain me a small commission to support CypressTextiles, at no additional cost to you! The beauty of this piece lies in the color placement.


–
Yarn used in pattern:
Scheepjes Whirl
–

–
Repeat and Bracket Guide
- Square brackets [ ] are used for small repeats: 4dc, [2dc, 3tr, 2dc] 2 times
- Asterisks *are used for repeats that include small repeats: *5dc, [1ch, 1dc] 3 times in next ch, rep from * 3 times
- Round brackets ( ) are used when a string of stitches are worked into the same spot: (3tr, 3ch, 3tr) in next st
- Stitch Counts are given at the end of rows where necessary, in the following format: [12 dc, 3 sp]

–
Tips and Notes
- Weave your ends after each time you cut the yarn to avoid having to do them all at the end.
- Please read the stitch guide for any abbreviations.
- To get a neater result, I do not “chain up” for the first sc of the round/row. Jump straight into the first sc.

–
Copyright Information
No pattern or other material may be reproduced — mechanically, electronically, or by any other means, including photocopying — without written permission of Rachele Carmona. This applies to all content on CypressTextiles.net, BabyLoveBrand.net, and all other sites used by Rachele Carmona including social media. Paid patterns are for personal use only. You may sell your finished crocheted items, but do not use my photos to sell your items.
Stitch Descriptions (US Terms)
This pattern only uses (US) sc and chains. 1 UK dc = 1 US sc, so simply sub in dc for sc in your mind to make it if you are used to UK Terms.
- ch-sp / sp chain space / space
- MR make ring: 3ch, join with ss to first ch
- rem remaining
- rep repeat
- rnd round
- RS right side
- sc single crochet
- ss slip stitch
- st(s) stitch(es)
- WS wrong side

–
The PDF version of this pattern is available on Etsy, Ravelry, and in my online shop, and US Terms in the download. – Easy UK conversion as only US sc and chains are used.
Schematic

–
Diagram Guide – Not to scale

Instructions
This easy blanket is created by working the panels and joining them, then adding the simple surface crochet border. Enjoy!
Blanket Body
Note: Blanket body is made of 7 panels.

–
Start each Whirl from the center in the color order 797, 799, 798
Panel 1
Use the diagram guide as a visual.
Base Triangles
Note: Base Triangles are worked little by little at the same time to keep the color changes spread evenly across them.
Row 1 [RS] MR, [1sc, ch1] 3 times, 1sc, turn. [4 sc, 3 sp]
Row 2 (1sc, ch1, 1sc) in first ch-sp – corner made, [ch1, (1sc, ch1, 1sc) in next ch-sp] 2 times, turn. [6 sc, 5 sp]
Row 3 (1sc, ch1, 1sc) in first ch-sp, [ch1, 1sc in ch-sp, ch1, (1sc, ch1, 1sc) in next ch-sp] 2 times, turn. [8 sc, 7 sp]
Row 4 (1sc, ch1, 1sc) in first ch-sp, * [ch1, 1sc in ch-sp] across to next corner, ch1, (1sc, ch1, 1sc) in next ch-sp, rep from * 1 time, turn. [10 sc, 9 sp]
Rows 5-14 Rep Row 4, cut yarn after Row 14. [30 sc, 29 sp]
Make 2 more Base Triangles.
Starting with the first, then the second, then the third, add the following rows to each Base Triangle.
Rows 15-20 Reattach yarn with ss in first ch-sp, and work 6 rows as for Row 4, cut yarn after Row 20.
Continue adding additional rows to each Base Triangle, one at a time, adding rows to the first, second, then third Base Triangle in the following amounts:
5 rows, 4 rows, 3 rows, 3 rows, 3 rows, 2 rows.
For example, attach yarn to the first Base Triangle, add 5 rows, cut yarn, repeat with second and third Base Triangles. Attach yarn to the first Base Triangle again, add 4 rows, cut yarn, repeat with second and third Base Triangles, and so on until all 3 Base Triangles have 40 rows.
This will approximately distribute the long color changes evenly across the Base Triangles so that all three triangles are about the same in appearance. I work over my ends so I don’t have many to weave after I’m done.

–
Fill Triangles to Make Panel
Note: Triangles are also each filled little by little to distribute the colors evenly.
Fill Triangle A
Working on right-hand side of first Base Triangle:
Row 1 [RS] Attach yarn with ss in first ch-sp, [1sc in ch-sp, ch1] across to next corner, 1sc in corner sp, turn. [ sc, sp]
Row 2 [1sc in ch-sp, ch1] across to next corner, 1sc in corner sp, cut yarn, turn. [ sc, sp]
Fill Triangle B
Row 1 [RS] Reattach yarn in top corner of first Base Triangle in same corner space as final sc of previous Row 1. [1sc in ch-sp, ch1] across to next corner sp working down left-hand side off first Base Triangle, 1sc in corner sp, pick up second Base Triangle, working across right-hand side, 1sc in first ch-sp, [ch1, 1sc in next ch-sp] across to next corner sp, placing final sc in corner sp, turn.
Row 2 [1sc in ch-sp, ch1] across to final ch-sp before first Base Triangle is reached, 1sc in final ch-sp on second Base Triangle, sk 2 sc, [1sc in next ch-sp, ch1] across to final ch-sp, 1sc in final ch-sp, cut yarn.
Repeat Fill Triangle B across right-hand side of second Base Triangle and left-hand side of third Base Triangle.
Work 2 rows as for Fill Triangle A on right-hand side of third Base Triangle.
Add rows to each Fill Triangle, working across A, B, B, A, keeping the pattern, in the following amounts to distribute the colors:
3 rows, 3 rows, 3 rows, 4 rows, finish until no more ch-sps remain.
When all Fill Triangles are complete, Panel 1 is complete and it should look like the far-left vertical side panel in the Schematic. Move on to Panel 2.
Panel 2
Base Triangles
Make 3 Base Triangles using the same method for Panel 1, but these will be smaller.
Rows 1-14 Work as for Panel 1 Base Triangles (make 3).
Add rows to each Base Triangle as for Panel 1 in the following amounts:
6 rows, 5 rows, so that all 3 Base Triangles have 25 rows.
Expand Sides
Widen the 3 Base Triangles, adding rows as follows:
Row 1 [RS] Attach yarn with ss in first ch-sp of first Base Triangle, (1sc, ch1, 1sc) in first ch-sp – corner made, [ch1, 1sc in next ch-sp] across to next corner sp placing final sc in corner sp, turn.
Row 2 [1sc in ch-sp, ch1] across to corner ch-sp, (1sc, ch1, 1sc) in corner sp, turn.
Rows 3 and 4 Work as for Rows 1 and 2, cut yarn after Row 4.
Turn motif to WS, and reattach yarn with ss in first ch-sp. Rep Rows 1-4 across this side of first Base Triangle.
Repeat for second and third Base Triangles, widening the sides of each.
Add additional rows to both sides of each Base Triangle, one at a time, to widen them in the following amounts:
4 rows, 4 rows, 3 rows.
Fill Triangles
Make Fill Triangles to join the three Base Triangles together and also square off Panel 2, using the same method as for Panel 1, adding rows to make Fill Triangles A, B, B, A across panel. These Fill Triangles will be smaller, because the panel is shorter, but the method is the same.
Add rows for the Fill Triangles in the following amounts:
5 rows, 6 rows, 6 rows, finish until no more ch-sps remain.
When all Fill Triangles are complete, Panel 2 is complete and it should look like the next panel in the Schematic. It should also be the same length as Panel 1.
Join Panel 2 to Panel 1
Holding Panels RS together, attach yarn at the right-hand side, and slip stitch join across, making sure the Base Triangles and Fill Triangles of Panels 1 and 2 line up as you join. Move on to the second Panel 1.
Work another of Panel 1, and join it to Panel 2.
Work another Panel 2 and join it onto the blanket, and repeat with another Panel 1, 2, and then end the blanket with a Panel 1. Refer to Schematic as a guide. When you are finished, the blanket will have 4 of Panel 1 and 3 of Panel 2, all joined up, and you should see the color fade across as you work.

Blanket Border
Border is a simple slip stitch surface crochet around the blanket to keep the structure and give a small design element.
Attach yarn with ss on the surface of the work, at any corner, working into the chain spaces nearest the border of the blanket, make slip st on the surface of the work, all the way around the blanket. Do not do anything special in the corners, simply continue around, making a surface slip st in each row. Cut yarn.
Rejoin yarn in the second or third chain space – your preference – and make another surface slip st round, working in every row as before.

Blanket is complete!
Finishing
Weave all remaining ends, and block blanket if desired.
Yay! All done! Give yourself a fist bump!
The PDF version of this pattern is available on Etsy, Ravelry, and in my online shop, and US Terms in the download. – Easy UK conversion as only US sc and chains are used.
Copyright Information
No pattern or other material may be reproduced — mechanically, electronically, or by any other means, including photocopying — without written permission of Rachele Carmona. This applies to all content on CypressTextiles.net, BabyLoveBrand.net, and all other sites used by Rachele Carmona including social media. Paid patterns are for personal use only. You may sell your finished crocheted items, but do not use my photos to sell your items.
RACHELE CARMONA
Crochet Designer & Fiber Artist
Happy crafting,
Rachele C.
You may also enjoy:
- Treble Scallop Edging – Free Crochet Pattern
- VVCAL 2016 – Free Crochet Blanket Pattern
- Happy Little Tree – Free Crochet Blanket Pattern
Support My Work
You’re supporting by just being here! You can read my blog (Start Here!), like and comment on socials, and message me for a chat. All of this supports my work free of charge!
- Affiliate links – Shopping through my links supports me at no additional cost to you as I get a small commission through my affiliates. Jimmy Beans Wool // WoolWarehouse // Amazon.com
- Buy my pattern book – I wrote a super neat crochet blanket pattern book, published under Penguin Random House. You can buy it here!
- Browse my self-published patterns – I have over a hundred patterns on Etsy and Ravelry
- Creative Art Blanket Course – Check it out on Podia
Where to Find Me
- Instagram: @cypresstextiles
- Facebook Page: CypressTextiles
- YouTube Channel: Rachele Carmona
- Pinterest: CypressTextiles
- Tumblr: CypressTextiles
- Etsy: CypressTextiles
- Ravelry: Rachele Carmona
- Podia: Creative Art Blanket Course