
Hello, gorgeous crafter! I have a special free pattern for you in honor of Valentine’s Day: My updated Gumball Blanket! I told you all about this update in my FO Reveal last week, and how this blanket is part of my journey to fall back in love with my art. Today, I’m releasing the free version of the pattern, including videos! Scroll down for US Terms, or click here for UK Terms.
PDF Version
Find this pattern in a condensed ad-free PDF for a small fee in my Etsy Shop and on Ravelry. Pattern PDFs for US and UK Terms are both included in the purchase. Help support my work by purchasing this convenient PDF if you like, but just being here on the website is plenty of support as well. 🙂

Designing the Gumball Blanket
In 2012, the original Gumball Blanket pattern was born – my first ever design. It features cute circle-to-square motifs, which are joined as-you-go on the final round. Over the course of my time making custom blankets, I made over 20 Gumball Blankets! It was one of my most popular custom work designs.

This beautiful red project that I am going to share is connected to my recent Creative Clarity post that will help you fall in love with your art again. You should check out that post if you:
- Get frustrated during your art-making process
- Have generally fallen out of love with your art
- Feel like you have lost your way in your creative practice
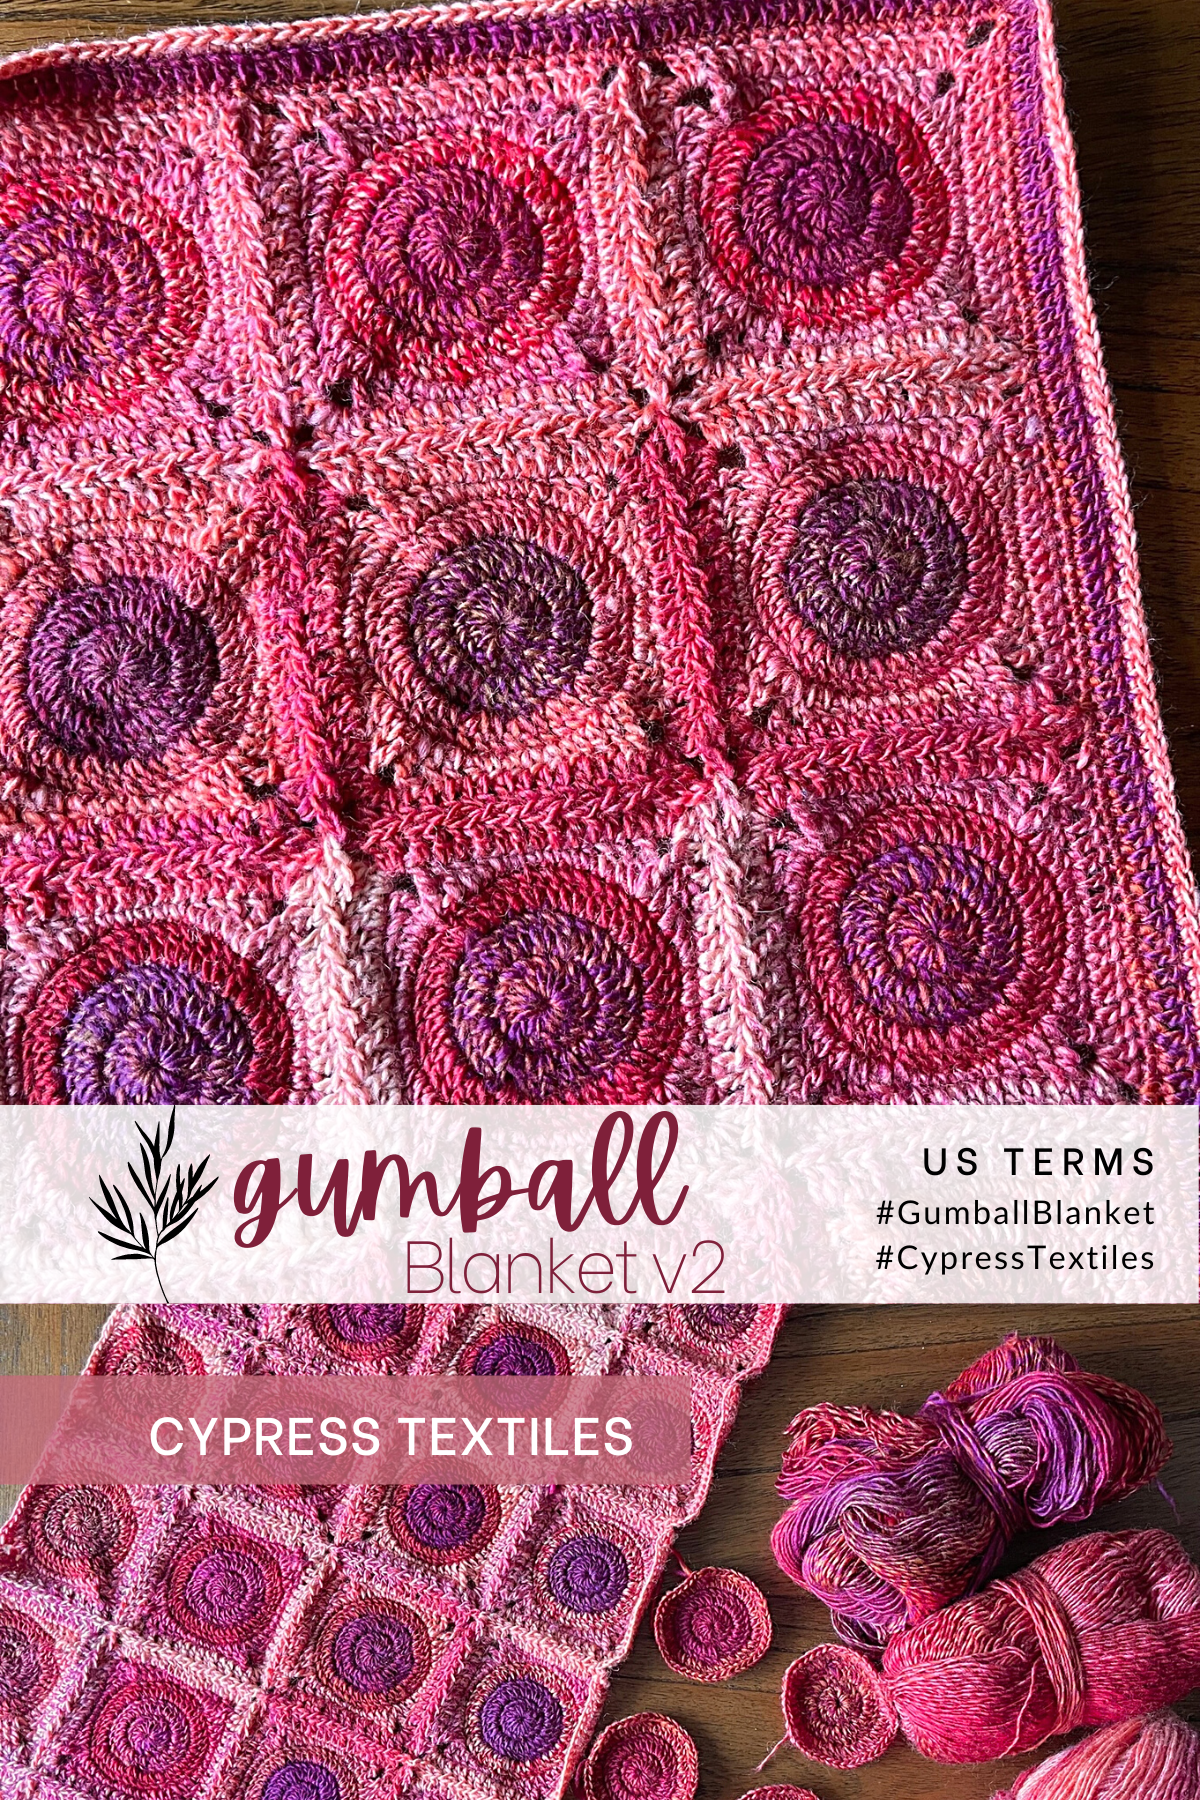
Gumball Blanket v2 in Our Tribe Yarn
I’m so excited to share this updated version with you! Making these little circles for the motif centers was the most crochet fun I have had in a long time, and that’s what it’s really about. When you get reconnected with your creative roots and revisit your first big make, you will see it’s probably a simple design, and therefore you can have fun with it, versus the brainwork that comes with digging into a complex design.

The 3 shades of Our Tribe are:
- 971 Jellina Creations x 1
- 963 Haak Maar Raak x 3
- 968 Happy in Red x 1

Shop Scheepjes Our Tribe
- Browse this yarn at Wool Warehouse through my affiliate link to help support CypressTextiles at no additional cost to you!
- Or find a Scheepjes retailer close to you!
Why Continuous Join as You Go?
Compared to the regular join as you go, where you join each square individually and then cut the yarn, the continuous join is far superior. Whenever you can use it, I believe you should use the continuous join as you go.
- The join makes a higher integrity blanket. Since you are joining continuously, there is a sort of “net” that the motifs lock in to. If the blanket is tugged on, for example, there is no cut yarn to pull at in the corners, because you haven’t cut the yarn at the stress points (the corners).
- Motifs look neater with the continuous join. The regular join as you go looks great, but in a side-by-side comparison, the continuous join just looks a lot neater and more precise.
- The continuous join is also faster. When you cut yarn after each motif, it is like telling your brain that you are at a “stopping point”, and you can get distracted. But when you join a full row at a time, that is like your stopping point, and so you are likely to finish the blanket faster.
- You have only 2 yarn ends to weave with this join, versus cutting the yarn after every motif and weaving all of those ends.

Notions
US Size 3mm hook
Measurements
Finished piece measures about 32x32in before blocking and is easily resized by using larger gauge yarn and hook, or by making more motifs.
Stitch Guide (US Terms)
- beg beginning
- beg dc beginning double crochet (1sc, ch1) – counts as 1 dc
- chN chain N number of times
- dc double crochet
- hdc half double crochet
- MR make ring: slip knot, ch3, ss in third ch from hook
- rep repeat
- sc single crochet
- sp space or chain space
- ss slip stitch
- st stitch
- tr treble crochet
- yoh yarn over hook
Repeat and Bracket Guide
Square brackets [ ] are used for small repeats: 4dc, [2dc, 3tr, 2dc] 2 times
Asterisks *are used for repeats that include small repeats: *5dc, [ch1, 1dc] 3 times in next ch, rep from * 3 times
Round brackets ( ) are used when a string of stitches are worked into the same spot: (3tr, 3ch, 3tr) in next st
Tips and Notes
- Weave your ends after each time you cut the yarn to avoid having to do them all at the end.
- Please read the stitch guide for any abbreviations.
- To get a neater result, I do not “chain up” for the first sc of the round/row. Jump straight into the first sc.
- Read carefully through the entire pattern before beginning.
- “Ss in 1 ch” or “Ss in 2 chs” means to slip stitch into that number of chains of the first chain space.
Pin this Pattern!

Instructions
The Gumball blanket is a fun join as-you-go pattern with a circle to square motif. After the blanket body is created, a simple border completes the piece. Any border can be substituted, but I believe the bright colored spots call for simplicity. Working from stash? Try holding two strands of yarn together for a thicker blanket!
Scroll down for video links!
Motif Instructions
Circle Inner Color (Make 100)
Rnd 1 With Yarn No. 971, MR, beg dc, 15 dc, ss in beg dc. [16 dc]
Rnd 2 Beg dc in next st, 1dc in same st, 2dc in 15 sts, ss in beg dc, cut yarn and weave ends. [32 dc]

Circle Outer Color
Rnd 3 Join Yarn No. 968 with ss in any st, (beg dc, 1dc) in same st, (1dc in next st, 2dc in next st) 15 times around, 1dc in next st, ss in beg dc, cut yarn and weave ends. [48 dc]

Square Off Motif
Rnd 4 With Yarn No. 963, ss in any st, * 1sc in next 5 sts, 1hdc, 1dc in next 2 sts, (1tr, ch3, 1tr) in next st – corner made, 1dc in next 2 sts, 1hdc, rep from * 3 times, ss in first sc, cut yarn and weave ends. [8 tr, 16 dc, 8 hdc, 20 sc, 4 sp]

Video Instruction for Motif
Joining Method: Continuous Join As-You-Go with PLT Join
Note: Use the diagram below as a visual guide for the written instructions. Before you begin, lay out the squares as you will join them. Start the join at the top right corner of the square. First row of squares is the right-hand row, going from top to bottom. If you are left-handed, the entire diagram and path will need to be reversed.
On the diagram, the square marked “1” is the first square in the row, the square marked “2” is how all squares are joined until the final square remains in the row, and the square marked “3” represents the final square in the row.

And a simplified joining path is shown below.

Part 1 (Shown in green on the joining diagram): Pick up first square. Join Yarn No. 963 with ss in the top right corner sp, (beg dc, ch3, 2dc) in same sp, * 1dc in all sts across to next corner sp, (2dc, ch3, 2dc) in corner sp, rep from * 2 times omitting final 2dc, pick up second square, 2dc in top right corner sp, begin “Join Side” as follows: (1dc, PLT, 1dc) across until 1 st remains before next corner sp, 1dc, PLT, – “Join Side” complete ** (2dc, ch3, 2dc) in corner space, 1dc in all sts across to next corner sp, rep from ** 1 time, 2dc in corner sp, ch3, pick up next square and work around 3 sides of square in this same manner until 1 more square remains in the row. Pick up final square, 2dc in upper right corner, Join Side, ** (2dc, ch3, 2dc) in corner space, 1dc in all sts across to next corner sp, 2dc in corner sp, ch3, continue on to Part 2.
For Part 2, all squares until the top square remains will be joined as for the square marked “4”, then the top square will be joined as for the square marked “6”.

Part 2 (Shown in orange on the joining diagram): Pick up bottom square of next row, * 2dc in lower right corner sp, Join Side, 2dc in corner sp, ch1, PLT in corner ch-sp of diagonally located square, ch2, pick up next square up, rep from *, and rep until all squares are joined except for the top square, pick up top square, 2dc in lower corner sp, Join Side, continue on to Part 3.
All squares are now joined onto the blanket on only 1 side. In Part 3, the remaining 3 sides will be joined, working down the length of the blanket.
Part 3 (Shown in purple on the joining diagram): Ch1, PLT in adjacent corner sp, ch2, work around 3 sides of the square just as for square “1” ending with 2dc in lower right corner sp, ch1, make Special Corner Chain as instructed in diagram, ch2, 2dc in corner sp of next motif, Join Side, work across next 2 sides as before, join next corner as before, making Special Corner Chain, continue in this manner until 1 square remains at the bottom of the row. Join first side of final square, work across 1 side of final square, ending with 2dc in lower left corner sp, ch3,

Rep Part 2 and Part 3 until all rows of squares are joined onto the blanket, and only 1 row of squares remains.

Part 4 Join final row of squares on one side just as for Part 2.

Part 5 Join (Shown in aqua on the joining diagram): Join these squares just as for previous squares, except for second through final squares in the row, after first ch of upper left corner, PLT in adjacent corner sp. End with 2dc in lower left corner of final square, continue on to Part 6.
Part 6 (Shown in pink on the joining diagram): Ch3, * work across side ending with 2dc in lower right corner sp, ch1, ss in ch3 sp, ch1, rep from * until lower right corner of blanket is reached, ending with 2dc in lower right corner of bottom right square of blanket, ch3, work across next side as for bottom edge of blanket, until upper right corner of blanket is reached. 1dc in first corner sp of blanket, ss in beg dc. Join is now complete.
Video Instructions for Joining Method (detailed)
Border
Rnd 1 3sc in corner sp, * 1sc in all sts across to where 2 corner sps are joined, 2sc in first corner sp, 2sc in second corner sp, rep from * until upper left corner of blanket is reached, 3sc in corner sp, rep around rem 3 sides of blanket until first corner is reached, ss in first sc.
At this point, any border can be added to the blanket.
Rnd 2 Change to 1 size smaller hook. Ss to corner st, (beg dc, 4dc) in corner st, (1dc in all sts across to next corner st, 5dc in corner st) 4 times omitting final 5dc, ss in beg dc.
Rnd 3 1sc in all sts around blanket, making 3sc in all 4 corners, ss in first sc, cut yarn and weave ends.

Finishing
Weave all remaining ends, and block blanket if desired to open up join.
Yay! All done! Weave ends, block, and give yourself a fist bump!
Copyright Information
No pattern or other material may be reproduced — mechanically, electronically, or by any other means, including photocopying — without written permission of Rachele Carmona. This applies to all content on CypressTextiles.net, BabyLoveBrand.net, and all other sites used by Rachele Carmona. Paid patterns are for personal use only. You may sell your finished crocheted items, but do not use my photos to sell your items.
More Gumballs!
These Gumball Blankets were made with the continuous join as you go.

Isn’t it a stunner?

I just love these colors, and you can’t deny this join is pristine!

I hope you enjoyed this free pattern, and hope the diagram and videos helped! This continuous crochet join as you go is one of my absolute faves for joining motifs. Enjoy!
Happy crafting,
Rachele C.
You may also enjoy:
- Treble Scallop Edging – Free Crochet Pattern
- VVCAL 2016 – Free Crochet Blanket Pattern
- Happy Little Tree – Free Crochet Blanket Pattern
Support My Work
You’re supporting by just being here! You can read my blog (Start Here!), like and comment on socials, and message me for a chat. All of this supports my work free of charge!
- Affiliate links – Shopping through my links supports me at no additional cost to you as I get a small commission through my affiliates. Jimmy Beans Wool // WoolWarehouse // Amazon.com
- Buy my pattern book – I wrote a super neat crochet blanket pattern book, published under Penguin Random House. You can buy it here!
- Browse my self-published patterns – I have over a hundred patterns on Etsy and Ravelry
- Creative Art Blanket Course – Check it out on Teachable
Where to Find Me
- Instagram: @cypresstextiles
- Facebook Page: CypressTextiles
- YouTube Channel: Rachele Carmona
- Pinterest: CypressTextiles
- Tumblr: CypressTextiles
- Etsy: CypressTextiles
- Ravelry: Rachele Carmona
- Teachable: Creative Art Blanket Course