
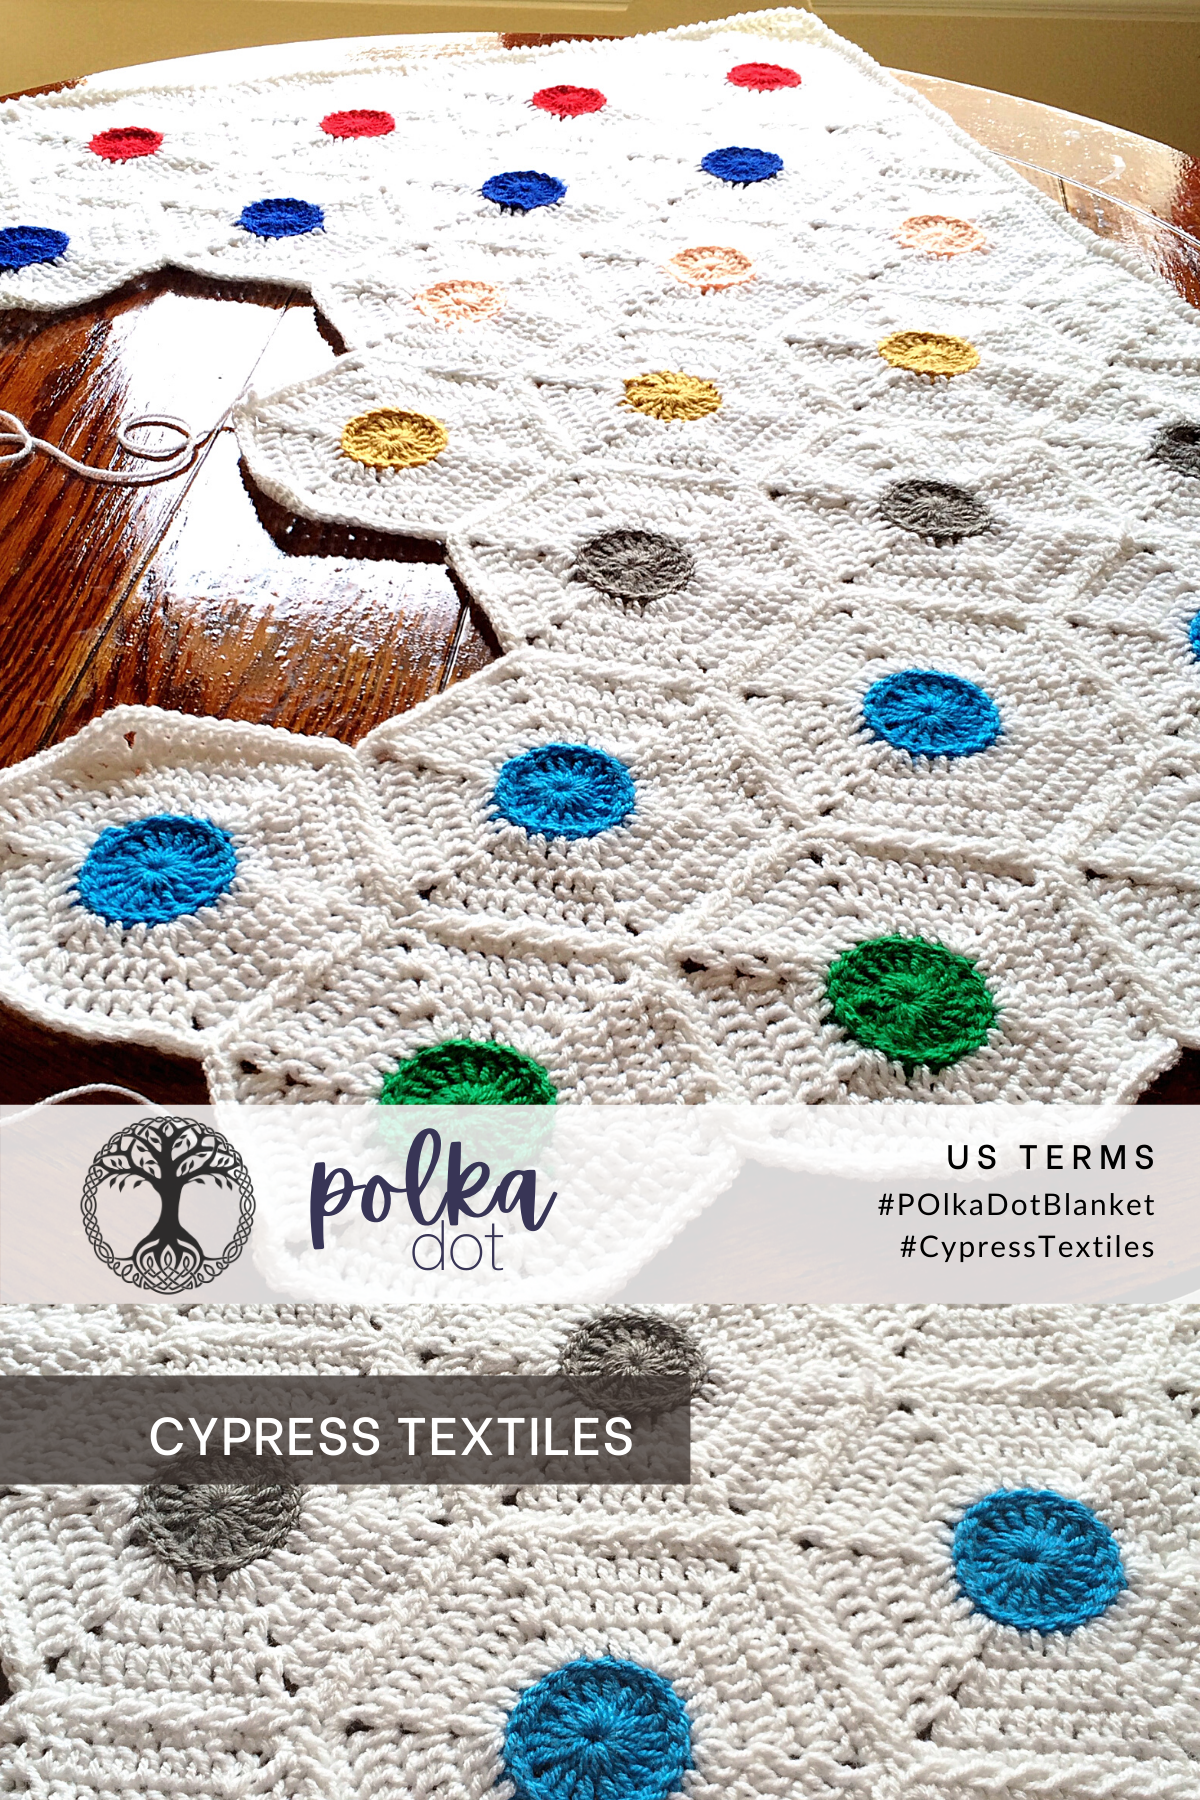
Hello, gorgeous crafter! Today I wanted to share the free version of my Polka Dot Blanket on my blog. I recently released the pattern combo pack, “5 Easy Blankets for Beginners”, which you can find here on Ravelry. The Polka Dot Blanket crochet pattern is included in this discounted pattern pack.
The Polka Dot Crochet Blanket is also available sold separately in a convenient, ad-free PDF on Ravelry and Etsy. Both US and UK versions are included in the digital download.
Find the UK Terms free version of this pattern here.

Materials and Pattern Notes
For this design, you will be making hexagon motifs and joining them as you go, then squaring the piece off and adding a simple border. My polka dot piece is meant to be very minimalist with a solid background, but you can make it multicolor as well! I cannot wait to make a grey version with neon dots, or a navy version with pastel spots… Really anything would look awesome. You can treat this pattern like a tutorial and use a bit of math to fit any type of border to the squared edges. Also apply the squaring method to any hex blanket!
Scheepjes Colour Crafter Yarn
Small amounts for center polka dots, plus about 5-6 skeins of white or another neutral
Shop this Yarn
This yarn is a dream. It’s economical and very durable – which I love – and is soft, squooshy, and luxurious. For a 100% Acrylic DK weight yarn, it is the best one out there. Browse the links below to get some for yourself – as always, these (*) are affiliate links, so shopping through them helps support CypressTextiles and all my yarny endeavors, and it doesn’t cost you any extra!
Project Details
- Skill Level Easy
- Materials Scheepjes Colour Crafter Yarn 4.25mm hook
- Social Media Instagram, Facebook, Twitter, Pinterest, Etsy, Ravelry: CypressTextiles
- Hashtags #PolkaDotBlanket #CypressTextiles

Key Stitch Descriptions (US Terms)\
- beg Beginning
- beg dc (sc, 1ch) – counts as 1 dc
- beg tr (sc, 2ch) – counts as 1 tr
- ch Chain
- st(s) Stitch(es)
- sp Space
- YO Yarn Over
- Rep repeat
- RS right side of work
- ss Slip stitch
- sc Single Crochet
- dc Double Crochet
- MR Make Ring: Chain 3 and join with Slip stitch to first Ch
- tr Treble Crochet
- ttr Triple Treble – Wrap yarn around hook 4 times.
- WS wrong side of work

Hexagon Motif
Polka Dots – Make 46 in the following colors: 7 Red, 6 Dk Blue, 7 Peach, 6 Gold, 7 Grey, 6 Lt Blue, 7 Green
Rnd 1 Using polka dot color, MR. All in Ring: Beg tr, 17tr, join with ss in top of beg tr and leave a large loop (about a palm’s width – just so your work doesn’t unravel) as well as about a 30″ tail. Cut yarn. Reference the photos to see how to position tail and loop. (18 tr)
Note: Polka dots can all be made ahead of time, if you’re on the go. Take care to leave the long tail and be sure the work doesn’t unravel. If you’d prefer to make the entire hexagons and then join as you go, that’s fine, too!

Hexagon Rounds
Rnd 2 Join background color with ss in the st directly to the left of the polka dot’s joining st (second photo above). Beg dc in same st, [1ch, 2dc in same st, 1dc in next 2 sts, 2dc in next st] 6 times omitting final dc, join with ss in beg dc. – 36 dc
Finish polka dot with chain stitch as follows: Insert hook in large polka dot loop and tighten it. *Insert hook through top of St to the left, use 30in tail to YO, loosely pull loop up through St on hook. Repeat from * around, until you reach the beginning. Use a small hook to darn in yarn end so it blends with the regular Sts. Weave tail and cut excess yarn.

Rnds 3 and 4 Beg dc in sp, [1ch, 1dc in same sp, 1dc in all sts to next sp, 1dc in sp] 6 times omitting final dc, ss in beg dc. – 60 dc


Rnd 5, first motif only – for subsequent motifs, please see joining section on page 4: [3sc in sp, 1sc in all sts across to next sp] 6 times, ss in first sc, cut yarn and weave ends. – 78 sc

Half-Hexagon
Make 6 and join onto blanket after all full hexagons are joined.
Row 1 (RS) Using background color, MR. All in Ring: Beg dc, 1ch, [2dc, 1ch] 2 times, 1dc, turn. – 8 dc
Row 2-5 Beg dc in first st, 1dc between first and second st, [1dc in all sts to next sp, (1dc, 1ch, 1dc) in sp] 2 times, 1dc in all sts to final st, 1dc between second-to-last, and final st, 1dc in final st, turn. After Row 5, cut yarn and weave ends.
Row 6 will be your joining row, but you’re not ready to join these to your piece yet! Please reference the joining section


Join Motifs for Blanket Body
Overview
When joining, be sure to attach motifs in the correct arrangement. For my sample blanket, I did 7 zig-zagged motifs across the top, and 7 motifs long for a total of 46 motifs.


To join, complete the first hexagon motif. For all remaining hexagon motifs, work through the first side of Rnd 5, plus 2 SC sts in the second corner (see first photo – red hex is the first motif, and blue hex is worked through side 1 of Rnd 5 plus 2 SC), then work Mini-Twist join (instruction on page 5) on all sides that will touch other motifs. Work remaining sides plain for your total of 6 sides. Join, cut, and finish.
My PLT Join (Pull Loop Through Join) – Worked on Rnd 5 of Hexagons and Row 6 of Half-Hexagons
After the first side and 2 SC in second corner on the second motif are complete, RELEASE the loop from the hook, insert the hook through the corresponding stitch on the first motif (in this case, it would be the center SC of any corner), put the loop back on the hook (you should be at the first photo above), and finally, pull the loop through that center SC stitch (see second photo above).
To recap, for this join, you will be chanting “Release loop, insert hook, replace loop, pull loop through” until you have it down. I will abbreviate this join as “pull loop through (designated stitch)”
Now, SC in same Ch Sp of second motif, and in next DC St. Pull loop through corresponding St on first motif. Work 2 SC on second motif, pull loop through, and repeat across, pulling loop through after 2 SC. Your final “join” on this side will be after the first SC on the third corner Sp.
After the first side is joined, since you are only joining one side, you will work the remaining 2 SC in the same corner Sp, and then work remaining 4 sides plain as normal.
Now, it’s time to join a third motif to these two.


As before, finish the third motif through side 1 of Rnd 5. Work Mini-Twist Join on side 2. Stop at the first SC of the third Ch Sp, and pull loop through. Since there will be another side joined after this, your corner is a tad different. SC in same Ch Sp on third motif, pull loop through center stitch on first motif (see photo). SC in same Ch Sp again to complete corner, and SC in following DC St. Pull loop through corresponding St on first motif, and work Mini-Twist Join from there to finish this side. Work remaining 3 sides plain as normal.

Square Edges + Border
Join Half-Hexagons
Half-Hexagons will be joined with Right Side facing in the gaps of the short sides of your piece.


Row 6 of Half Hexagon (Joining Row): With Right Side facing, join yarn in top of Beg DC and work SC in the same St (See first photo below). Work Mini-Twist join across 1 side, until first SC in second corner space. Pull loop through corresponding St on motif to the right (second photo below), SC in same Ch Sp, pull loop through center St on motif above (third photo below), Mini-Twist Join across second side, and repeat once more to finish joining motif. Cut yarn and finish.
Now, you only have the shallow zig-zag long sides to fill in. At this time, you will work 1 row on both zig-zag sides, and then work an entire round on the blanket.
Base Row: Join yarn in the center SC of a corner right before a zig-zag row. BegDC in same St. Skip 2 Sts, **DC in the next 8 Sts, HDC, SC, skip center St, SC, HDC, 8 DC, DC together the 2 Sts indicated in the first photo below. In the photo, I have not yet pulled the yarn through the loops on the hook. Repeat from ** to the end of the row, skip 2 Sts before DC in the final St. See repeat in second photo below.
Work the same row on the opposite side of the blanket.


Full Rnd: Join yarn in the top of the BegDC on the zig-zag side Base Row. Ch-3, **DTR in next 2 Sts, 2 TR, 2 DC, 2 HDC, 4 SC, 2 HDC, 2 DC, 2 TR, 2 DTR, work Special Decrease as below. This decrease is solid so that your edging does not have gaps. Repeat from ** across, and Ch-3, SC in center St of final corner. SC evenly across straight side, ending with SC in center St of final corner, Ch-3 just as with first side, and repeat around, making sure to work an even number of SC Sts on both straight sides. When you reach the first corner, join.
Special Decrease: When you begin, you will be in the spot shown in the first photo above. First, work a DTR until 2 loops are on the hook – see center photo above – (the final step is omitted in all Sts in the decrease, as normal), work 3 partial TR Sts in the spots indicated in the third photo above, notice 1 St is skipped in the center “valley.” Draw yarn through all 5 loops to close the decrease.
Final Border: Work Reverse Single Crochet around the entire piece, for a nice even edge. I like to go down one hook size for RevSC, otherwise mine is too loose and will ruffle.


Alternate Sizing/Borders + Brainstorming Ideas
Pictured above are just a couple different ideas for this blanket design. There are so many possibilities! I worked each of the three samples using different size hexagons, and each has a slightly different joining method.

Medium Hexagon
The medium hex sample at bottom right has white polka dots with carious color hexagons – you could make a hex blanket similar to the colorful and bold example in the second photo above. So fresh!
Rnds 1 – 3: Work same as Large Hexagon in main pattern
Rnd 4: Work same as Rnd 5 in Large Hexagon
Join: The join on the Medium Hexagon sample is slightly different than the Mini-Twist. I use this alternate join when I have two different colors touching. To work this join, instead of pulling loop through every other stitch, like in Mini-Twist, pull loop through after every stitch. This creates the tiny diagonal “candy-cane” swirl.
Small Hexagon
My small hex pictured is worked with DK weight yarn and a size H hook, so it is smaller!
Rnds 1 and 2: Work same as Large Hexagon in main pattern.
Rnd 3: Work exactly as for Rnd 5 on Large Hexagon, but instead of SC, substitute HDC.
Join: Use the same join as for the Medium Hexagon, and notice the beautiful ridge that is formed at the join. So awesome!
NOTE: To square off the edges for these two alternate sizes, use the same method of graduated height stitches, but start with a shorter stitch as your first stitch, and go from there until you are at an SC. With these sizes, you should be able to omit the first row on the 2 zig-zag sides and jump right into the full straightening round.
Fin!

Copyright Information
I made this pattern from my own brain. Feel free to keep, donate, gift, sell, trade, or destroy anything that you make from it! You’ve bought my pattern; do what you want with it. Just please don’t sell it and don’t steal it and call it your own. Thank you!