
Hello, lovely! I hope your holiday season has you in a constant state of contentment. Happiness is great! But contentment is just.. *chef’s kiss*. Right now, it’s raining outside, I have a coffee, my li’l family, and a Disney movie. Contentment abounds. I showed up today to show you the yarns and supplies I got for a new project! Exciting!

I have a huge stash of Scheepjes Colour Crafter, and this year I am doing my best to whittle down my stash and use just what I have on hand. I have all of these brights (Colour Crafter has a huge range of colors), but I dove deeper to find something more subdued because I think some small bright embellishments are in order. More on that in my next post!

Scheepjes Colour Crafter
Here is the full range of Scheepjes Colour Crafter in one handy shade card. Told you there are a ton of colors! The shading and color-work possibilities are endless.
Details
- Fiber Content: 100% Premium Acrylic (Anti Pilling)
- Weight/Length: 100g/300m
- Needle/Hook Size: 4mm
- Gauge: 10x10cm = 20st and 24r
- Yarn Weight: DK

Shop this Yarn
This yarn is a dream. It’s economical and very durable – which I love – and is soft, squooshy, and luxurious. For a 100% Acrylic DK weight yarn, it is the best one out there. Browse the links below to get some for yourself – as always, these (*) are affiliate links, so shopping through them helps support CypressTextiles and all my yarny endeavors, and it doesn’t cost you any extra!
Now let’s find out which color I chose for my new project!
Crochet Yarn Basket
Yes! I am making something other than a blanket – hahaha! As a promise to myself, I said I would make more non-blanket projects this next year. I know I won’t be able to stay away from them, as you probably have heard me say that I think of the dimensions of a blanket as a canvas for me to fill up with yarny “paint.”
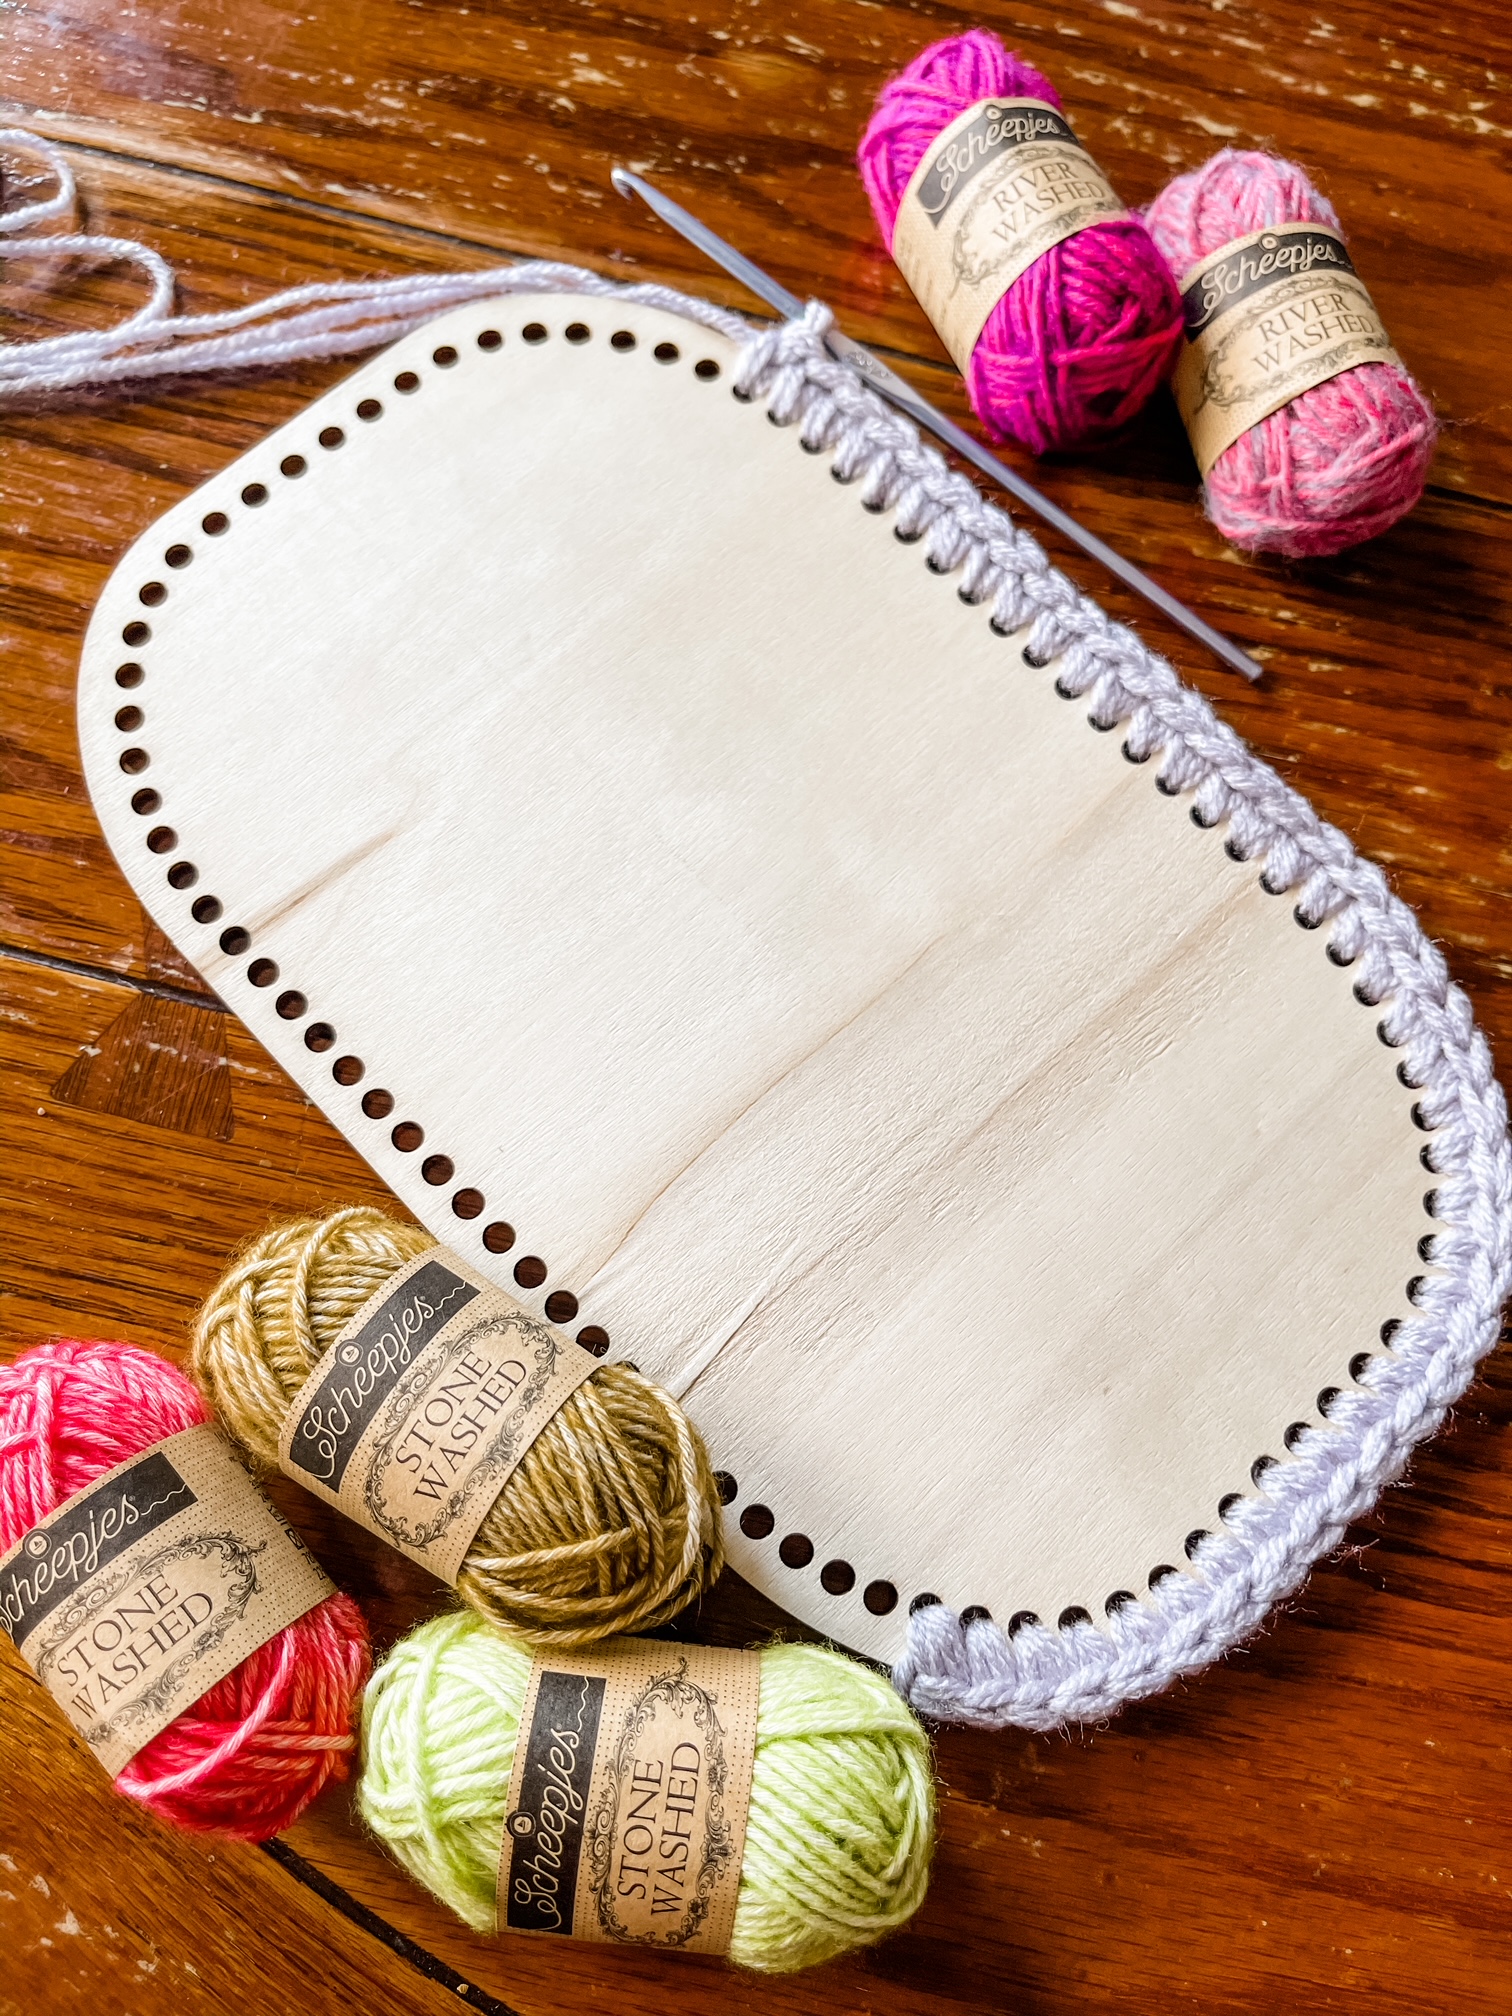
I chose a very soft purplish grey for my crochet yarn basket and I’ll be embellishing it with the nice rosy colors you see below, in Scheepjes Stone Washed and River Washed 10g minis.
[Related Link: Get the Stone Washed and River Washed 10g Colour Pack at WoolWarehouse (affiliate)]

Don’t these colors just look scrumptious together? There’s just something about that mustard that looks amazing with the lime green, and those pinky reds are magnificent. I’ll reveal what I’m making with them in my next post!

Wooden Basket Bottoms
Okay, now for the real star of the show: these wooden basket bottoms from DeBondt.
Find these Wooden Basket Bottoms here!
They come in a set of 9, with 3 sizes, and 3 in each size. You can also buy the sizes separately, but I just loved the idea of making nesting baskets with the 3 sizes.
In the photo below, I show 3 of the same size, and you can totally make 3 baskets with these, and just keep them side by side. PS, aren’t they so pretty, with the wood details?

And here is a photo of the 3 different sizes. I am definitely going to make nesting baskets with these 3. You could even use another one of the same size and make a little lid for each basket. That would be so cute! Mine will be edged with reverse single crochet though, so I will keep mine without lids.

You can also make full on bags with these things, and that would be awesome. I know my bags always have soggy bottoms, and a flat bottom would be so great! Just an idea!
Quick Yarny Trick
Okay, for this basket pattern, I will be using the Colour Crafter, but held triple. I am using a trick that I posted about a while back on my blog. It’s a trick to use yarn held triple thick, but just using 1 skein or ball of yarn, instead of 3.
Even if you have multiple balls of yarn, it’s just nice to not have all these yarn skeins bouncing around the floor. Using just 1 ball is much easier. You should totally try this trick if you haven’t already.
This is now the beginning of the yarn looks when you start off using this trick. you fold up a loop of the yarn to meet with the beginning of the skein so that you have a triple thickness.

And then you can see here, you pull another loop of yarn through the end so that you have this never-ending “chain” of yarny loops. If you look at the other post, you can see it more clearly. You can’t even tell when you get to a spot where you’ve pulled the next long loop through. It’s just like working with 3 separate skeins – but better!

Work in Progress
Tada! Here is my WIP!
Working through those little drilled holes is so satisfying. You have to use a smaller hook to fit through the holes, and then you can size up when you start building up the basket sides.
Another option would be sewing stitches with a large eye needle – like a blanket stitch type thing I’m thinking – and then working into the stitches with the crochet hook. I couldn’t be bothered to switch notions, so my crochet hook worked just fine!

I am further along than this pic below, and it is SO cute!! I cannot wait to show you more of the WIP.

Alright and I cannot resist letting you in on this little fun brain break… The little holes were too much to resist, I just had to do some string play. Now when my basket is empty, I’ll have this fun little artsy ditty at the bottom! Heart eyessss!

Thank you so much for stopping in to see my new yarny funsies!
Have a great New Year and be safe!
Happy crafting,
Rachele C.
9 Comments