
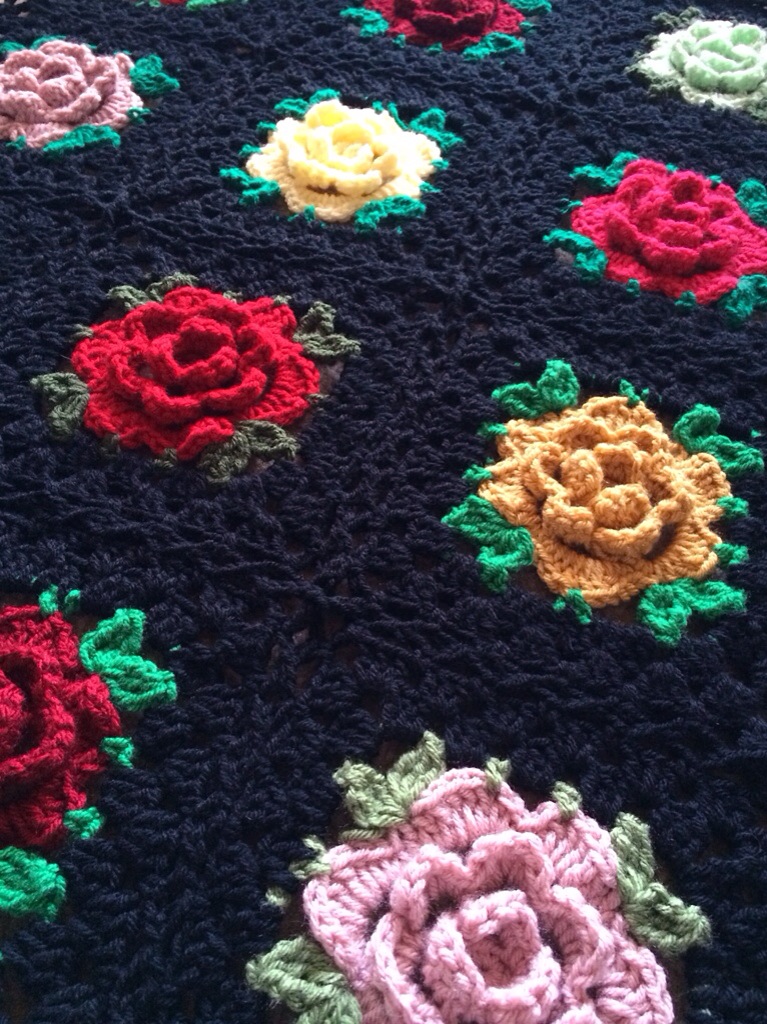
This pattern is an adaptation of my tutorial on the beautiful Babouska Rose blanket. It features the gorgeous 3D roses with leaves plus a granny square frame and 3-chain flat braid join.
Before you begin, have all of your roses with leaves ready. Go ahead, I’ll wait! 🙂
_____
Learn how to make the Babouska Rose crochet motif

Babouska Rose crochet motif 1
My new love! The Babouska Rose Blanket. I am making this blanket, and have documented some tips for maximized results, so I decided to write some pattern support.
Related Links:
- Second Babouska Rose piece (Includes free pattern for simple Picot Scallop Edging)
- Original Blanket pattern at Sewing Daisies blog
- Actual motif chart found on Pinterest
- Recommended yarn for this project: Catona (Wool Warehouse affiliate)
- My all time favorite crochet hook set (Amazon affiliate)
Original Pattern Chart
See my horrible phone screenshot of the motif chart below… I interpreted the little plus sign in the circle as “SC in the back bars of the stitch indicated.” (Notes: Not the stitch *post*, rather just the back bars. Also, I worked a slip stitch instead of an SC to eliminate extra bulk.)

My Interpretation
Here is a square from the pattern, with my modifications that I documented below.

Babouska Rose Crochet 2
Of course, I join everything as I go, so I rounded with the red SC, but the next motif is joined on that red round. (See more about the border below.)
Flower
See the pink flower in the photo directly above, and you notice that there is a “jog” where the petal rounds join and chain up. I liken this to the petals being “tongue-tied.” I had to snip that tether!
Check out the darker pink rose below that to see the petals nice and free.

Babouska Rose Crochet 3
Step by Step Photos
Let’s get started. This technique can be used on any flower pattern with similar petals.
Here is the flower complete through round 3 right before joining.

Drop the loop from the hook and insert hook in the first SC of the round, from back to front.

Hook the loop and pull it through to the back. Now you can proceed with the pattern by SC in the back of the stitch indicate. I believe the pattern says to SC. I slip stitch just to avoid extra bulk.

Below is the flower completed through the fifth round, up to right before the join.

Again, drop loop, insert hook from front to back in the first SC of the round, and hook the free loop.

Pull the loop to the back of the work, and proceed. When the flower is complete, do join as normal and finish off.

Green Leaves
I don’t have a photo for this, but where it says to chain 5 in the pattern, I only chain 4. That may just be me! I felt like it was too loose and floppy otherwise. Also, the light turquoise DC on the next round were too spaced out on mine with 5 chains.
Red Border and Join as you go Method
At first I had my heart set on a standard Flat Braid Join as shown in the left hand photo below. Then, I meditated for like an hour, and asked my social media peeps, and decided it would be better to do a small twist join, seen at the right. (Side Note: later on, I made a YouTube Video tutorial for a Flat Braid Join with only 1 chain) It makes the red more of an accent and lets the flowers be the main focal point.
Do you like floral patterns? Check out all my garden-inspired makes!

Although I have had many requests to write out the pattern for this rose, alas, it is not my pattern, and the creator of the original chart has asked that her patterns not be replicated in any way. Thank you for your enthusiasm! 🙂
____
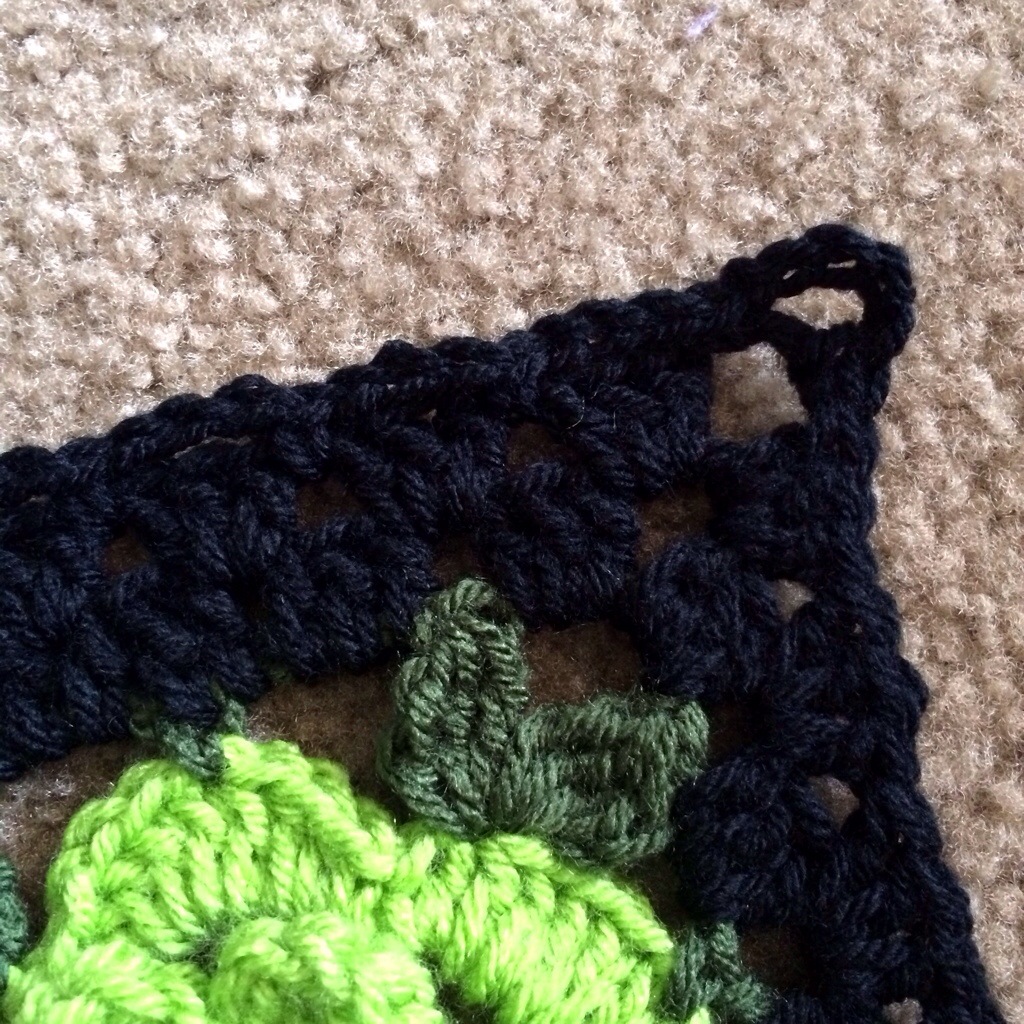
Start by attaching your background yarn in a chain space corner with your square oriented as in the photo below. Work (SC, Chain 4, 3DC) all in corner. 4DC in next chain space, DC in SC, 4DC in next chain space, (3DC, Chain 3, 3DC) in corner, 3DC in all 3 chain spaces across to corner, make corner. Continue in this manner around as illustrated in the following photos. You will end up with 15 DC per side (this includes corner DCs).


Join with a slip stitch to the first chain of the round (above the beginning SC). SC in corner space, Chain 4, 3DC, create your 3DC granny-style clusters in between every set of 3 DC on each side.
On the side with the irregular DC groups, work as in the photo below.


At the end of the round, join in the first chain as before. (SC, Chain 5, SC) all in corner space (corner made), Chain 3, SC between 3DC groups – across to corner.
Continue around in this manner, working (SC, Chain 5, SC) in all corners.


Use my flat braid join tutorial if you need it! If you’re familiar with the method, use a standard 3-chain flat braid join to create your piece.

You can see that the rose with the leaves takes on a directional quality. I alternated the position of the leaves as seen below, because I think it’s a nice thoughtful detail! 🙂
Stay tuned for the border!

