Hello, and a huge welcome to Week 8 of the Dutch Rose Blanket CAL! I’m so glad you’re here! It’s our last week, and it’s been so nice to revisit this pattern with you. I really enjoyed updating the pattern for clarity and seeing all of the gorgeous makes in the community!
Quick Links to Each Week: 1/2/3/4/5/6&7/8
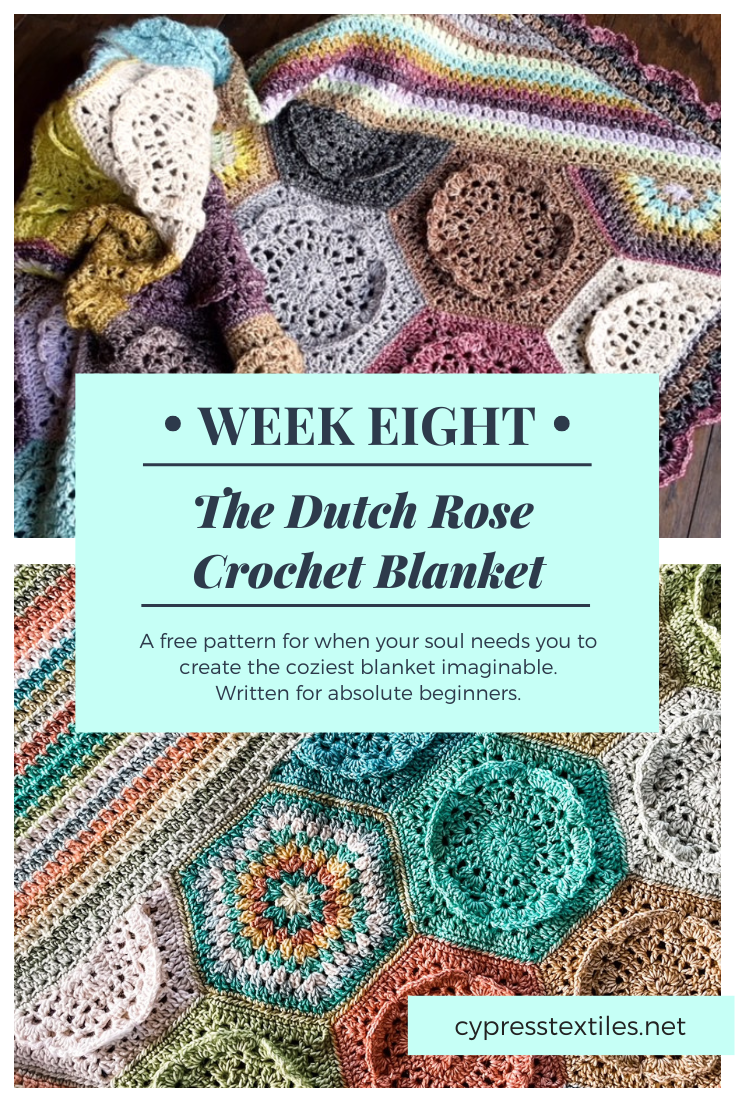
Social Media Hashtags: #DutchRoseBlanket and #CypressTextiles
Dutch Rose Blanket CAL Quick Links
- Dutch Rose Blanket CAL Main Information Page – for all the yarn details, as well as the schedules for the three blanket sizes (small, medium, and large), visit this page.
- Ravelry Pattern – Favorite the pattern, add it to your Ravelry queue, see others’ projects, and more!
- CypressTextiles Tree Huggers Facebook Group – This is my main FB group (join!). Share your progress pics in this group if you like, and ask any questions you may have.
- YouTube Channel (Subscribe!) – The videos are in a playlist here.