
Hello, gorgeous crafter! I hope your week has been going well, and you’ve been able to get some hooky in. Working toward my efforts to make sure everyone has access to my crochet patterns, I am slowly making sure every single pattern of mine has a free version here on my website. Today, I want to offer my popular Callie Crochet Blanket Pattern now as a freebie! Scroll down for UK Terms, or click here for US Terms.
PDF Version
Find this pattern in a condensed ad-free PDF for a small fee in my Etsy Shop and on Ravelry. Pattern PDFs for US and UK Terms are both included in the purchase. Help support my work by purchasing this convenient PDF if you like, but just being here on the website is plenty of support as well. 🙂

Designing the Callie Crochet Blanket
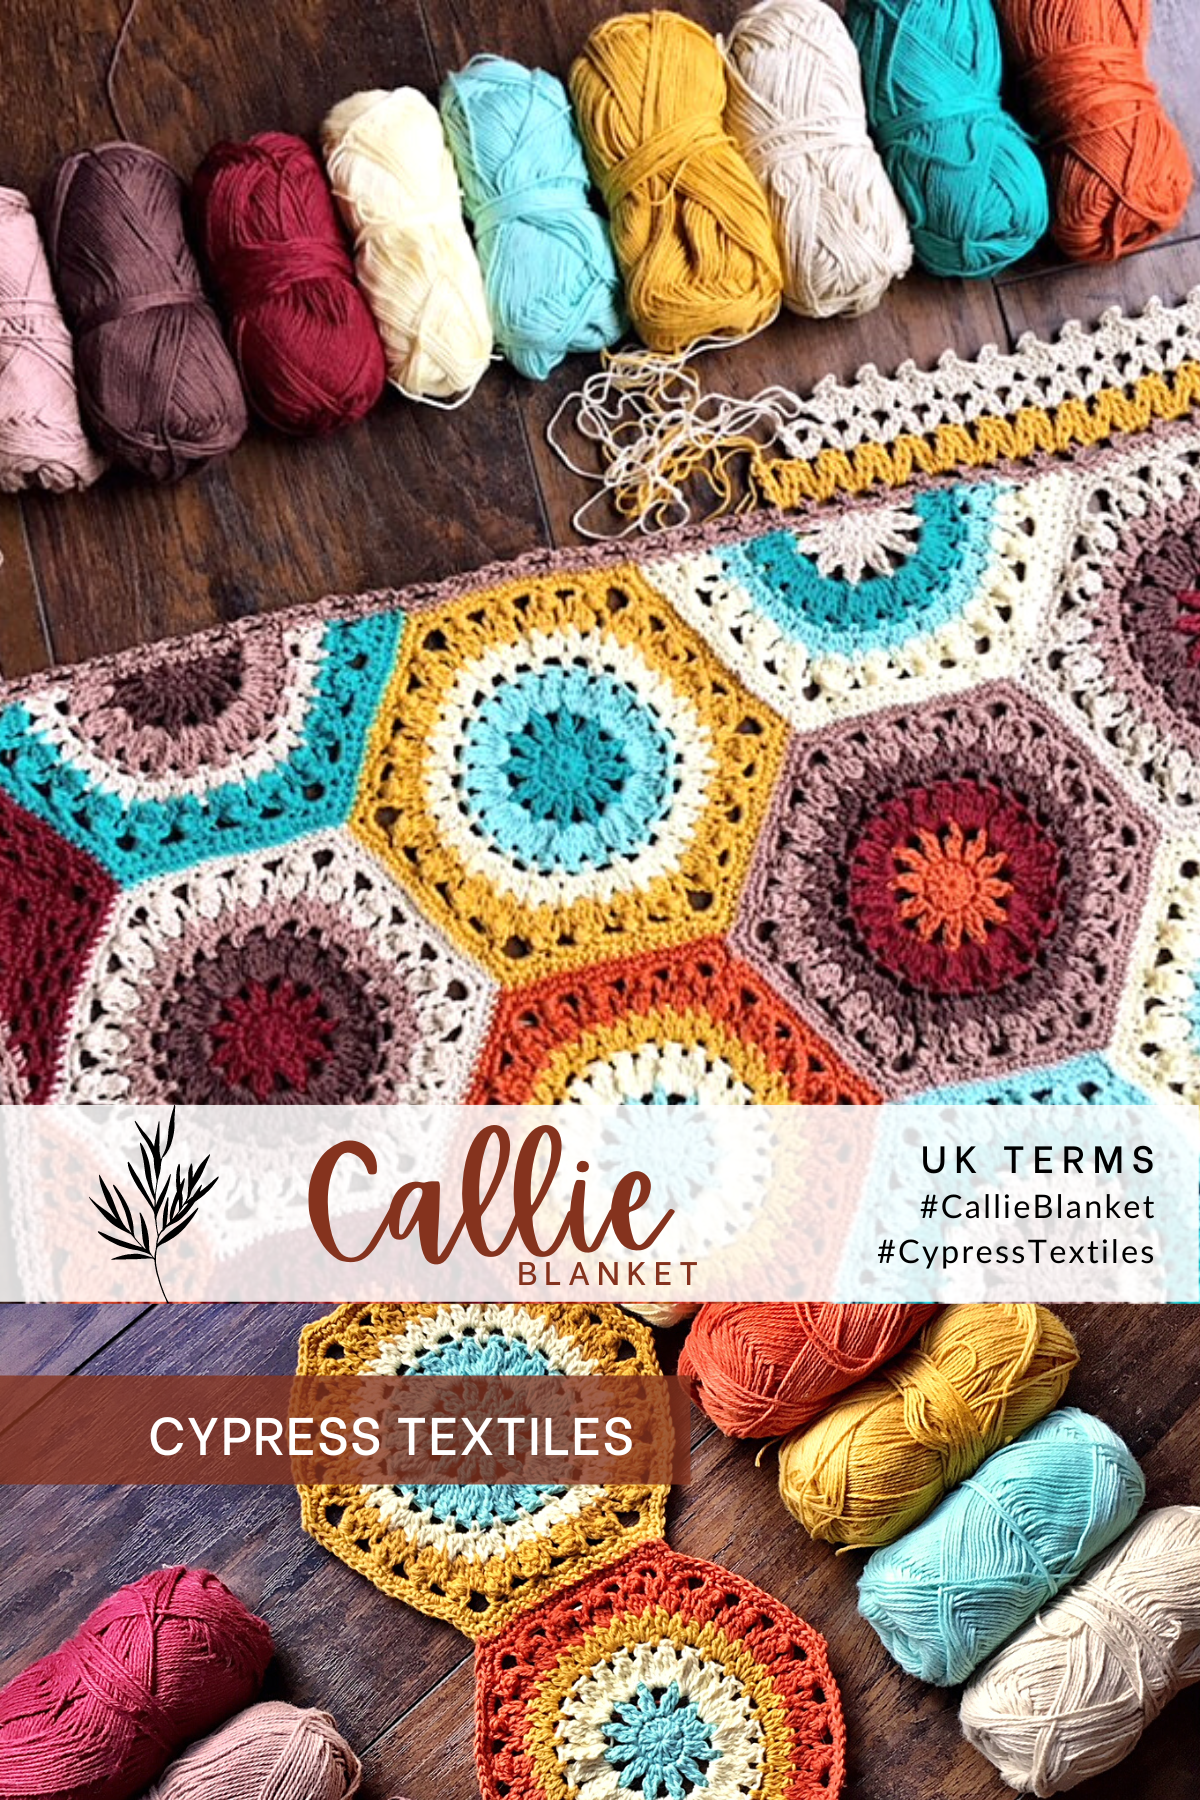
Calliope or simply “Callie” was born from an idea I had in August 2017 to make a floral hexagon with thin petals and an ornate texture. At that time I was working with my Fresh Earth palette and it was really well received, so I decided to start with that color scheme for the piece. Some color-swapping and adding tones, and the finished color combo was decided.
Fresh Earth Palette
Fresh Earth is a palette that combines full-of-life brights with two down to earth shades for an unexpected effect. Go ahead and cover up those two left-hand yarn balls. You could imagine just about any brights – some pinks would look lovely. I’m envisioning a magenta and a purple! But instead, you have a shift downward into the sophisticated and serious with the clay and sand, shoving this palette into the Fall category for me.

Instead of working with these exact colors, swapped out a couple of shades and ended up with the palette that you see in the photo below.

Color Placement for Each Motif
The way I used the colors in the piece is a bit different from most of my projects! I laid out the 9 colors in a circle in the order that most pleased me. Then when I made each motif, I used the colors in the order they appear in the circle. So each motif has very planned color order. This proved to be a success in that instead of a completely randomized color placement, there is some order to it.
Of course I can’t totally let go of random… so I did do random motif placement! Satisfying 🙂 It was an utter joy to work with these colors of Scheepjes Cotton 8 (affiliate).

The Callie Crochet Blanket free pattern is ready for you all, and I really hope you have a wonderful time creating her. Any color combination will look stunning, and if you do decide to make Callie, be sure to hashtag #CallieBlanket and #CypressTextiles – this way I can see your works 🙂
Shop Scheepjes Cotton 8
Scheepjes “Cotton 8” (affiliate)
(100% Cotton; 50g/170m)
Color x No. of balls
- Yarn A: 665 Light Blue Green x 3
- Yarn B: 723 Sea Green x 3
- Yarn C: 508 Soft Yellow x 3
- Yarn D: 722 Ochre x 4
- Yarn E: 671 Rust x 3
- Yarn F: 717 Bordeaux x 3
- Yarn G: 657 Dark Brown x 3
- Yarn H: 659 Light Brown x 4
- Yarn I: 656 Beige x 4

Notions
US Size 3.25mm hook, Tapestry needle for weaving ends
Gauge
Motif measures about 6.5in at widest point
Measurements
Finished piece measures about 70x58in, and is easily resized by using larger gauge yarn and hook, or by making more motifs.

Stitch Guide (UK Terms)
- 2trcl (yoh, insert hook in st/sp, yoh, pull up lp, yoh, draw through 2 lps) 2 times, yoh, draw through all lps
- 3trcl (yoh, insert hook in st/sp, yoh, pull up lp, yoh, draw through 2 lps) 3 times, yoh, draw through all lps
- 2dtrcl [yoh 2 times, insert hook in st/sp, yoh, pull up lp, (yoh, draw through 2 lps) twice] 2 times, yoh, draw through all lps
- 3dtrcl [yoh 2 times, insert hook in st/sp, yoh, pull up lp, (yoh, draw through 2 lps) twice] 3 times, yoh, draw through all lps
- ch chain
- beg beginning
- beg tr (dc, ch1) – counts as 1 tr
- beg dtr (dc, ch2) – counts as 1 dtr
- dc double crochet
- dtr double treble crochet
- lp(s) loop(s)
- picot ch3, ss in previous st
- rep repeat
- RS/WS right side/wrong side of work
- sk skip
- sp space
- ss slip stitch
- st(s) stitch(es)
- yoh yarn over hook
Layout

Instructions
Note: Full and half motifs are worked in color order as listed, and joined with whip st to make the blanket body. Short sides are straightened, and a cute lacy border is added to complete the piece.

Full Hexagon Motif (Make 110 total)
Color distribution for motifs
Note: Each motif has 4 colors.
Make 12 each of the Full Hexagon Motif in the following Yarn color order, with the first Yarn letter being the first yarn used (at center of motif) and so on.
- Motif A: Yarns A, B, C, D
- Motif B: Yarns B, C, D, E
- Motif C: Yarns C, D, E, F
- Motif D: Yarns D, E, F, G
- Motif E: Yarns E, F, G, H
- Motif F: Yarns F, G, H, I
- Motif G: Yarns G, H, I, A
Make 13 each of the Full Hexagon Motif in the following Yarn order:
- Motif H: Yarns H, I, A, B
- Motif I: Yarns I, A, B, C
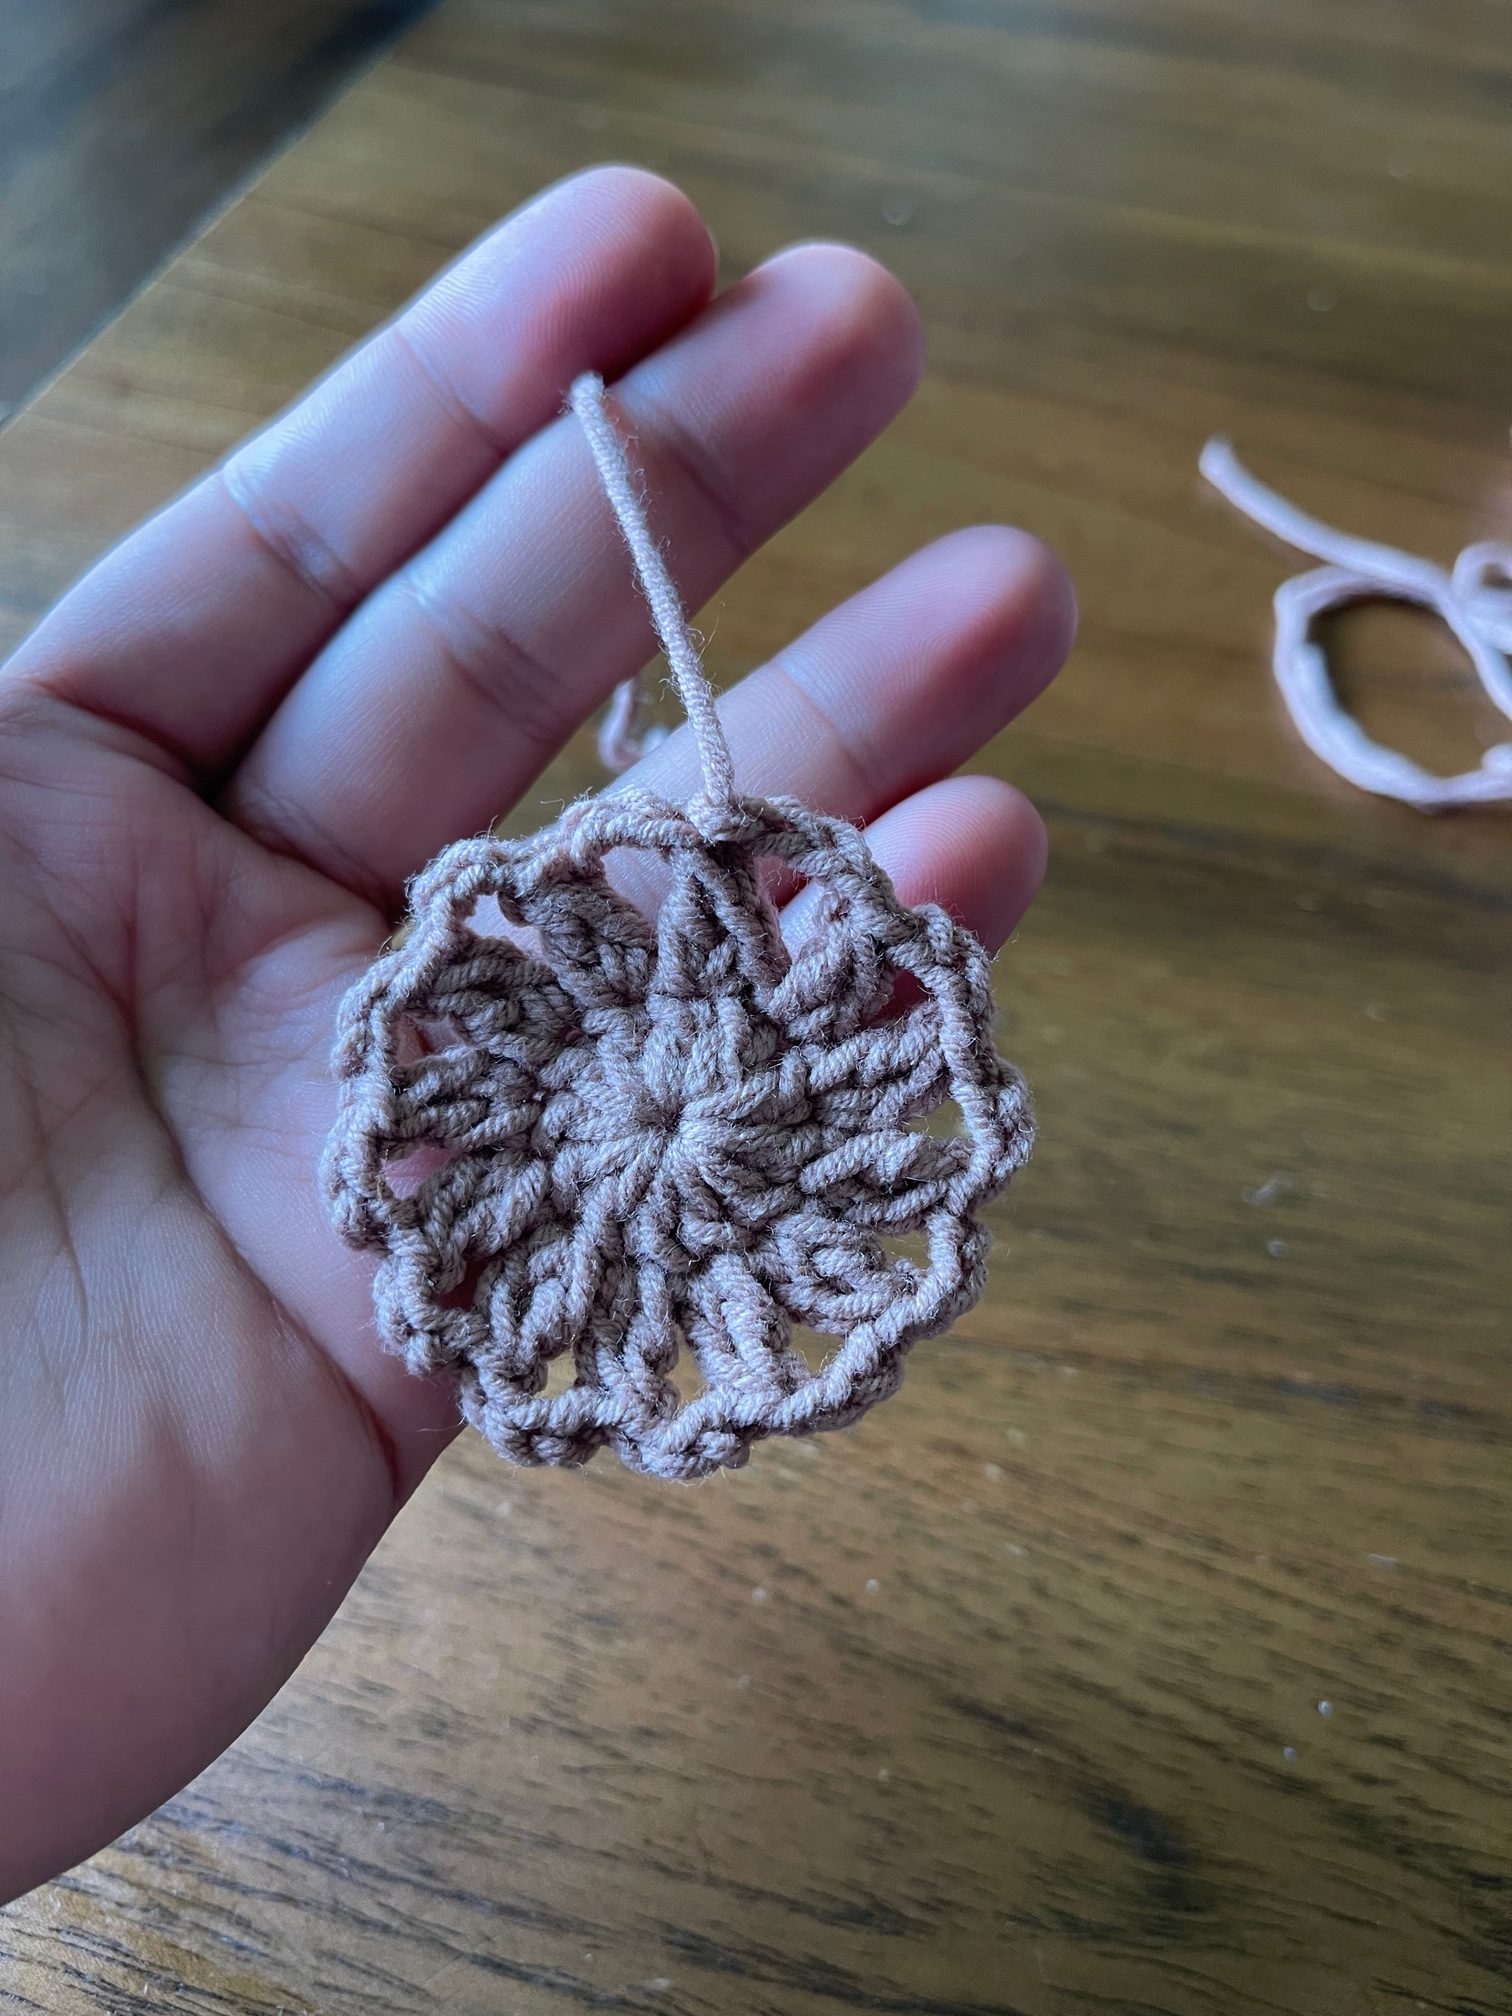
Rnd 1 Sl knot, ch3, ss in first st to make ring. All in ring: Beg tr, 11tr, ss in first st. [12 tr]
For this demo I am using Scheepjes Softfun and Softfun Denim from my stash! (links are affiliates)


Rnd 2 (Beg tr, 1tr) in next st, (ch3, 2trcl in next st) 11 times, ch3, sk beg tr, ss in tr, cut yarn. [12 2trcl, 12 sp]


Here is how the back looks – I worked over the tail as you can see.


Then insert the hook from back to front through the chain or st to the left of the joining st. I went through the actual chain here, not the chain space.

Grab the yarn tail and pull it to the back of the work.

Insert the hook back to front through back loop only of the chain or st to the right of the joining st. Grab the yarn and pull it through to the back of the work. Repeat this maneuver until the tail is buried.


Rnd 3 Using next color, ss in any ch-sp, (beg dtr, 2dtrcl, ch2, 3dtrcl) in same ch-sp, (ch2, 3dtrcl) 2 times in all rem 11 ch-sps, ch2, sk beg dtr, ss in 2dtrcl, cut yarn. [24 3dtrcl, 24 sp]


Rnd 4 Using next color, ss in any ch-sp, (1dc, ch2) in all 24 ch-sps around, ss in first st. [24 dc, 24 sp]


Rnd 5 (Beg tr, 1tr, ch2, 2trcl) in ch-sp, (2trcl, ch2, 2 trcl) in rem 23 ch-sps, sk beg tr, ss in next tr, cut yarn. [48 2trcl, 24 sp]


Rnd 6 Using next color, ss in any ch-2 sp, (beg tr, 2trcl) in same ch-sp, (ch3, 1dc between next 2 2trcl, ch3, 3trcl in next ch-2 sp) 23 times, ch3, 1dc between 2 2trcl as before, ch3, sk beg tr, ss in 2trcl. [24 3trcl, 24 dc, 48 sp]


Rnd 7 (1dc in ch-sp, ch3, 1dc in next ch-sp, 1dtr in 3trcl) 24 times, ss in first dc. [24 dtr, 48 dc, 24 sp]
Note: dtr sts on Row 7 are between 2 dc and form 3D “bobbles” on front side of work.


Rnd 8 (5dc in ch-sp, 4dc in next 3 ch-sps) 6 times, ss in first dc. [102 dc]


Rnd 9 1dc in next st, (3dc in corner st, 1dc in all sts to next corner) 6 times, ss in first dc, cut yarn leaving long end about 12-15in long, (suitable length for whip st join). Weave all ends except for long tail. [114 dc]


Half Hexagon (Make 14 total following color order method)
Row 1 (WS) Sl knot, ch3, ss in first st to make ring. All in ring: Beg tr, 7tr, turn. [8 tr]
Row 2 Beg dtr, ch1, (2trcl, ch3) 6 times omitting last 2 ch, 1dtr in final st, cut yarn, turn. [6 2trcl, 2 dtr, 7 sp]
Row 3 Using next color and with RS still facing, ss in first st, beg dtr in same st, ch1, 3dtrcl in ch-1 sp, (ch2, 3dtrcl) 2 times in next 5 ch-3 sps, ch2, 3dtrcl in ch-1 sp, ch1, 1dtr in final st, cut yarn, turn. [12 3trcl, 2 dtr, 13 sp]
Row 4 Using next color, ss in first st, 1dc in same st, (ch2, 1dc in next ch-2 sp) 11 times, ch2, 1dc in final st, turn. [13 dc, 12 sp]
Row 5 Beg dtr in first st, (2trcl, ch2, 2trcl) in each of next 12 ch-sps, 1dtr in final st, cut yarn, turn. [24 2trcl, 2 dtr, 12 sp]
Row 6 Using next color, ss in first st, beg dtr in same st, ch1, (3trcl in ch-2 sp, ch3, 1dc between 2 2trcl, ch3) 11 times, 3trcl in ch-2 sp, ch1, 1dtr in final st, turn. [12 3trcl, 2 dtr, 11 dc, 24 sp]
Row 7 2dc in first st, (1dc in ch-sp, 1dtr in 3trcl, 1dc in ch-sp, ch3) 12 times omitting final ch-3, 2dc in final st, turn. [12 dtr, 28 dc, 13 sp]
Row 8 1dc in first 3 sts, (4dc in next 3 ch-3 sps, 5dc in next ch-sp) 2 times, 4dc in next 3 ch-sps, 1dc in final 3 sts, turn. [52 dc]
Row 9 2dc in first st, (1dc in 16 sts, 3dc in next st) 3 times omitting final dc, cut yarn leaving long end about 12-15in long, (suitable length for whip st join).

Join motifs to make blanket body
Lay out motifs in any placement that suits your fancy, according to blanket schematic on page 1. I prefer a random placement. Whip st motifs together as follows:
- Hold 2 motifs with wrong sides together, and use the long tail of one of the motifs.
- Pull the long tail through the center dc of both motifs, back to front.
- Insert the hook front to back through both loops of the next st to the left, on both motifs.
- Grab the long tail and pull it all the way through to the front of the piece, allowing the whip st to rest flush against the top edge of the motifs.
- Repeat steps 3 and 4 across, inserting the hook through both motifs from front to back in the next st to the left, and pulling the yarn through to the front.
- When the next corner is reached, if there are no more subsequent sides to join, you can weave the excess tail, cutting it down if necessary.
- If there are more sides to join, do so, then cut yarn shorter if needed and weave in.
- Important: Do not pull yarn tail to tighten whip sts. I prefer to let the whip sts rest flush and snug against the joined edge. Then when you open the motifs flat, you have a cute sewn edge with nice little stitches, giving a very cozy (but not messy) handmade look.

Straighten zig-zag edges on short sides of blanket
Using any color except D, H, or I, fill each little zig-zag dip independently as follows:
Row 1 With RS facing, ss in corner st of first motif, 1dc in same st and in next 18 sts, sk corner dc of both motifs, 1dc in 19 sts on next motif, turn. [38 dc]
Row 2 Sk first st, (1dc in next st, ch3, sk2) 6 times, 1dc in next 2 sts, (ch3, sk2, 1dc in next st) 6 times, turn. [14 dc, 12 sp]
Row 3 Ss in first ch of ch-sp, (1dc in ch-sp, ch3) 11 times, 1dc in final ch-sp, turn. [12 dc, 11 sp]
Row 4 Ss in first ch of ch-sp, (1dc in ch-sp, ch3) 5 times, sk center ch-sp, (1dc in next ch-sp, ch3) 4 times, 1dc in final ch-sp, turn. [10 dc, 9 sp]
Row 5 Ss in first ch of ch-sp, 2dc in same ch-sp, 3dc in next 3 ch-sps, 1dc around BOTH center ch-sp, and ch-3 sp from row below (both ch-sps are captured in the 1dc), 3dc in next 3 ch-sps, 2dc in final ch-sp, turn. [23 dc]
Row 6 Sk first st, 1dc in next 10 sts, sk center st, 1dc in next 10 sts, turn. [20 dc]
Row 7 Sk first st, 1dc in next st, ch4, sk2, make 3dtrcl, but do not draw yarn through all lps. Leave 4 lps on hook. Sk2, make 3dtrcl, but leave 3 lps on hook. Now there are 7 lps. Sk4, make 3dtrcl, again leaving 3 lps on hook. Sk2, make 3dtrcl, leaving 3 lps on hook. There are a total of 13 lps on hook now. Yoh, and draw yarn through all 13 lps to close “flower”. Ch5, sk2, 1dc in next st, cut yarn. Rep for remaining 17 zig-zag dips. I used random colors for cozy effect.

Blanket border
Rnd 1 Using Yarn H, ss in top right corner of blanket. (3dc in corner, make 29 dc evenly across each zig-zag gap filler for a total of 261 dc across short side, 3dc in corner, make 35 dc evenly across half hexagon, and 18 dc across full hexagon, repeating in this manner for a total of 353 sts across long side, add in 1 extra dc to help set up for the next round) 2 times, ss in first st. [1242 dc]
Rnd 2 * (1dc, ch3, 1dc) in corner st, (ch3, sk2, 1dc) across to next corner st, ch3, sk2, rep from * 3 times, ss in first dc, cut yarn.
Rnd 3 Using Yarn D, ss in corner ch-sp, (beg dtr, 2dtrcl, ch3, 3dtrcl) in corner ch-sp, * (2dtrcl, ch2, 2dtrcl) in each ch-3 sp across to next corner, (3dtrcl, ch3, 3dtrcl) in corner ch-sp, rep from * 3 times omitting final corner, sk beg dtr, ss in 2dtrcl, cut yarn.
Rnd 4 Using Yarn I, ss in corner ch-sp, (beg tr, 1tr, ch5, 2trcl) in corner ch-sp, * (2trcl, ch3, 2trcl) in each ch-sp across to next corner, (2trcl, ch5, 2trcl) in corner ch-sp, rep from * 3 times omitting final corner, sk beg tr, ss in tr.
Rnd 5 (Beg tr, 1tr, picot, 1tr, ch2, 2tr, picot, 1tr) in corner ch-sp, * (3tr, picot, 2tr) in each ch-sp across to next corner, (2tr, picot, 1tr, ch2, 2tr, picot, 1tr) in corner ch-sp, rep from * 3 times omitting final corner, ss in beg tr, cut yarn.
Yay! All done! Weave ends and give yourself a fist bump!
Note: Despite what I just said, I did not weave ends for this project. I tied off all the ends using Surgeon’s Knots and then cut them off to about 2mm. It is so liberating and I have not had any ends come loose yet, even after washing. Run to YouTube and learn about the surgeon’s knot – used also by fishermen who need strong knots too. Bless.
Copyright Information
No pattern or other material may be reproduced — mechanically, electronically, or by any other means, including photocopying — without written permission of Rachele Carmona. This applies to all content on CypressTextiles.net, BabyLoveBrand.net, and all other sites used by Rachele Carmona. Paid patterns are for personal use only. You may sell your finished crocheted items.

RACHELE CARMONA
Crochet Designer & Fiber Artist
I hope you enjoyed the Callie Crochet Blanket pattern! If you start/finish the blanket, be sure to hashtag it on socials: #CallieBlanket and #CypressTextiles so I will see it and share in my stories/pages!
Happy crafting,
Rachele C.
PS: Another pattern that has been getting a lot of love lately is my Trellis and Chevron Crochet Blanket Pattern. Find the free crochet pattern in US Terms or in UK Terms!
