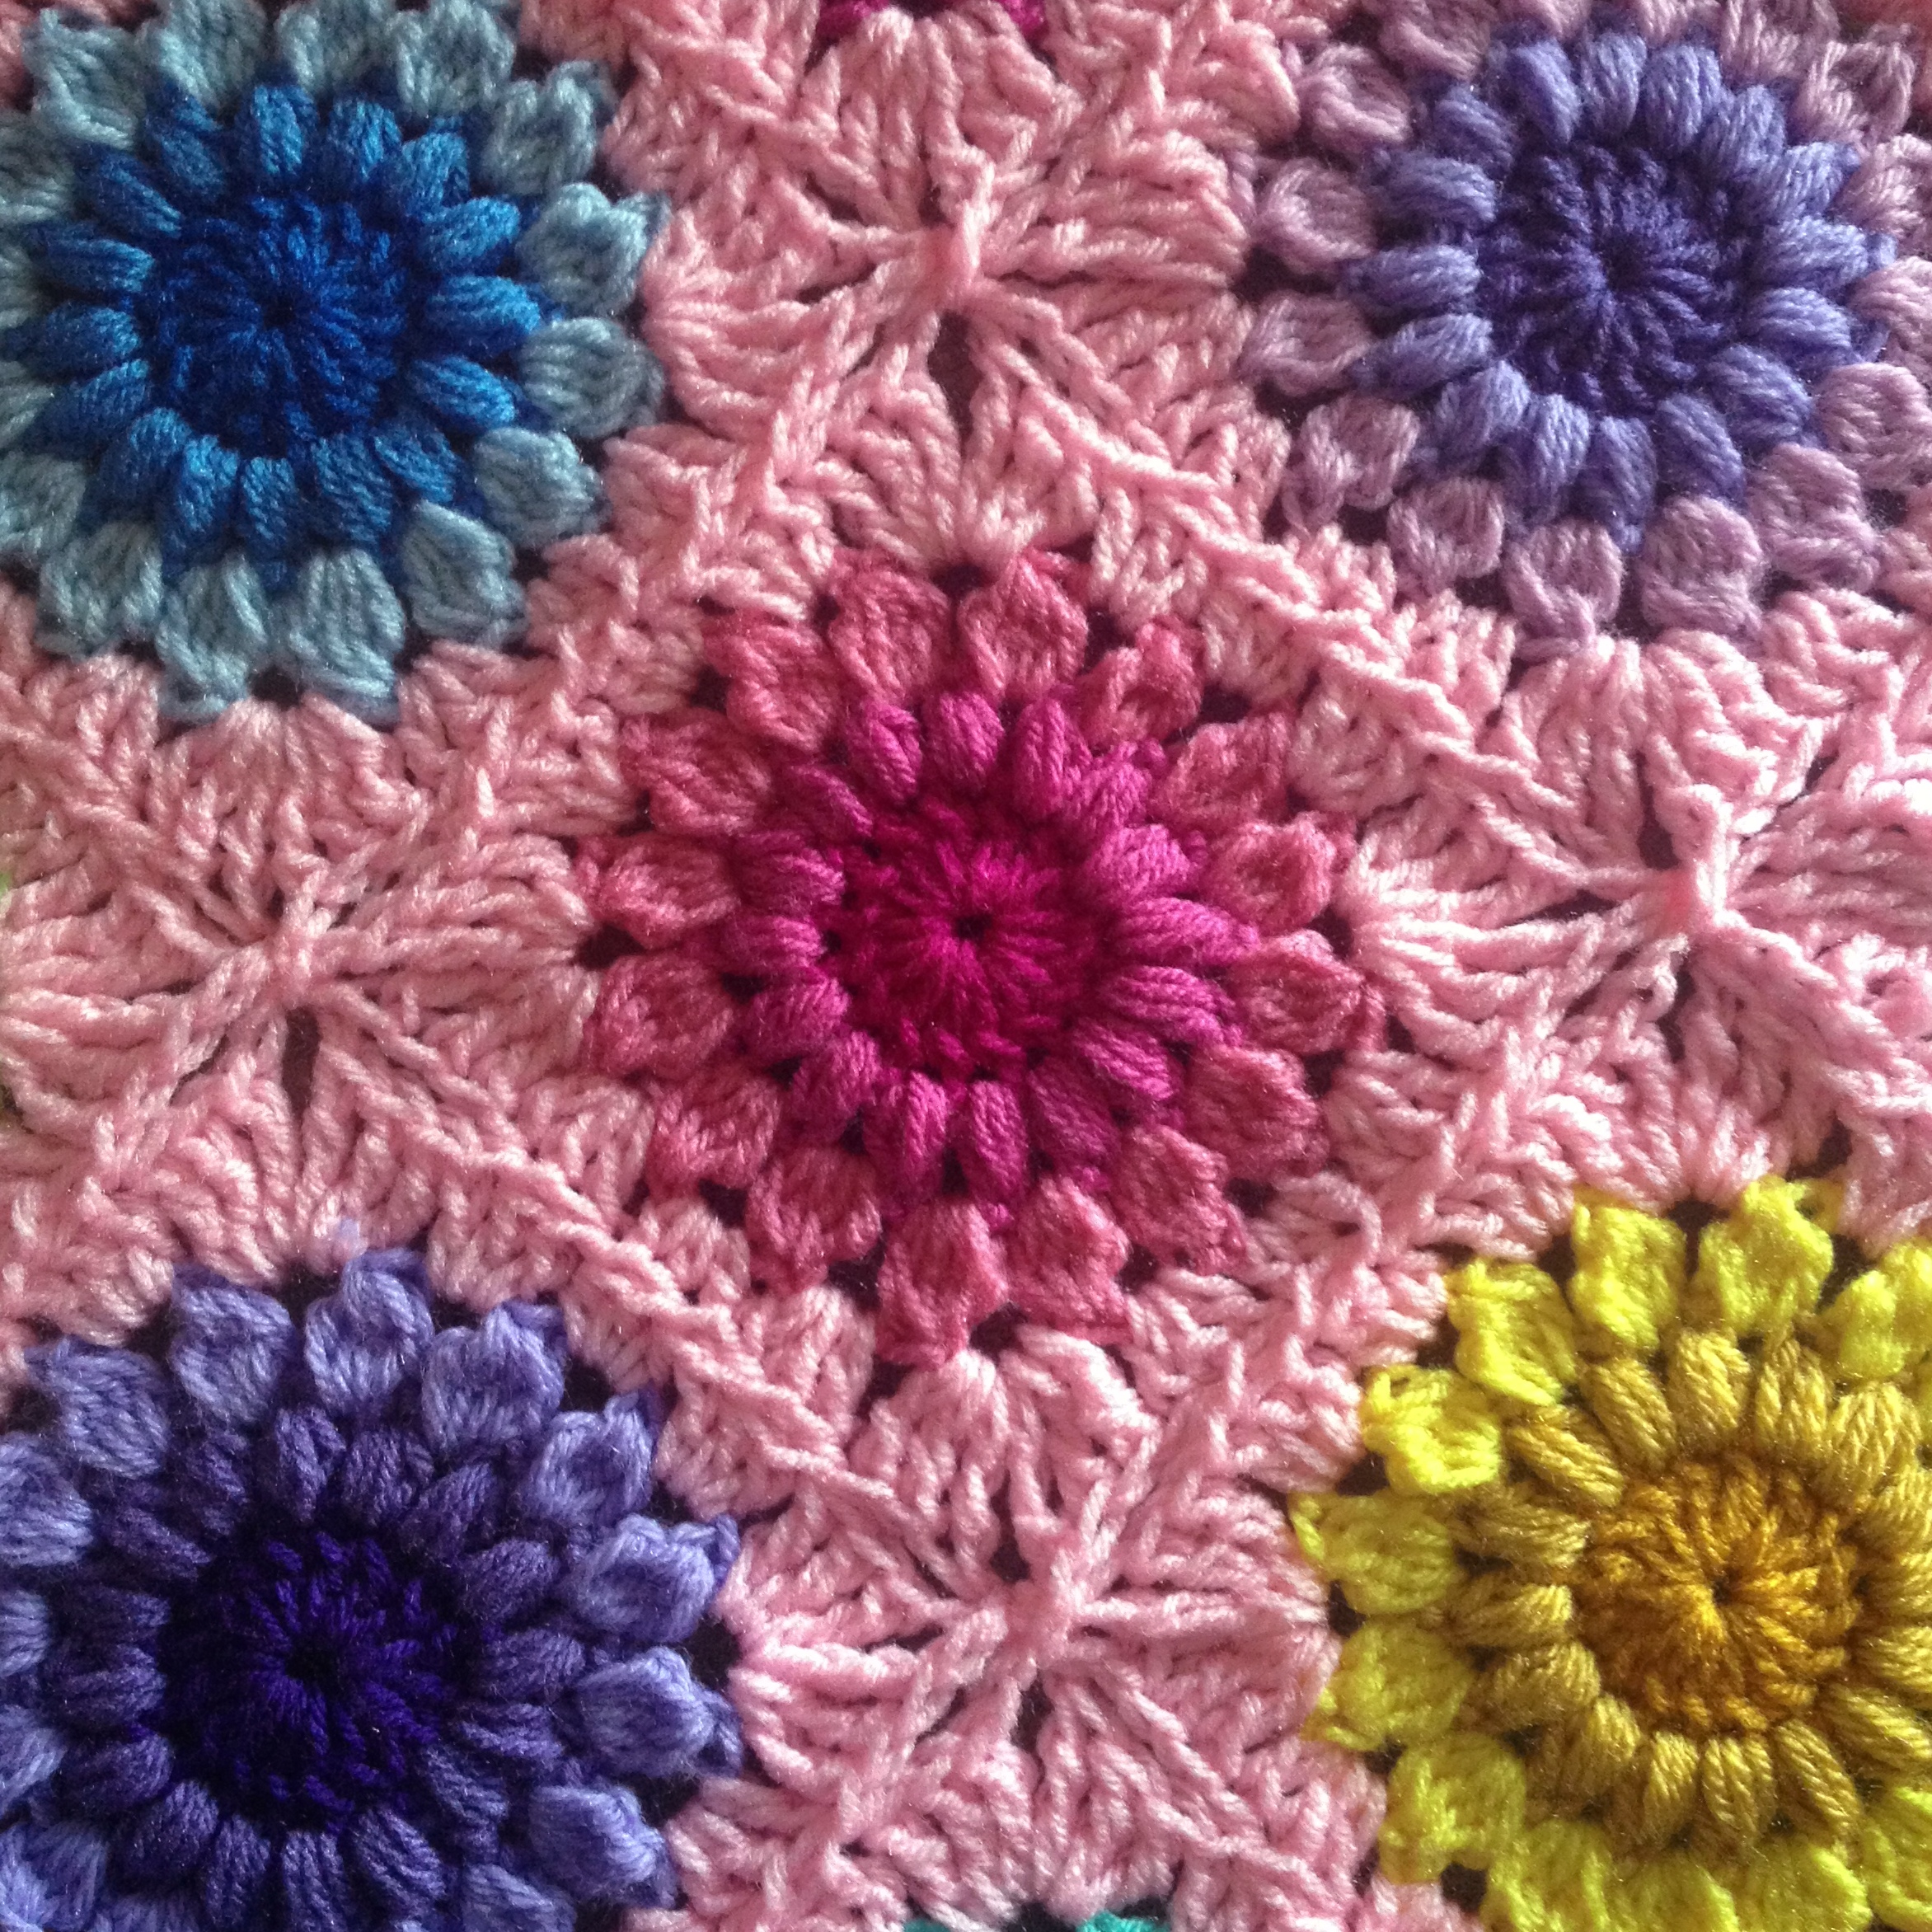
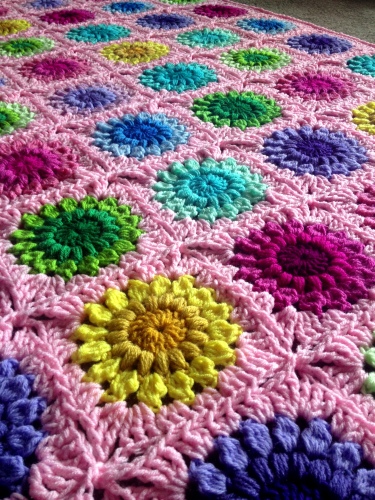
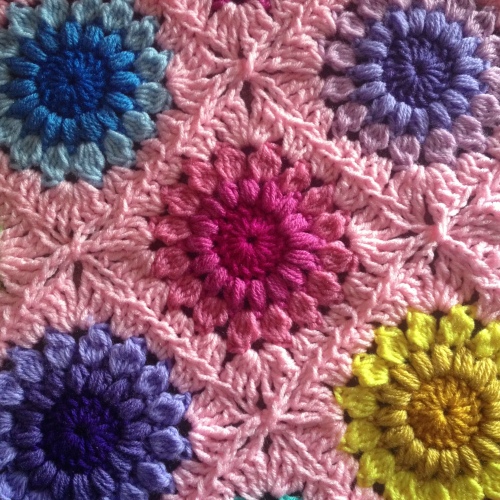
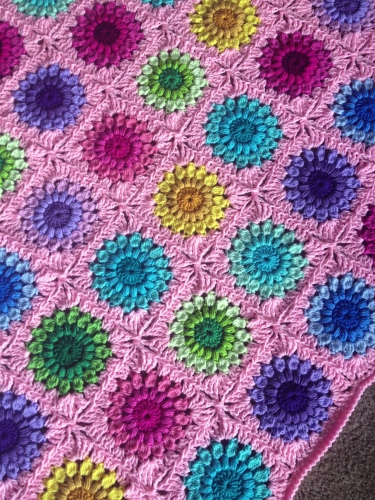
Welcome to my Tutorial for the crochet pattern: Sunburst Flower Crochet Blanket
Introduction
This blanket is based on the Sunburst Granny Square by my crochet idol, Priscilla Hewitt. Color scheme borrowed from SnapDragons blanket – go check out her beautiful blog!
Materials
- Yarn: Scheepjes Colour Crafter (Wool Warehouse Affiliate)
- Hook size G (4mm) – My favorite set of hooks (Amazon Affiliate)
Instruction
Let’s get started with this beautiful and sweet crochet pattern!
Flowers
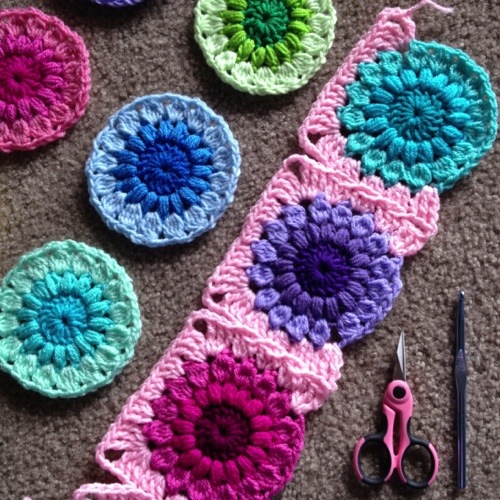
First, work rounds 1-3 of the free Sunburst Granny Square pattern. Make as many circle flowers as you need for your blanket, because the join is continuous and worked all at once. So make those flowers! I’ll wait! 🙂
Here are some of my flowers. I made 70 total for a 7×10 blanket that measured 48×64″ and for these photos, I used worsted weight yarn with a size K 6.5mm hook. Check out my FO Gallery with the Sunburst Flower Blanket – I have some with really pretty palettes!
Joining
- The join that I used is my own Gumball Blanket pattern join, the Mini-Twist, re-worked into the Continuous Join as You Go – see YouTube video tutorial by Crochet Cabana.
- Updated to PLT JOIN – Check it out!
- I didn’t take a lot of pictures of the continuous join because the YouTube tutorial is so complete.
- Before you attempt my join, I recommend watching it and even taking some small grannies and practicing. You won’t regret it because it can be confusing if you don’t try it out first hand.
- I did end up writing a more complete version of the Continuous Join-as-you-go – find it here!
- See my post where I sing the praises of the continuous join here.
Joining Instruction
The join is worked as follows:
- Join border yarn with a treble crochet stitch (YouTube tutorial) in any chain 2 space. Chain 3 and work 3 trebles in the same space. Working in only the chain spaces between clusters, 3 dc, 3 hdc, 3 dc, (3 tr, ch 3, 3 tr) (corner made), 3 dc, 3 hdc, 3 dc, 3 tr (half-corner made).
- Now you have 2 sides worked on your first flower motif. Chain 1 and attach your next motif. Work a half-corner into any chain space on the motif and work a dc in the next space.
- Join to the completed motif like so: drop the loop from your hook, insert your hook down through the corresponding stitch on the completed motif, pull the dropped loop up to the front of the work (join made). 2 dc into the same space and join. Joining after every 2 stitches, work 3 hdc and 3 dc.
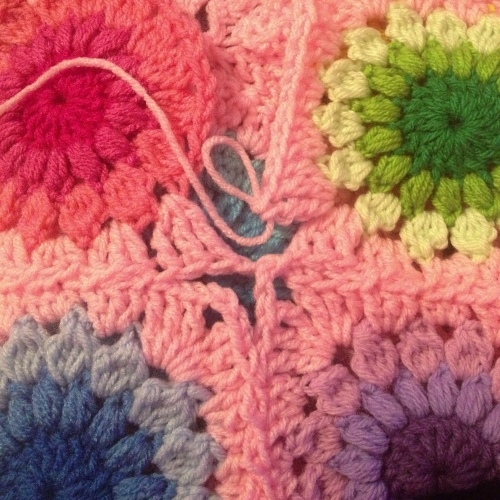
- Make a corner in the next space and work two more sides of your motif up to a half-corner (3 out of 4 sides will be worked total at this point). Get your next motif ready to join. Please use the YouTube joining video linked above as well as the photo below to guide you.
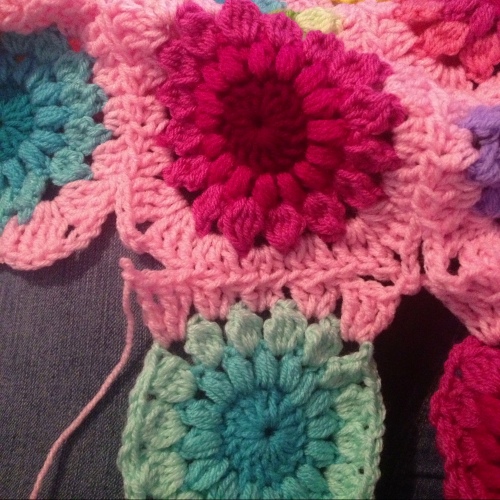
In the photo below, the upper left – where the pink yarn tail is – is the starting point. Where you see the “twists” in the join is where the dropped loop is pulled through and the join is made.
More CJAYG Step by step (Photos)
When you are on the second row of motifs, follow the photos below to pick up the hanging corners.
You will be looking at a setup like the one below.
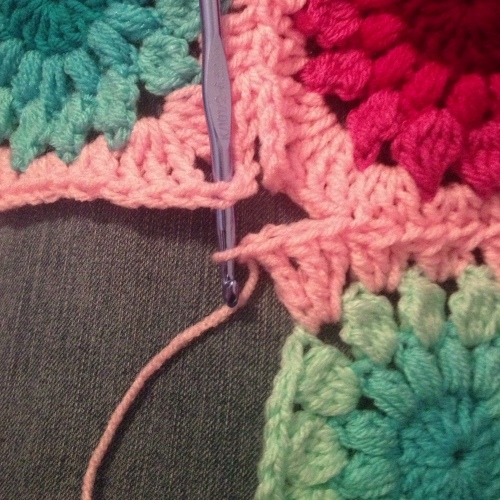
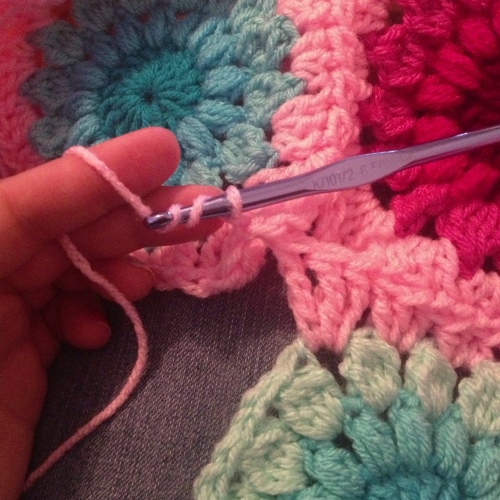
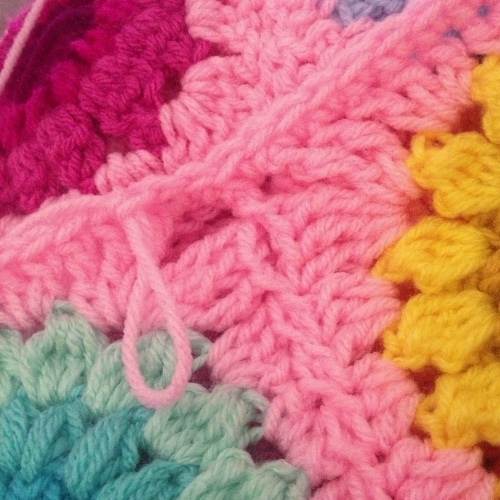
Drop the loop from your hook, insert the hook in the left hand side 3 chain space and pick up the dropped loop as seen in the photo below. (You have ended with a half-corner.)
Pull the dropped loop up through the 3 chain space and ch 1.
Attach the next motif as in the video by working a half-corner in any 3 chain space. continue joining across 1 side of all motifs. Reference the video, but across your blanket, you will have what looks like a bunch of hanging circles joined at one side. Reference the photo below.
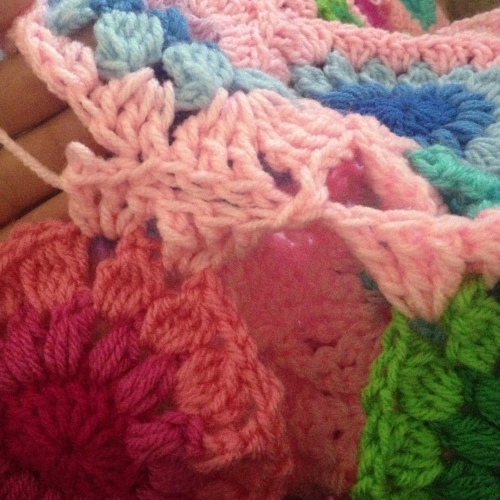
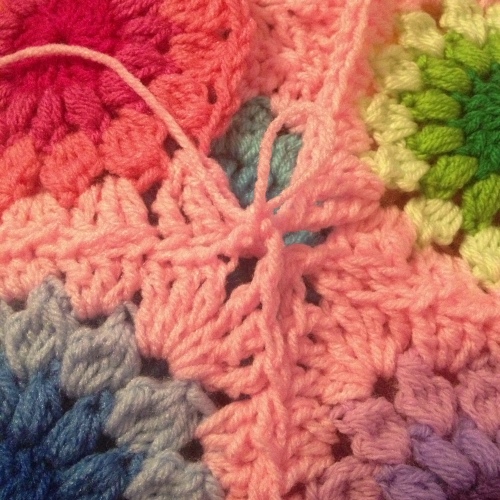
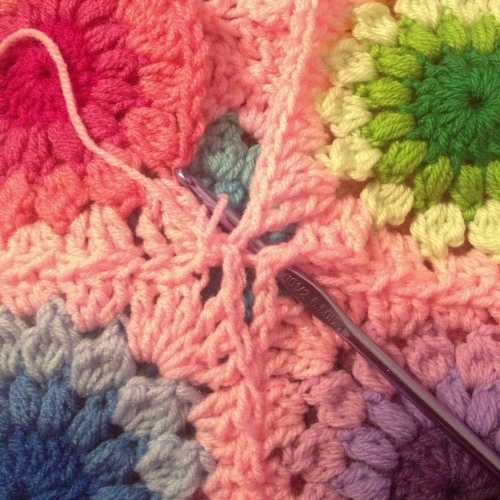
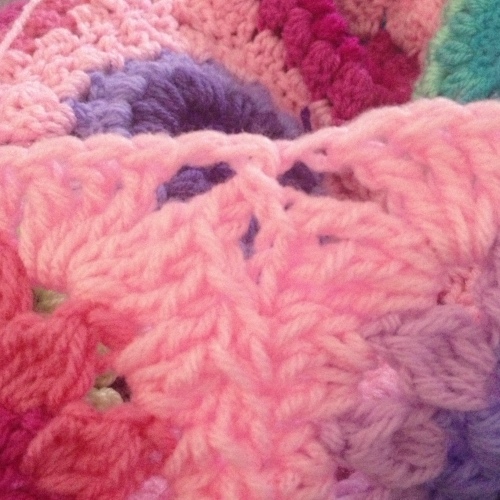
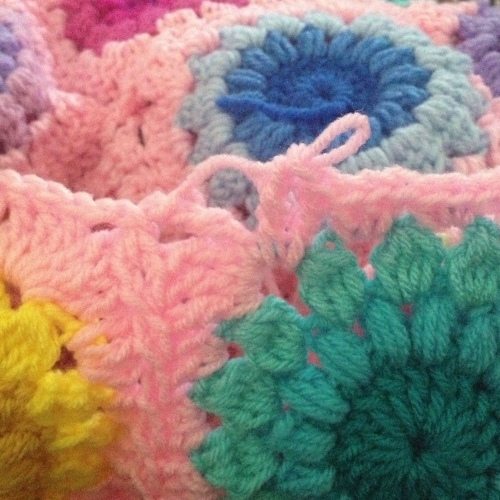
When I get to the completion of the 4-corner meet-up, I drop the loop from the hook, insert the hook in the un-worked corner chain space, pull the loop through and make a chain. Reference the photos above and below.
Next, drop loop from hook and insert hook as shown in the photo below. Put loop back on hook and pull it through – make a chain.
Continue with 3TR in the same space as the next TR – see below!
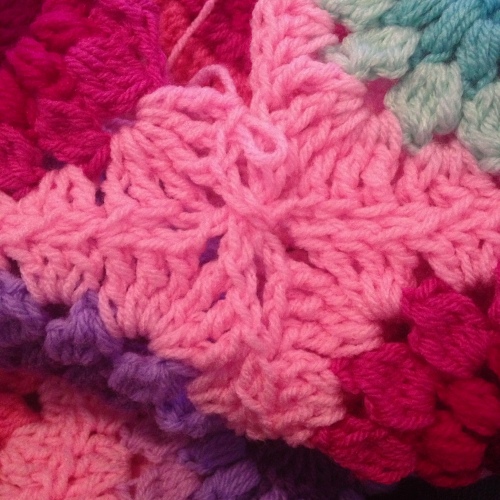
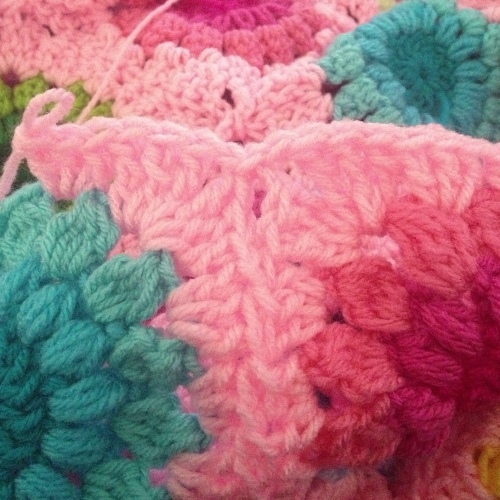
Connect outer perimeter corners as shown in the photo below.
When you are on the perimeter of the blanket, finishing the open edges, you need to close the open corners by working 3TR, chain 1, slip stitch in the chain-2 space, chain 1, 3TR in the next space – all as seen in the next 2 photos.
If you want to add an SC round, you would treat these corner meet-ups as seen below.
End!

