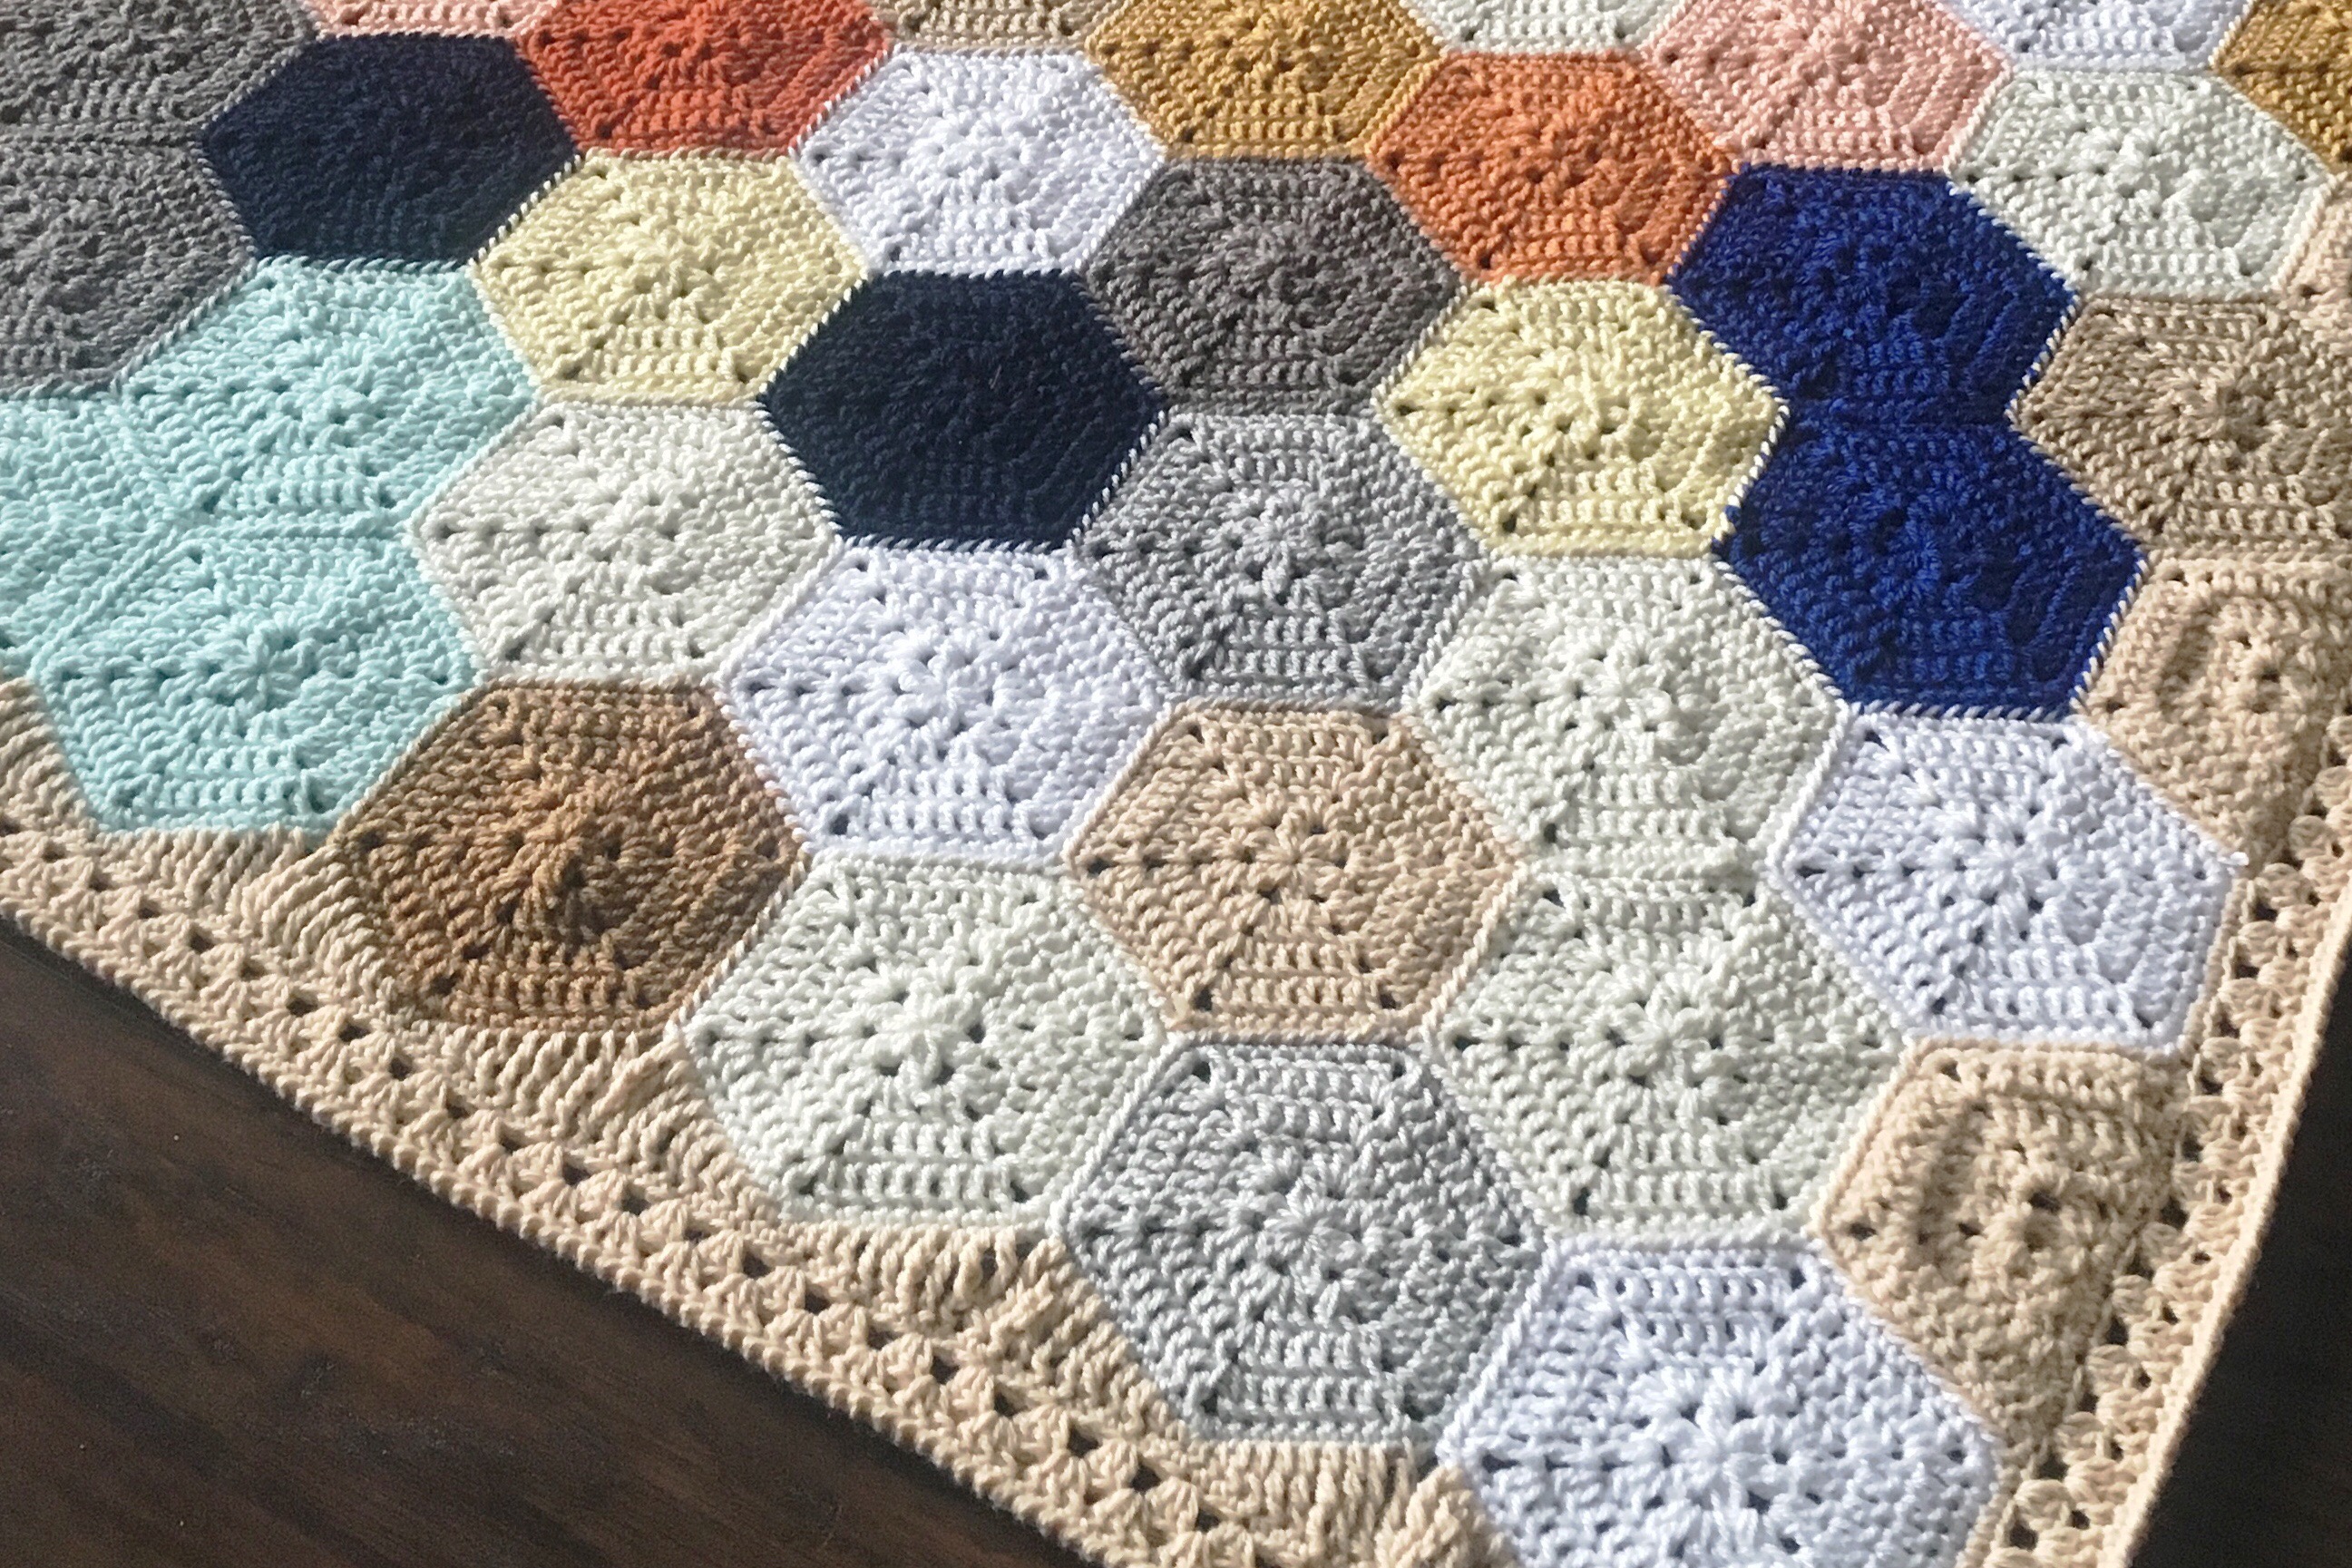
Hello, y’all! Do you have all your squares joined and you need a border? Are you looking for something cute without a lot of bling? I think I have something for you!
The Checker Edging is a super simple idea that I’m sure has been used a zillion times, but I wanted to share since I was asked about it on a couple of makes.
My blanket model is the Gumball Blanket, which is the very first pattern I ever wrote – back in 2012! A great yarn to use would be the acrylic powerhouse, Scheepjes ColourCrafter. I get mine from WoolWarehouse but check my sidebar for more Scheepjes retailers near you.
Check out all 19 Gumballs on my portfolio site, BabyLoveBrand.net

I made the first ever Gumball blanket shown in the pic above (my photography skills have come a long way, and I yes I used to outline photos in black 😊😊), and someone messaged me asking if I had a pattern for it. I wrote back something like, “Yes! I’ll send it as soon as I get back home!” …..aaand I promptly got started writing the pattern.
Thank you to whoever you are for giving me the bright idea to start designing! I left my job that same year when my eldest started Kindergarten and pattern sales have helped to fill that gap a bit. 🙂
Okay, enough chatter! Here is the basic idea – this is just a tutorial because you can fit it onto any blanket type.
Checker Edging
US terms
Beg DC = (SC, Ch-1)
Round 1 (Granny Foundation): Work around your piece in Granny Stitch as follows: Join yarn in any corner, (Beg DC, Chain 3, 3DC) in same corner, (sk 2, 3DC) across to 2 sts before next corner. Sk 2, (3DC, Chain 3, 3DC) all in corner.
Notes:
- I do not chain-1 between my 3DC groups because I feel like it’s too loose and open. I’m looking for a neat finish.
- If you are using granny squares, please see this tutorial by Bunny-Mummy for a foundation that gives you a flat border (no frilling).
Continue around in this manner to first corner. 2DC in first corner to complete it, and join with sl st in Beg DC.
Round 2 (Granny): Work a granny square round, as seen in the photos below, placing 3DC groups between the 3DC groups of Round 1, and using the same corner type as Round 1. 2DC in first corner to complete it, and join with sl st to Beg DC.
Round 3 (DC Round): (Beg DC, chain 2, 2DC) in corner. DC in all sts around, making (2DC, chain 2, 2 DC) in 3 more corners to first corner. DC in first corner to complete it, and join with sl st in Beg DC.
Round 4 (Optional SC round – it looks neater if you do it, but I know it’s tempting to skip it!): SC in all sts around, making 3SC in all corners. Join with sl st in first SC.
Round 5 (Reverse SC – crab st): Work Reverse SC in all sts around. Do not make any extra sts around corner. This will leave you with nice rounded corners.
Here, I’ve done the border a bit differently with a similar result.

And that’s it! A sweet border fit for any blanket when it just needs that extra something.
This post contains affiliate links.


