
Hey, everyone! I thought I would take a moment to offer a few solutions to that ever-present crochet problem: gauge. Specifically, fix gauge problems that arise when you’re creating a crochet blanket with different design squares that all need to be the same size. My Vibrant Vintage Blanket CAL (both the original 2016 VVCAL, and the 2018 reboot) is a great example, and if you are following along in the crochet #VVCAL, you may find this post helpful!

[Related: Love the crochet blanket above? Check out Modern Patchwork (viral on Pinterest – thank you all!)]
Why is my gauge off in the first place?
There are many contributing factors that can cause any given square to be larger or smaller than the desired measurement.
- Different color dyes can cause slight variations in the thickness and texture of the yarn.
- More tense that day = tighter tension / more relaxed = looser tension
- Coffee / wine – You may laugh, but it’s true!
- Familiarity with stitches in the square can lead to looser tension / struggling to understand a square or unfamiliar with stitches can lead to tighter tension
- The Golden Loop – watch this video, and see how the exact manner in which you create your stitches can cause them to be taller or shorter than others
- Tension may change over time, so if you leave a project for a long time, then come back to it, tension may have changed
- Squares that are composed of different stitches may turn out different sizes, due to how the stitches are made, for example, if a square is mostly chains, and you make your chains more loosely than the pattern designer, your square will turn out larger than desired
- And many other reasons…
So how can you fix this? I have three solutions to share.

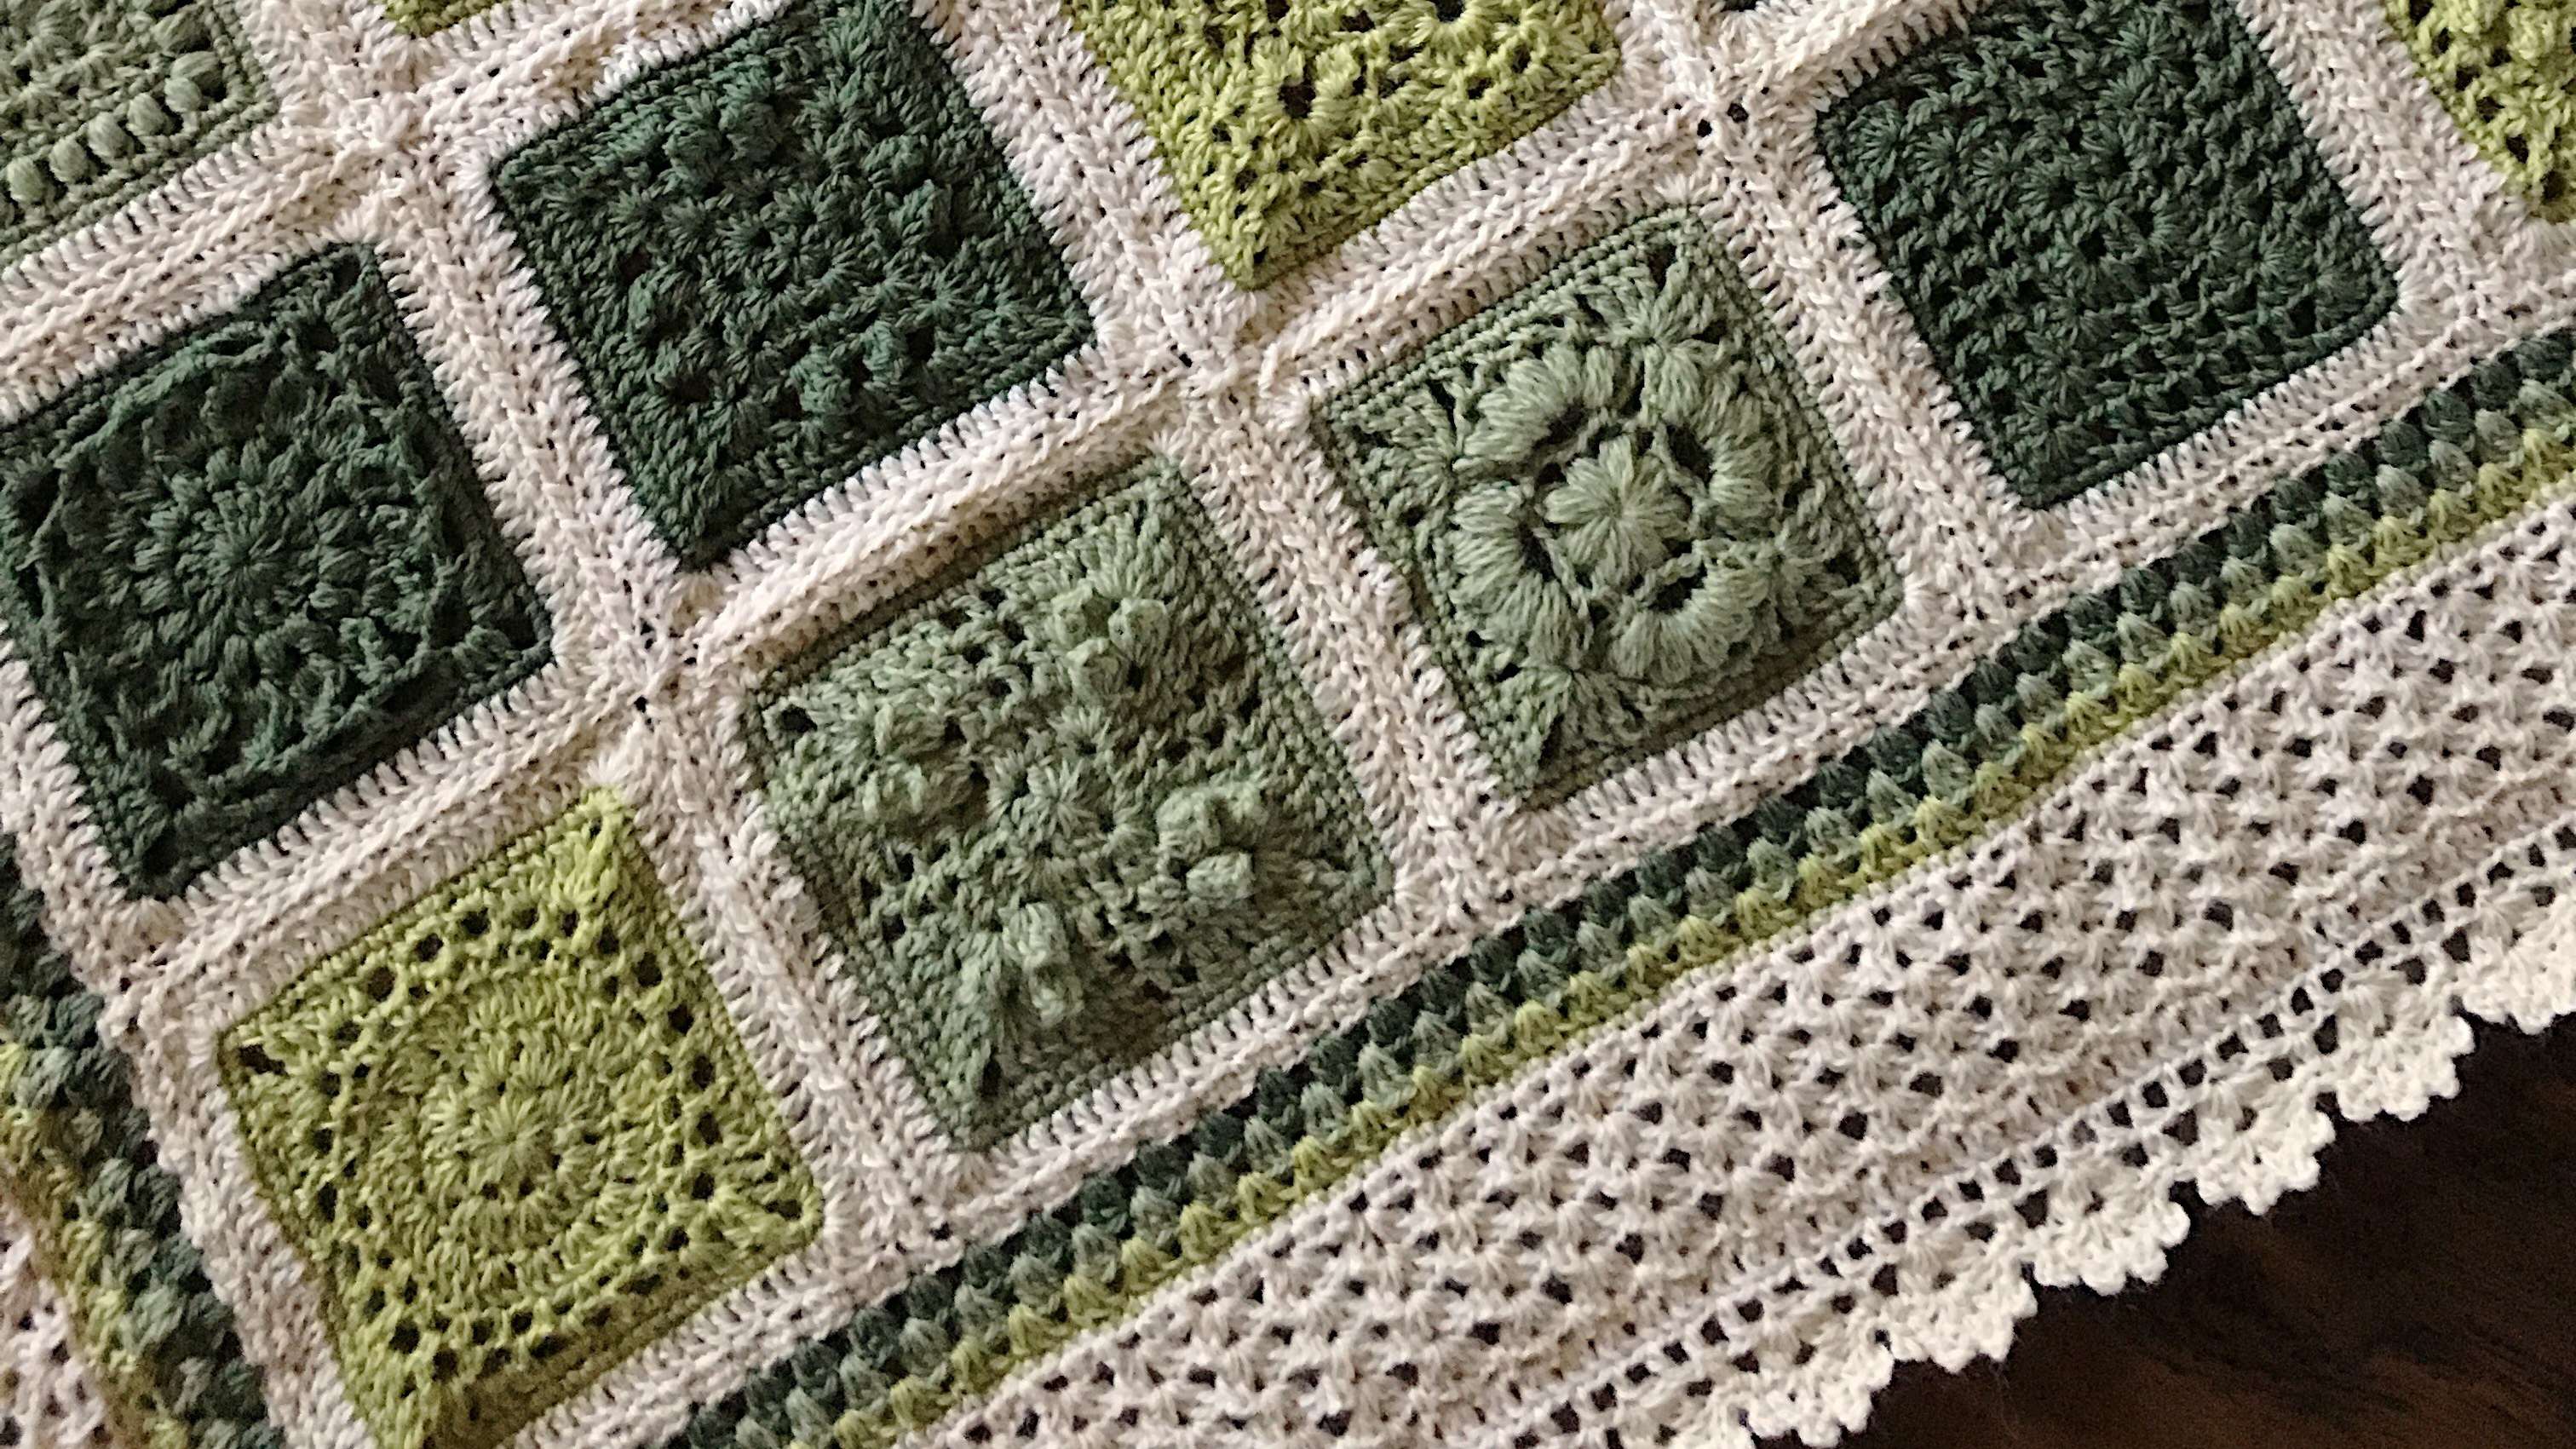
[Related: Love the granny squares shown above? Get the handy ad-free, printable PDF on Etsy or Craftsy with 33 squares, joining options, and wide lace border.]
But first! Some advice: Check your gauge early! Before you work the final round on your square, measure it to see where you stand. If you see that your last round will not put you at the correct gauge, at least you have a chance to correct it. This will save you from potentially having to frog your work, and also might save you from having to add more yarn to a square that you’ve already completed.
Now, on to the three solutions!

Fix Gauge Problems in Granny Squares
How to adjust the size of a square that is not quite the right measurement.
1. Go up or down a hook size
Create your square in a different hook size, so that it comes out with the correct measurements. Usually just 1 hook size up or down (depending) will be sufficient to fix the gauge.
2. Make the final round in a taller stitch
If you can, alter the final round so that it is HDC or DC to make it larger, so that your overall square is larger. This one works if your square is too small. If it’s too large, and you can alter the last round from a taller stitch to an SC, then go for it! The most important thing here is that you preserve the stitch count on the final round. When joining squares, it’s important that the stitch count matches up.
3. Adjust the stitch count and add/remove a round
It is not for the faint of heart, but is totally doable. I’ll show you what I mean by giving you an example: if you have 88 sc sts on your final round, and your square is too small, you can easily follow these steps:
- Frog the final round
- Work the final round again, this time removing 2 sts from each side to make 80 sts
- Work an additional round of SC sts, putting 3SC in each corner to get 88 sts again
This could be the answer to make your square the right size, and it will also preserve your stitch count. Add or remove rounds as needed, adjusting the stitch count, and you can easily manipulate the measurement.

Hope this helped some. Love you guys!
Happy crafting,
Rachele C.
Want more crochet tips and tricks? Head to my crochet tips tag!