Year: 2015

Continuous Flat Braid Join Tutorial

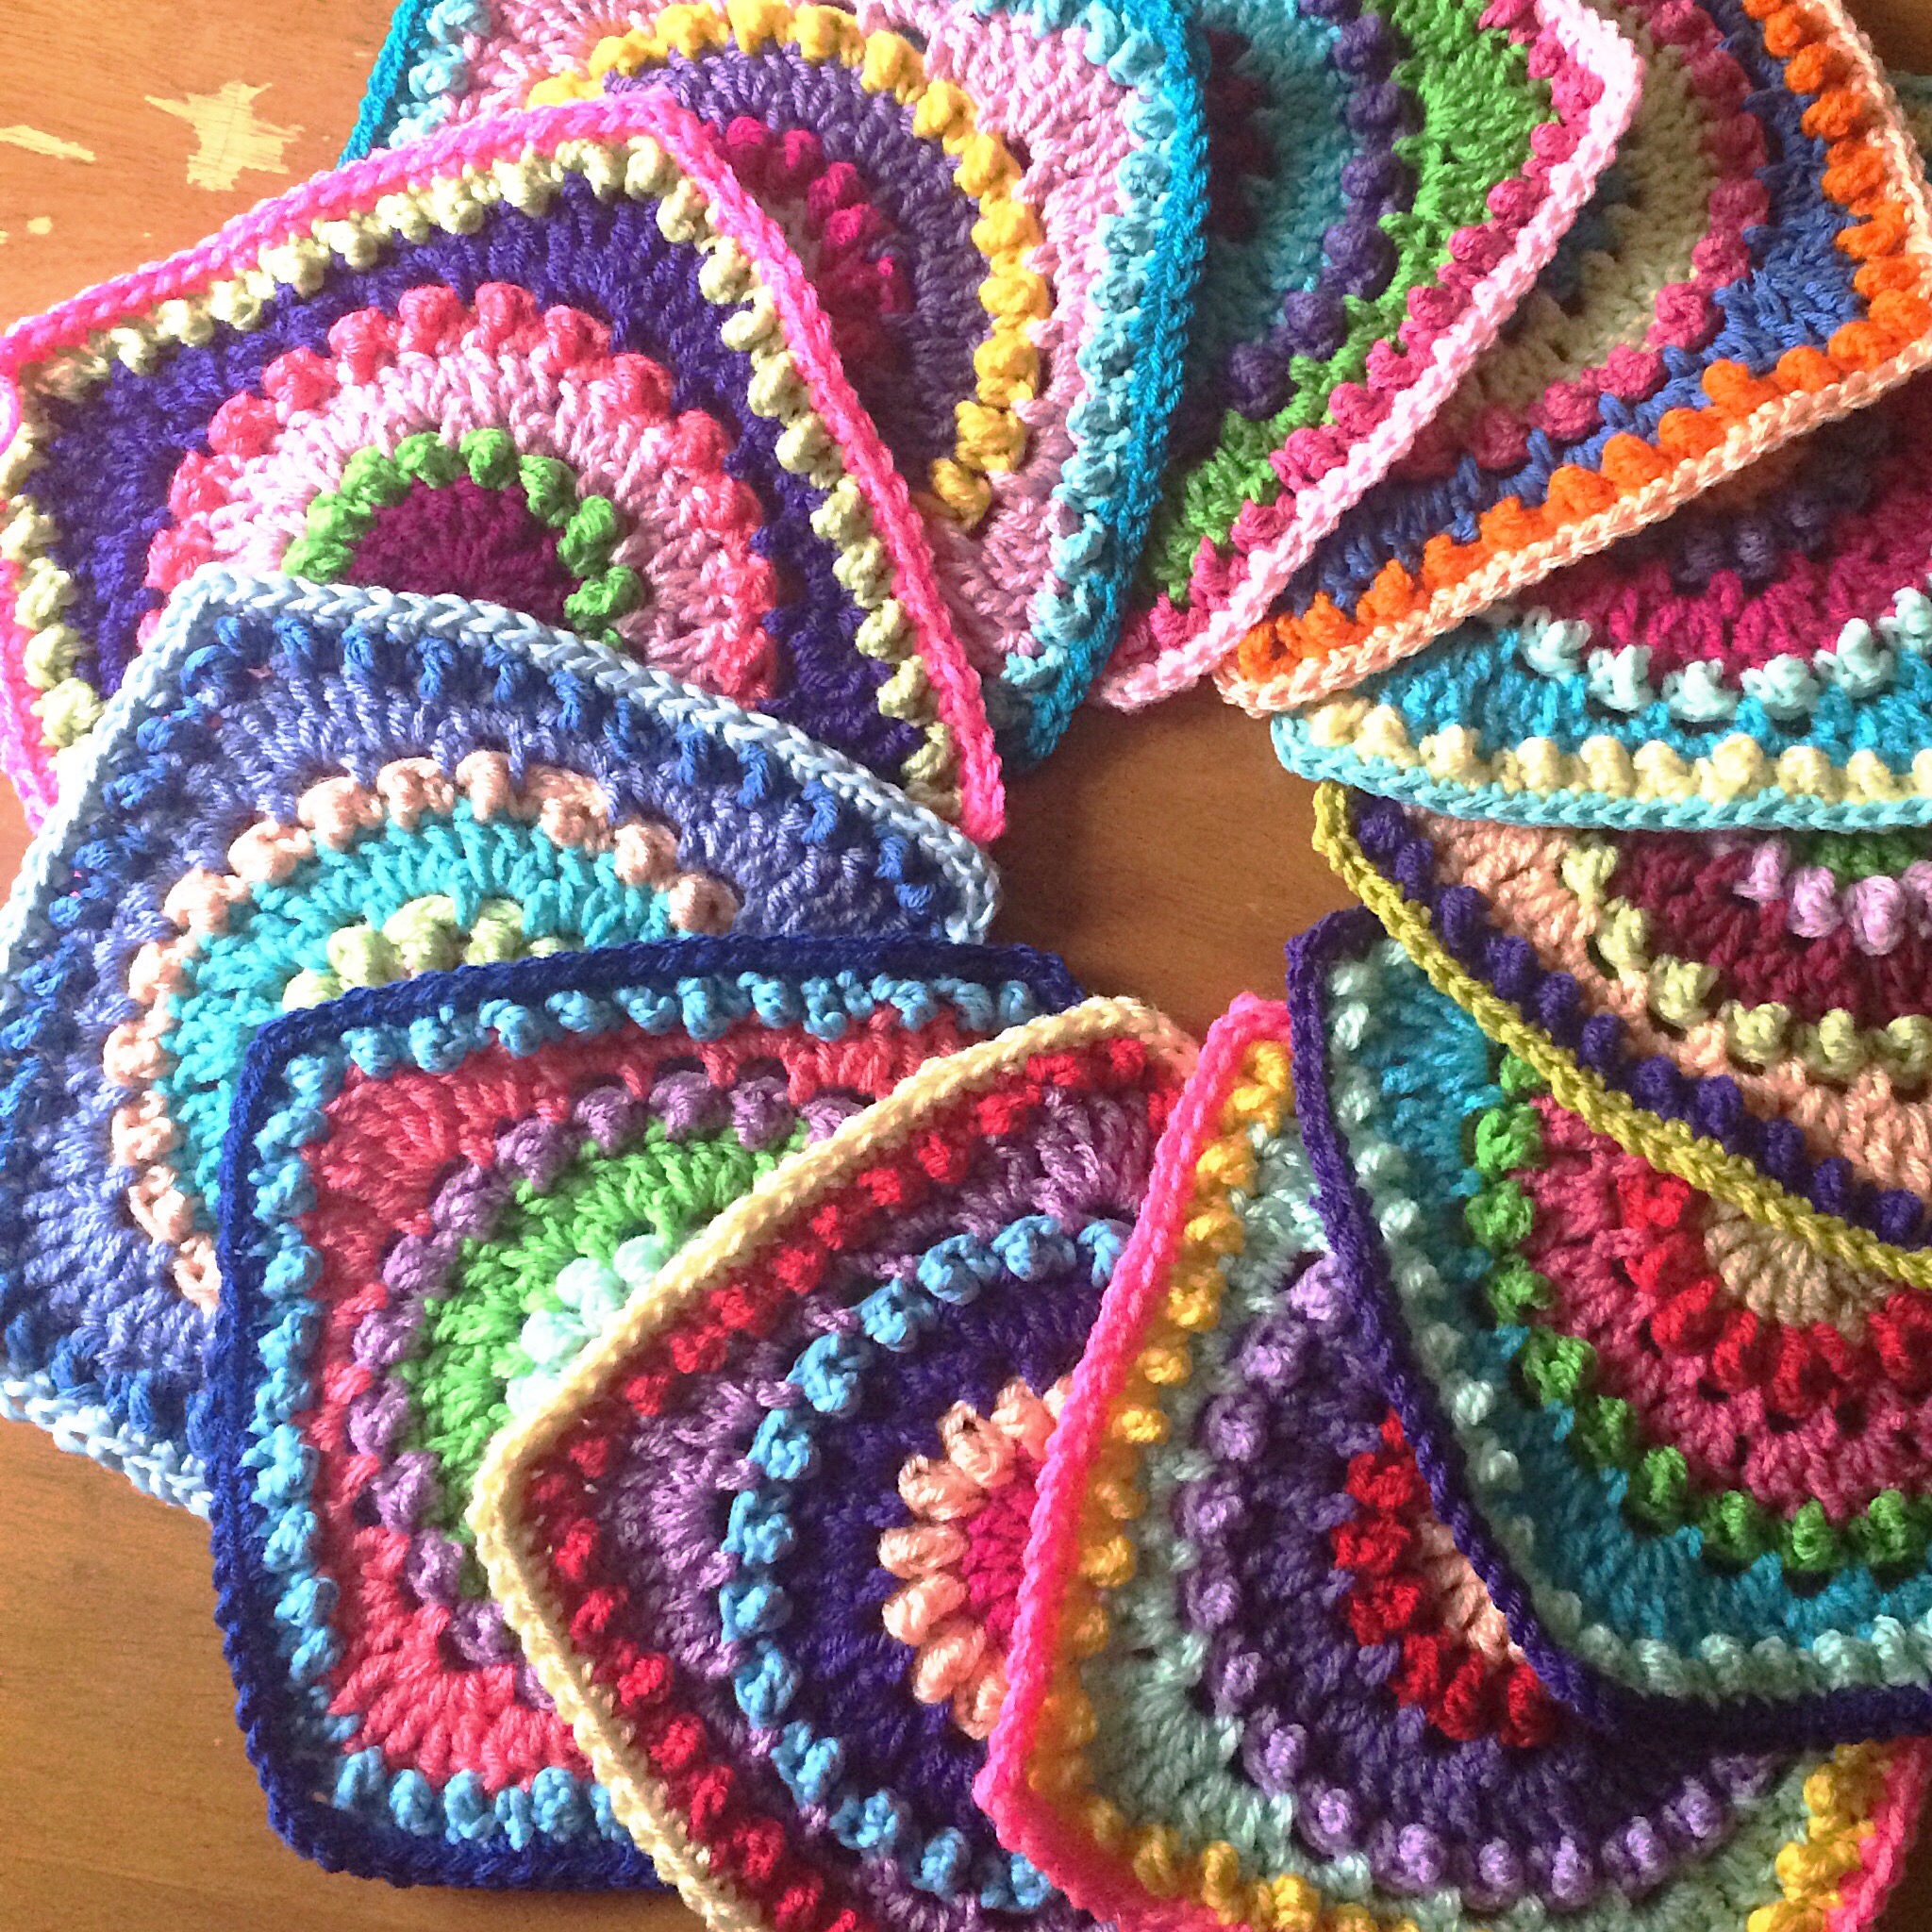
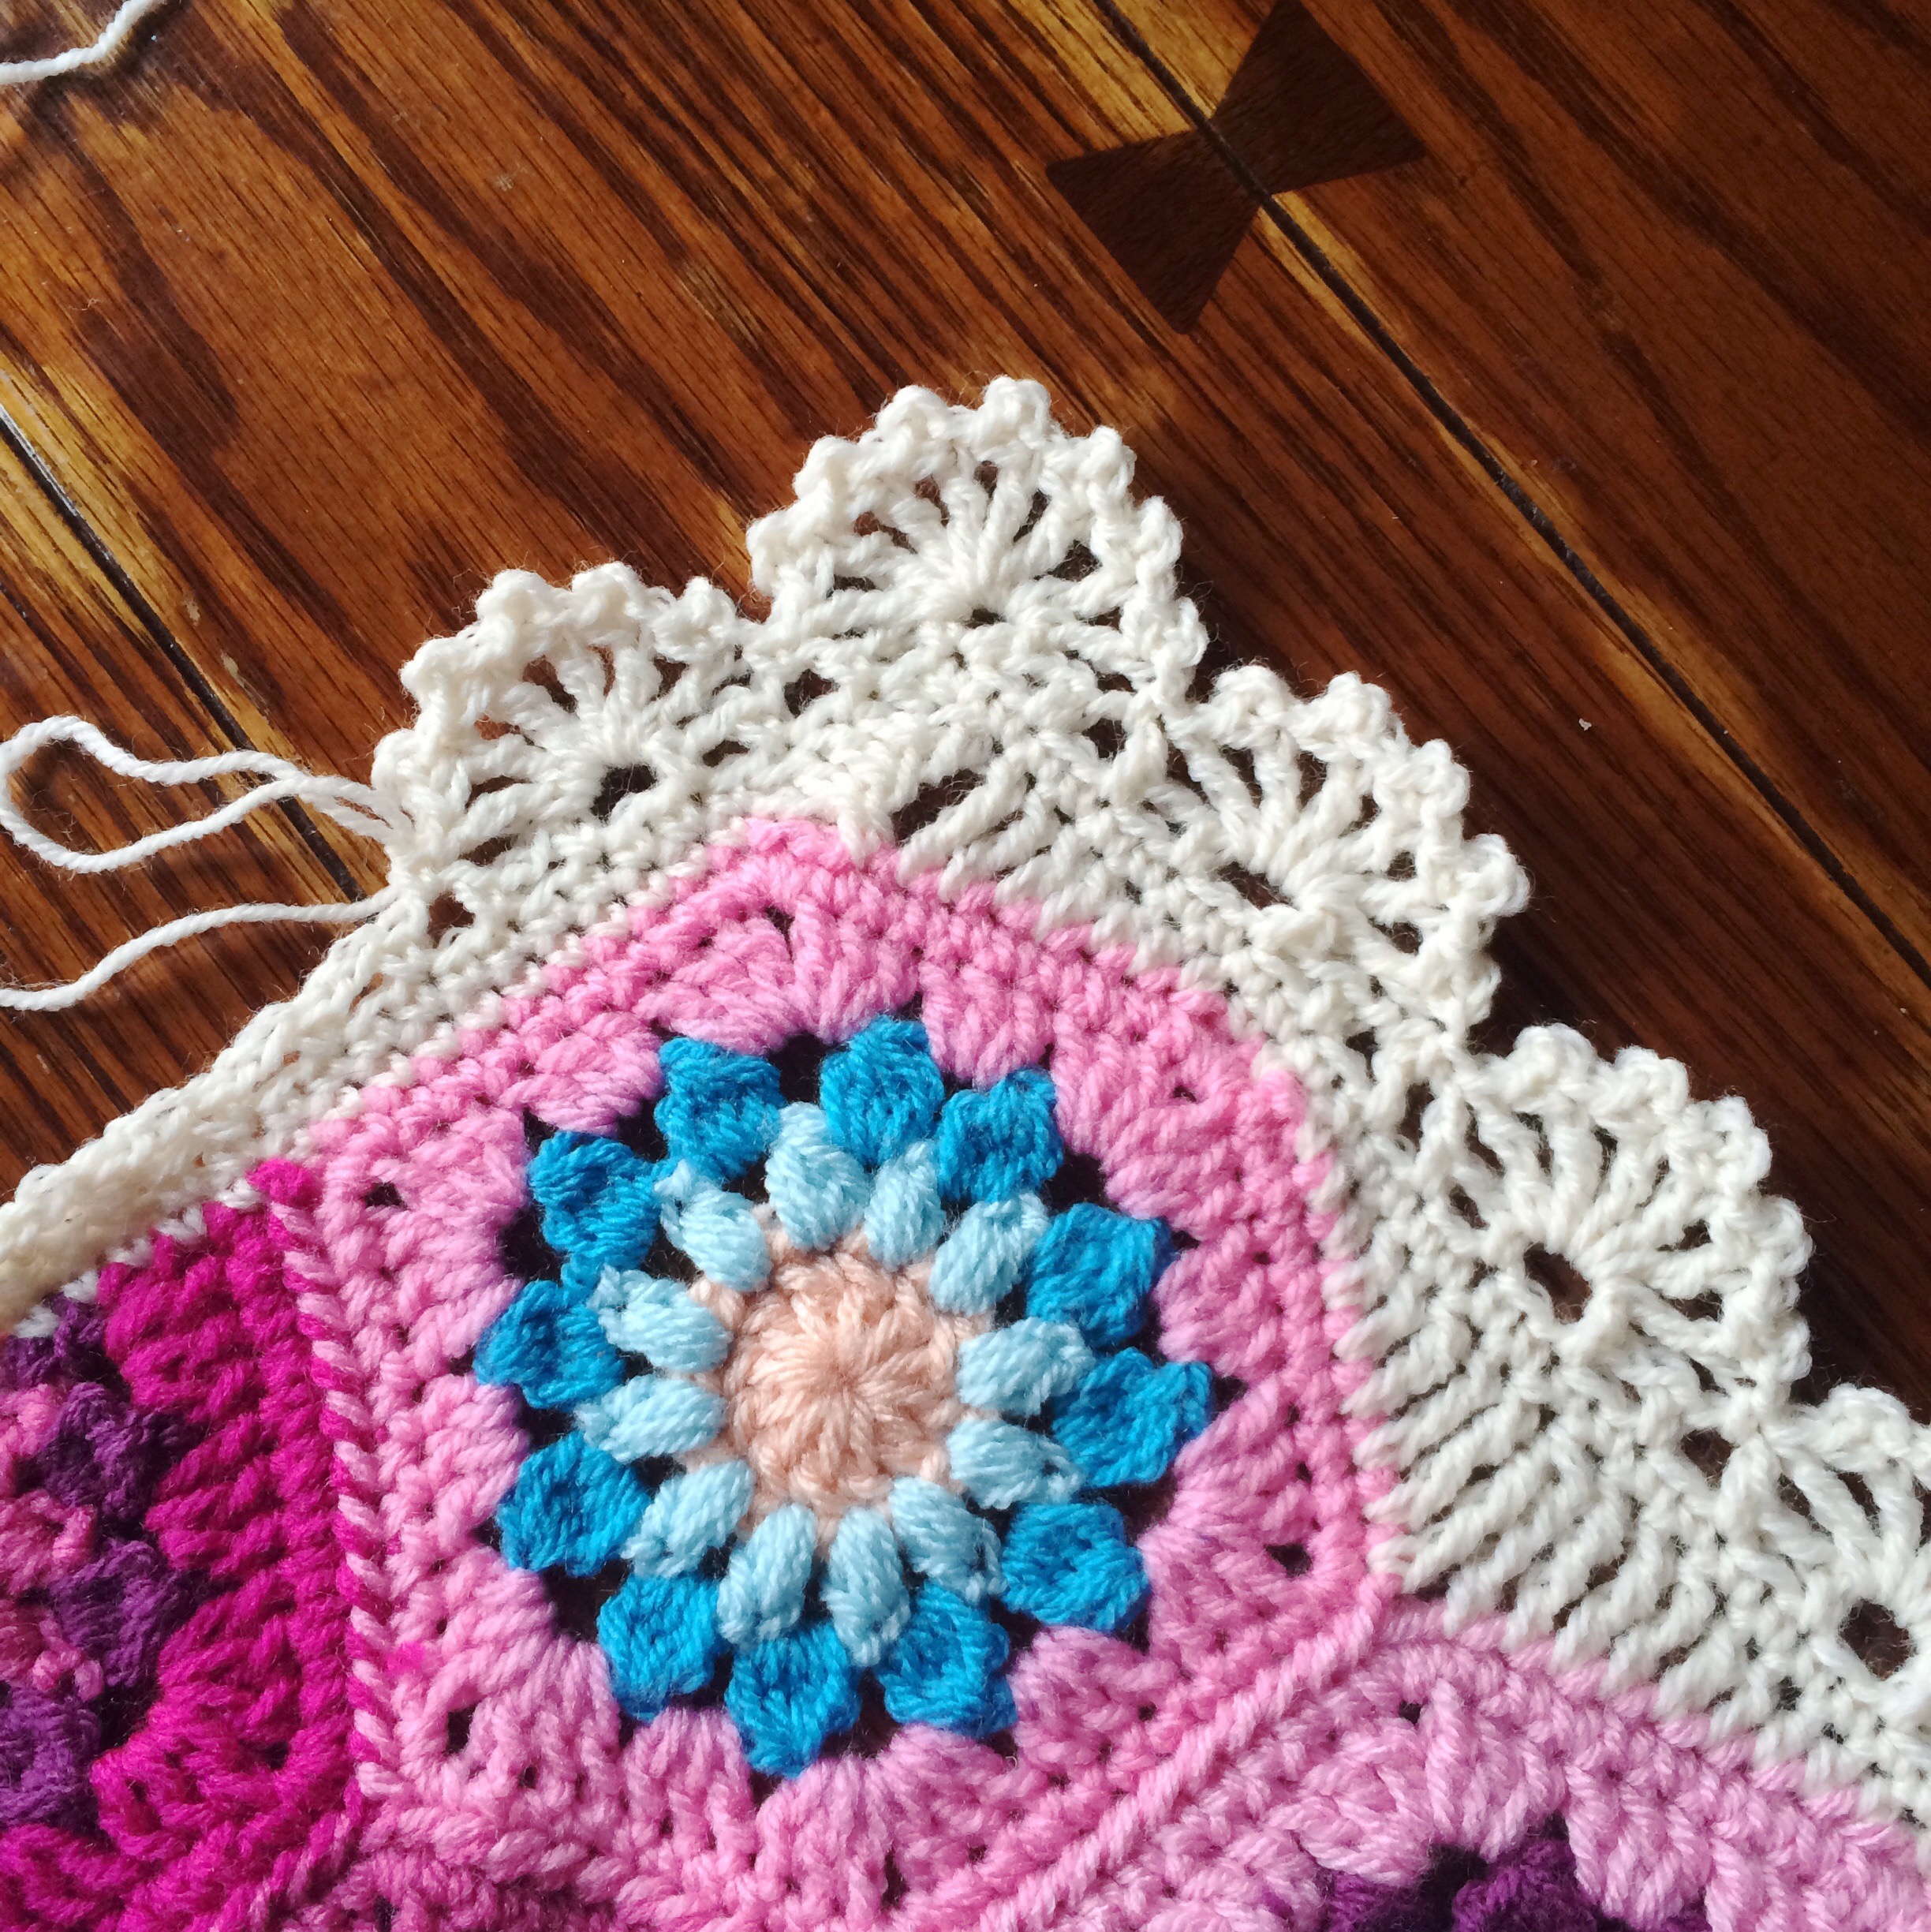
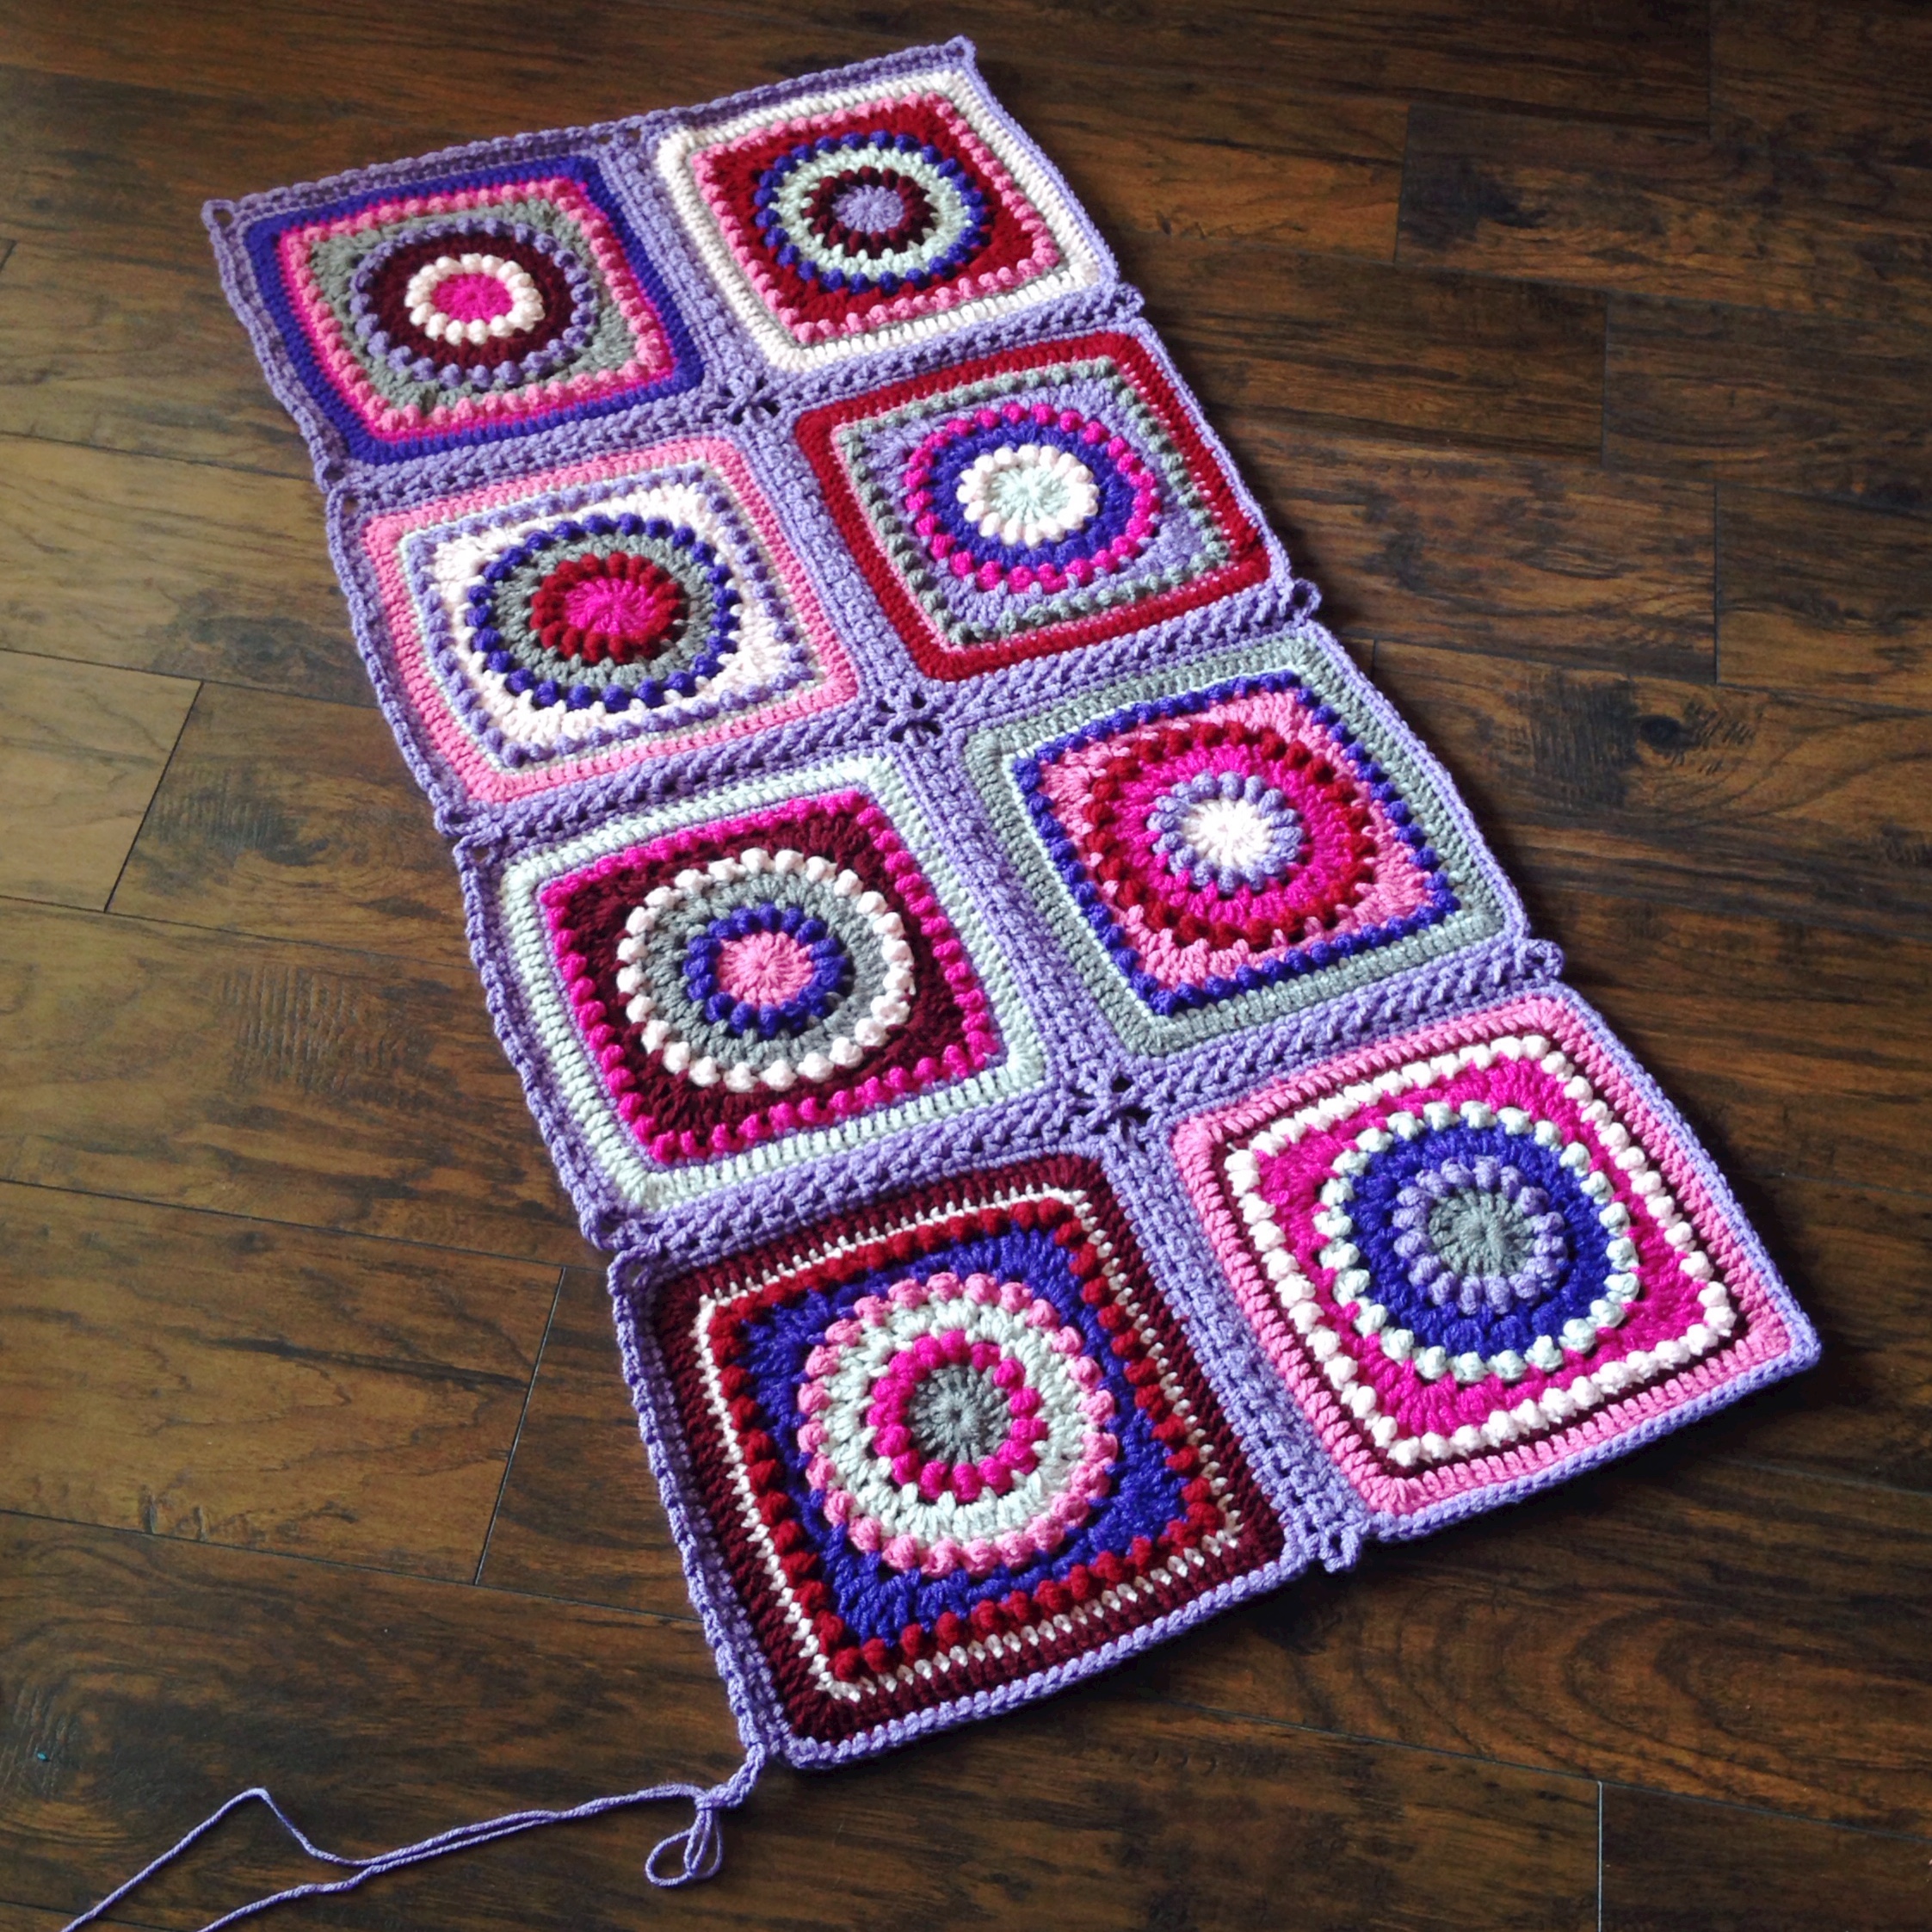
Part 1: How to join all of your squares up to the final column. Part 2 will include your final left-hand column of squares plus finishing the border. Many of you will say this is confusing and crazy! There is definitely a “light-bulb” moment that has to go off, and then its smooth sailing, and before you know it, you’ll be trying to convert every join so it’s continuous. I’m not technologically advanced enough to make videos, but check our YouTube “continuous granny square join” for some great views of the process. The “continuous” method will be very similar, but obviously the join has a different look since this is flat braid. To begin, you will need finished squares ready to join. My blanket is 4 x 4 12″ squares (16 total). My chosen square is the Circle of Friends square by Priscilla Hewitt (worked with worsted weight yarn held double and a size 9mm hook), plus one DC round (DC in every stitch around, placing 5 DC in all 4 corners). See my adjustments to …

Textured Circles: An Expansion on the Circle of Friends Square

  Important Links: Circle of Friends – what a wonderful free pattern written by my crochet idol, Priscilla Hewitt. Check out my Textured Circles Blanket master post for all the different ways I’ve played with this square over here. It incudes different joins, block modifications, and borders! Today, I’d like to share a pattern to expand this square by 5 rounds to 11″ – using worsted weight yarn and a size K (6.5mm) hook. 5-Round Expansion for Circle of Friends Square After you have completed your final SC round of the Circle of Friends square, you are ready to begin. Round 1: Join new yarn with a slip stitch in Back Loop Only (BLO) of corner stitch. Work (SC, Chain 1) – this stands in for the first DC – 2 DC in that same BLO spot, work DC all around the square in BLO of all stitches, putting 3DC in BLO in the corners. Join to the beginning DC. Finish off. Round 2: Join new yarn with slip stitch in any corner DC. (SC, Chain 2, SC) in same corner stitch. …

Treble Scallop Edging: Free Pattern

Treble Scallop Edging! This edge starts with a foundation round of (SC, Chain 2, Skip 1 stitch) repeated, with (SC, Chain 2, SC) in the corners. Check out the before pic below to see this in action. Here is what your piece will look like before each scallop. Try this pretty edging in a built tough, but super soft DK weight yarn like: Scheepjes Colour Crafter Knitpicks Brava Sport Stylecraft Special DK Step 1: Skip 1 Chain loop, Treble Crochet in the next Chain loop, Chain 2 Step 2: Single Crochet in the top side bars of the Treble Crochet that you’ve already done – (Picot made) Step 3: Continue to make (Treble, Picot) until you have 5 Picots made. Treble Crochet once more to finish the Scallop Step 4: Skip 1 Chain loop, SC in the next Chain loop to anchor the Scallop That’s it! Easy-peasy 1 round scallop/picot lace edging 🙂 Now for the corners.. If you’re a mega planner, then you’ve made your foundation round to have the correct amount of Chain …