Hello, and a huge welcome to Week 5 of the 2024 Vibrant Vintage Crochet-A-Long (VVCAL)! I’m so glad you’re here! I love spending this time with the VVCAL community! We are going to have so much fun relaxingly working through these motifs each week.
Attention!
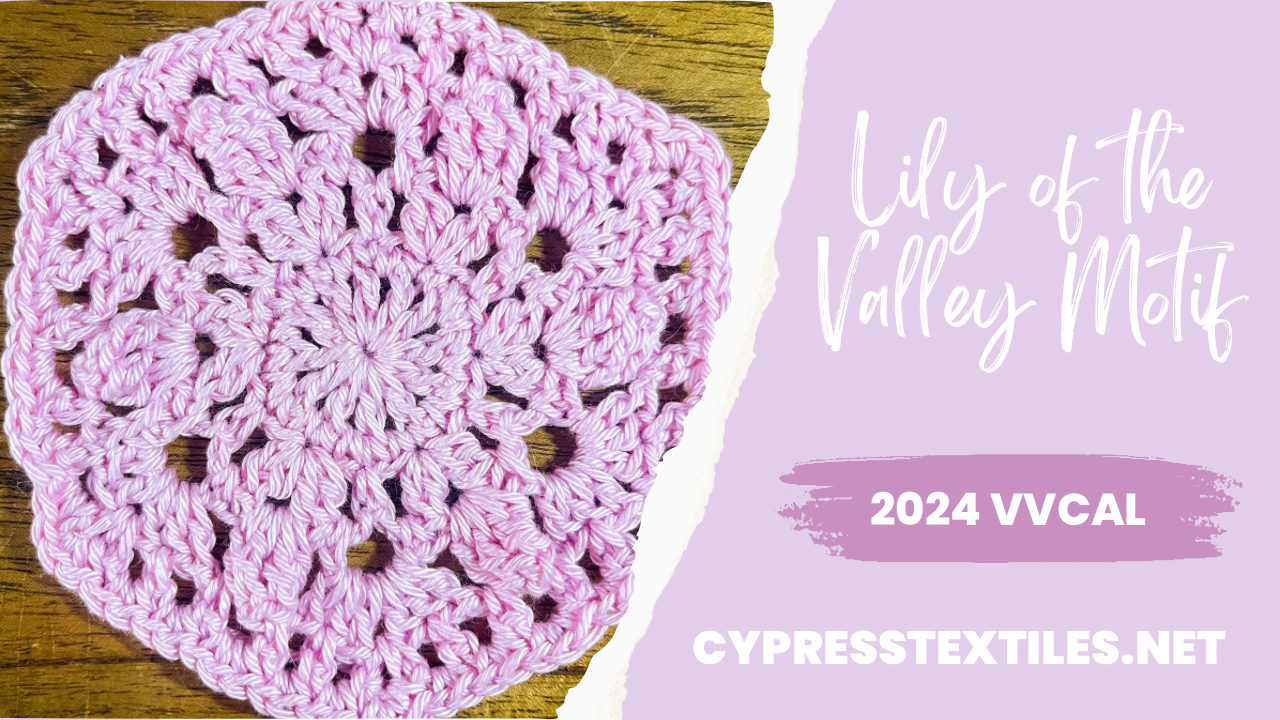
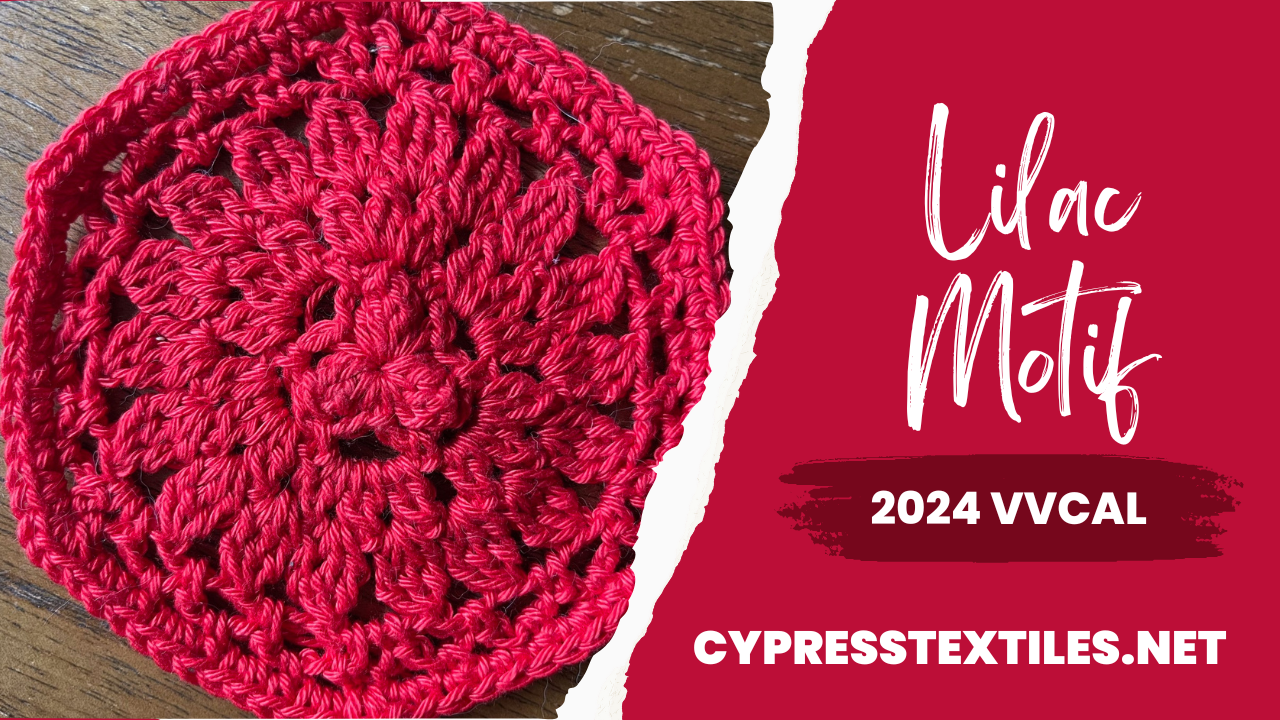
If you have not yet seen the Week 5 Instruction post, please head there first and see the instructions for the version that you are working. Below, you will find the Lilac Motif, in US, and UK Terms, Chart, Video, and Step by step photos.
Social Media Hashtags: #VVCAL and #CypressTextiles
2024 VVCAL Quick Links
- 2024 VVCAL Main Information Page
- 2024 VVCAL FAQ Tips & Tricks Page
- 2024 VVCAL Ravelry ebook Motifs link back to their blog posts. Favorite the hexagon, add it to your Ravelry queue, see others’ projects, and more!
- Vibrant Vintage CAL (Official) Facebook Group Post VVCAL WIP/FO pics, ask questions, post your FO pic of the previous years’ VVCAL blankets.
- CypressTextiles Tree Huggers Facebook Group – This is my main FB group (join!). Share your VVCAL progress pics in this group if you like, and I will share CAL highlights here, but the weekly action will be in the other group linked above.
- YouTube Channel (Subscribe!) – Here I will be posting CAL pattern videos weekly for the duration of the CAL.