
Hi there! For this YouTube Video tutorial, click here.
(Ravelry link coming soon)
Note: This tutorial is part of Hexagon Month – September’s Theme of the Month.

Introduction
If you absolutely cannot fathom the idea of sewing your motifs together, then this is the sewing join for you. I’m working on a huge blog post with all the joining methods I could find, and there are pros and cons to each one.
When to use:
- You don’t have a whole lot of yarn to join with
- You want a “barely there” join that’s easier than for example, mattress st
- You want to dip your toe in the waters of sewing your motifs together
Try it! It’s very easy and doesn’t feel like sewing since you’re using your hook.

Materials
Normally you would use a tapestry needle for the whip st join, but if you’re anything like me, using something besides your hook makes you cringe. So I just use my hook! You’ll also need some yarn in a similar color as the motifs to blend in, or in a contrasting color for a more unique look. I’m using Scheepjes | Catona (affiliate) for this piece.

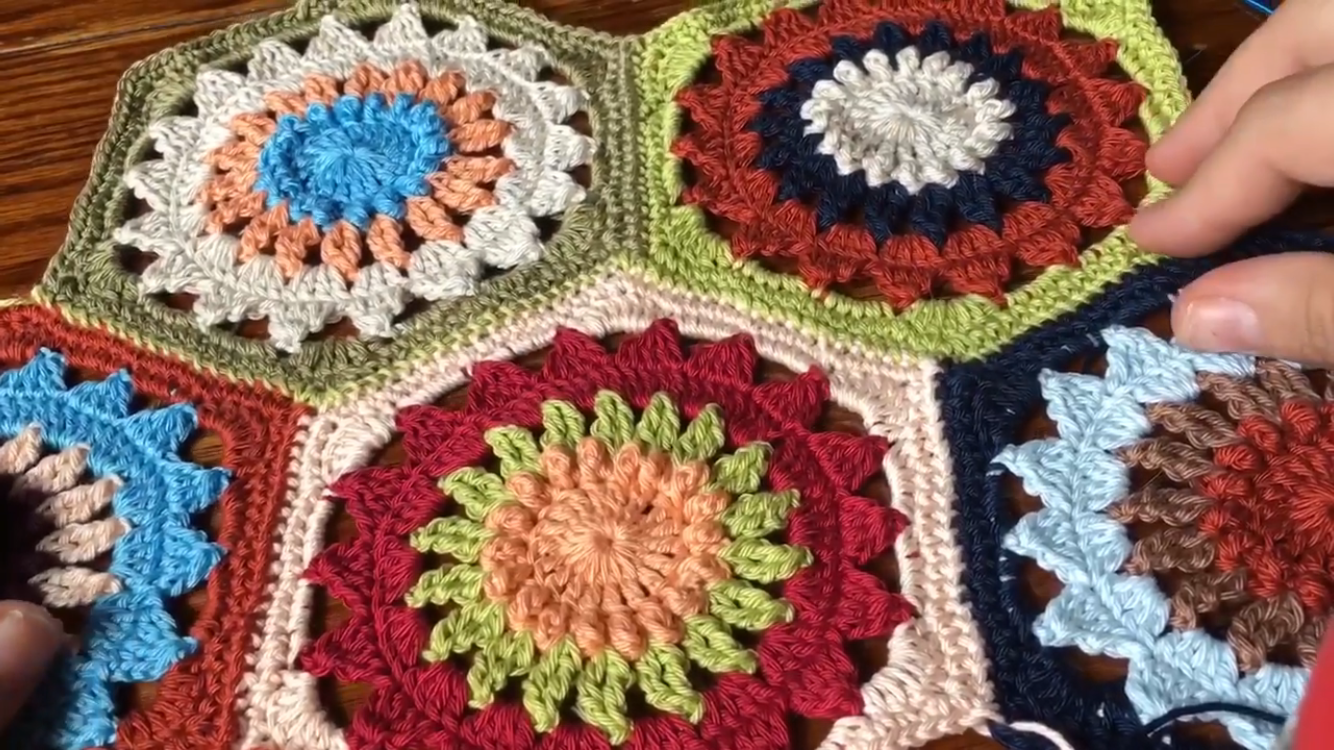
Hexagon Motifs
An SC round as the final round is great for the whip stitch join, but an HDC or DC round will work too. Make sure all of your motifs have identical stitch count on final round. The pattern I’ve used for this demo is “Shep” – pattern link coming soon!
Note: There is some planning involved with how you cut the tail on your final round, if you’d like to have the fewest possible amount of ends to weave in (who doesn’t!?). But if you already have a stack of motifs, then you’ll have to weave the extra ends – in the grand scheme of things, it isn’t so bad.
PS If you really, really don’t like weaving ends, and you have full balls of yarn to use for joining, try a continuous join-as-you-go for hexies like Flat Braid or Single Crochet with PLT.
Whip Stitch Join
The first step is to join the hexagons into vertical strips, then join those strips together along the zig-zag. Make sure your tail (if you’re using the tail) is cut about 3 times the length of the edge you’ll be joining. The photo below shows the first short edge I’ll be joining to make my first strip.

Hold the first 2 motifs with wrong sides together, insert the hook front to back through both loops of both motifs, all the way through the corner sts where your joining tail is located. If you’re not using the tail, grab the yarn and make a slip st through those corner sts.
Insert hook front to back again, and grab yarn, pulling it all the way through to the front of the work. Be sure to always make 2 whip sts in the corner to secure it nicely.
Important: do not overtighten the sts by yanking on the tail as this will destroy the lovely look. All you need is a naturally snug stitch.
Continue across the side, insert hook through motifs, grab yarn, pull through to front of work.

This is how your side will look before you open it up.

And when you open it flat. Beautiful!

Weave your tail.

When all strips are joined together in this manner, it’s time to join the zig-zag.

When you get to a corner where 3 motifs meet, go through the center 2 times for the first motif and 2 times for the second motif. This will secure everything.

And now you’re done! Happy dance for a super easy and beautiful join. Use a contrast yarn for a totally patchworky, hand-stitched quilt, Sally from Nightmare Before Christmas vibe.

Thanks for stopping in! I hope you’re able to make use of this joining method. Consider becoming a patron to support CypressTextiles and all my free content (no ads, ever) and receive lots of exclusive goodies! ❤️