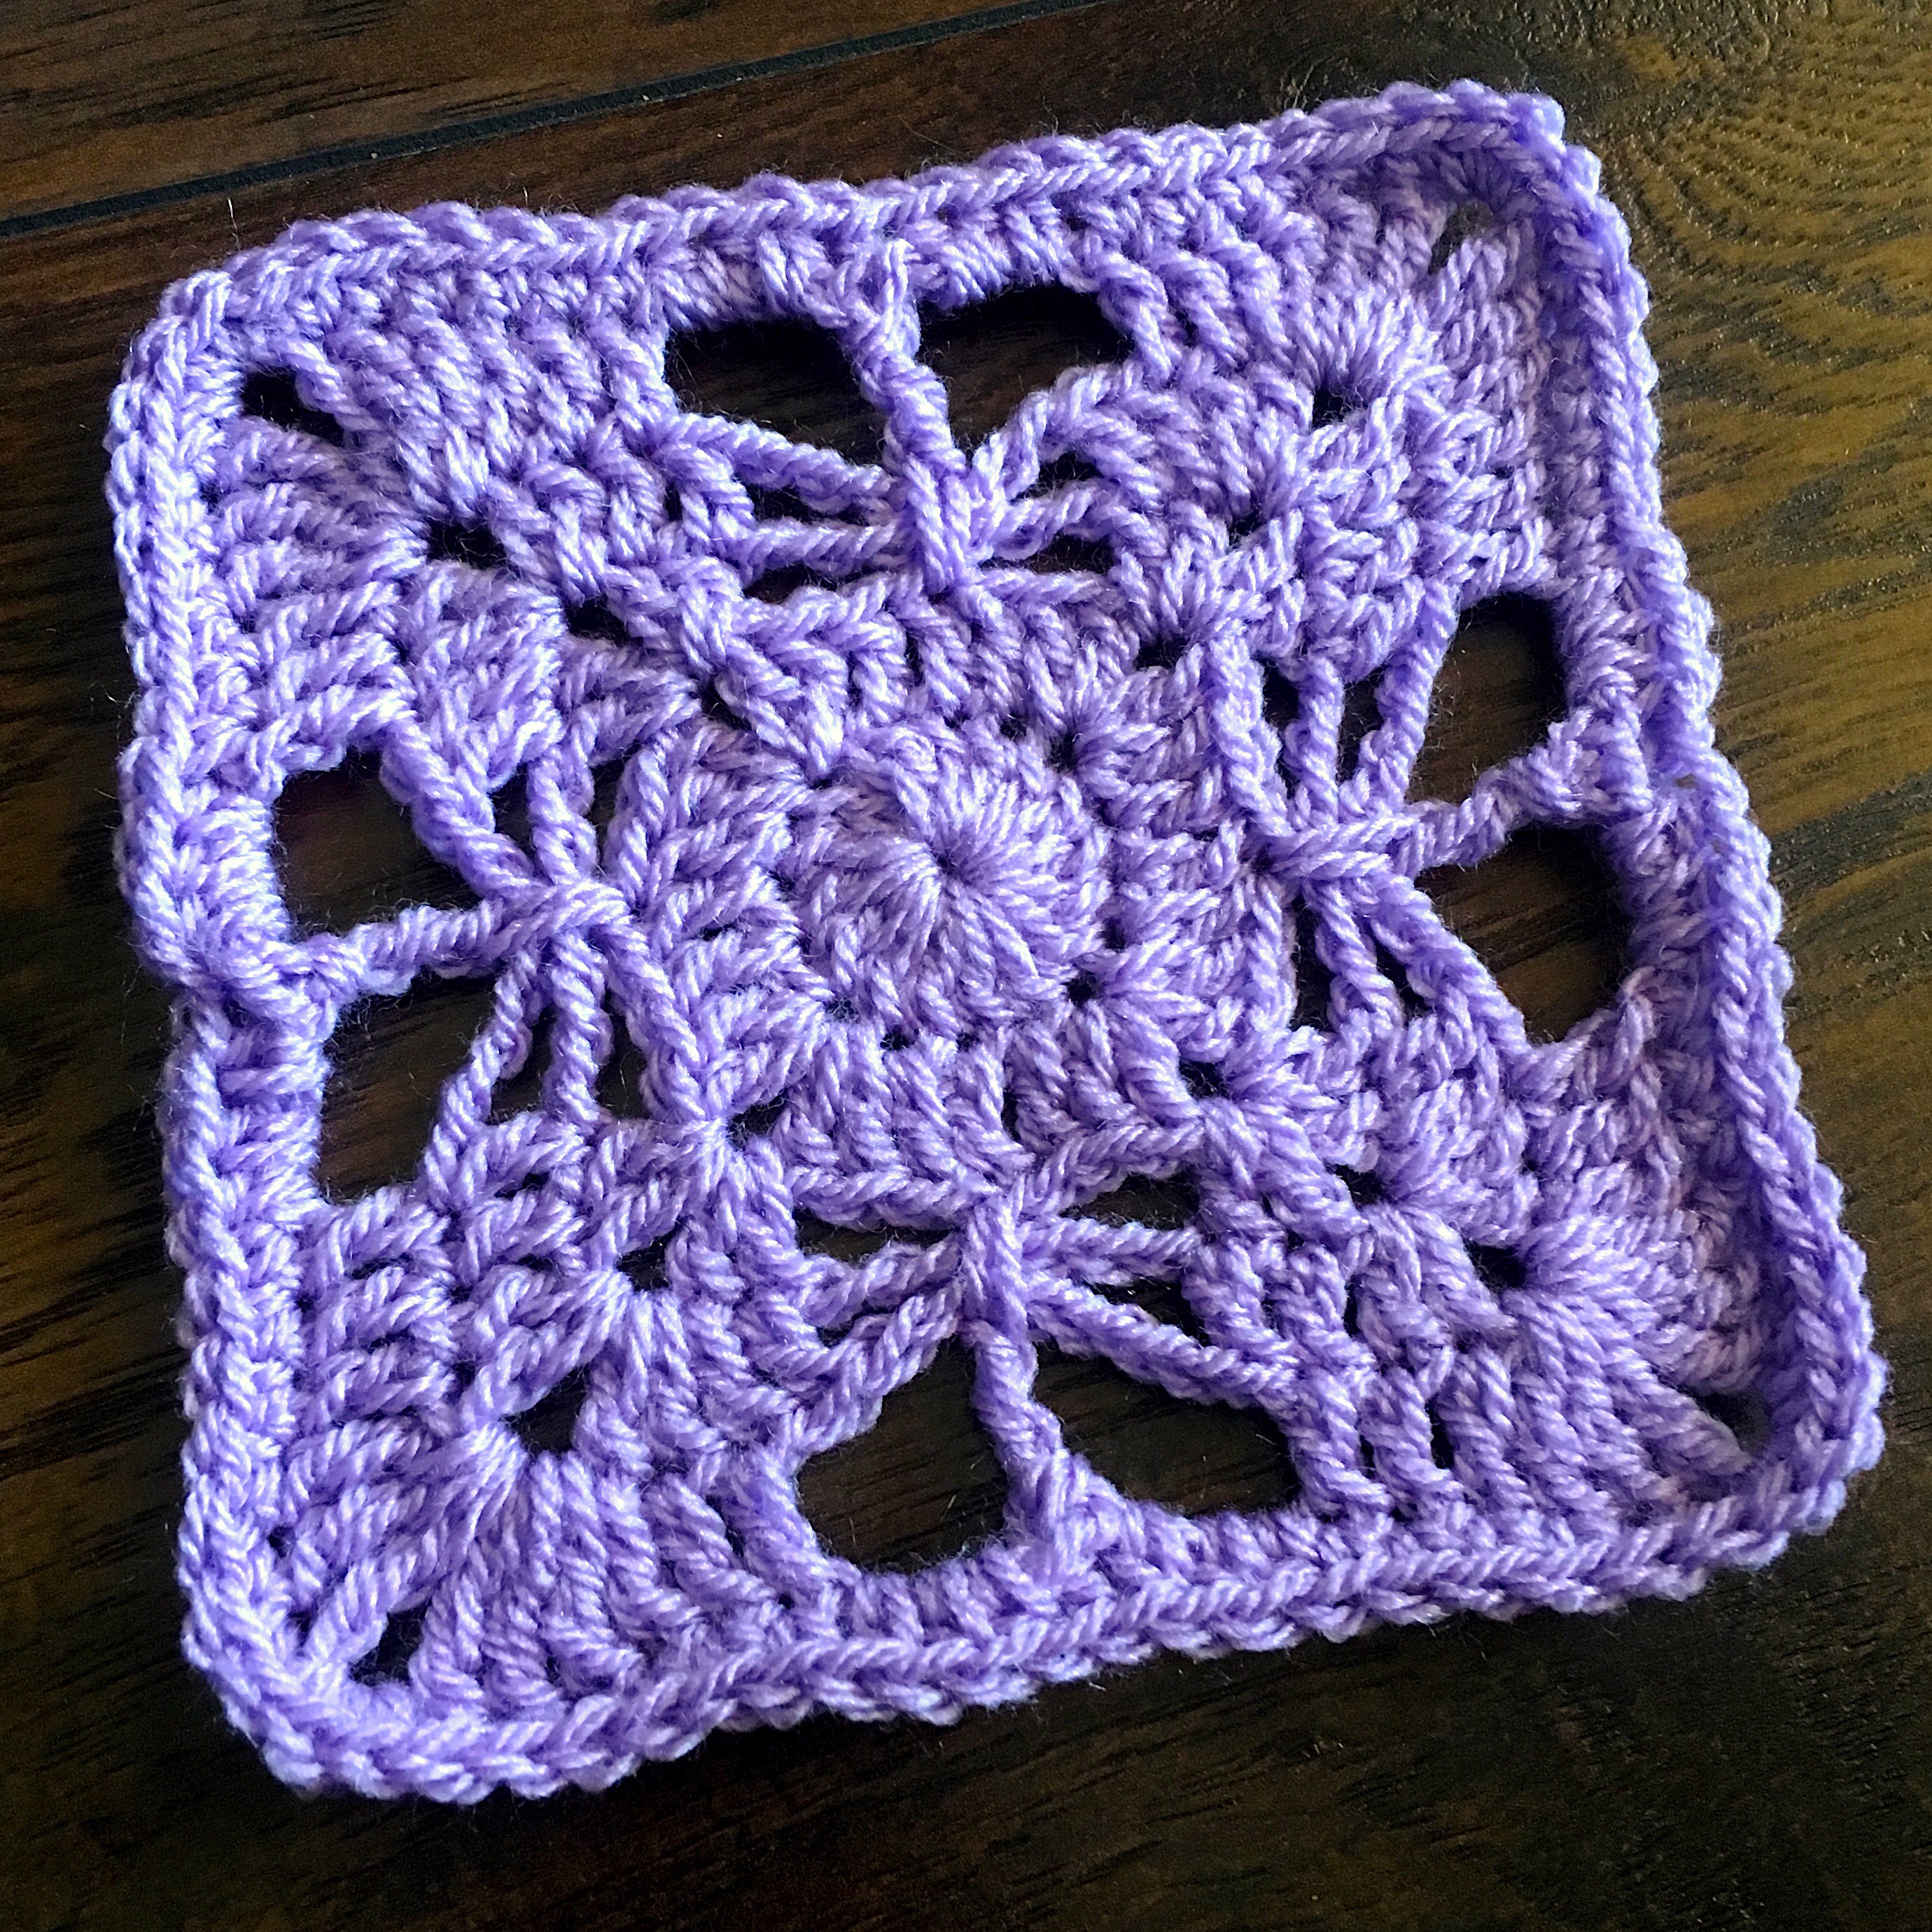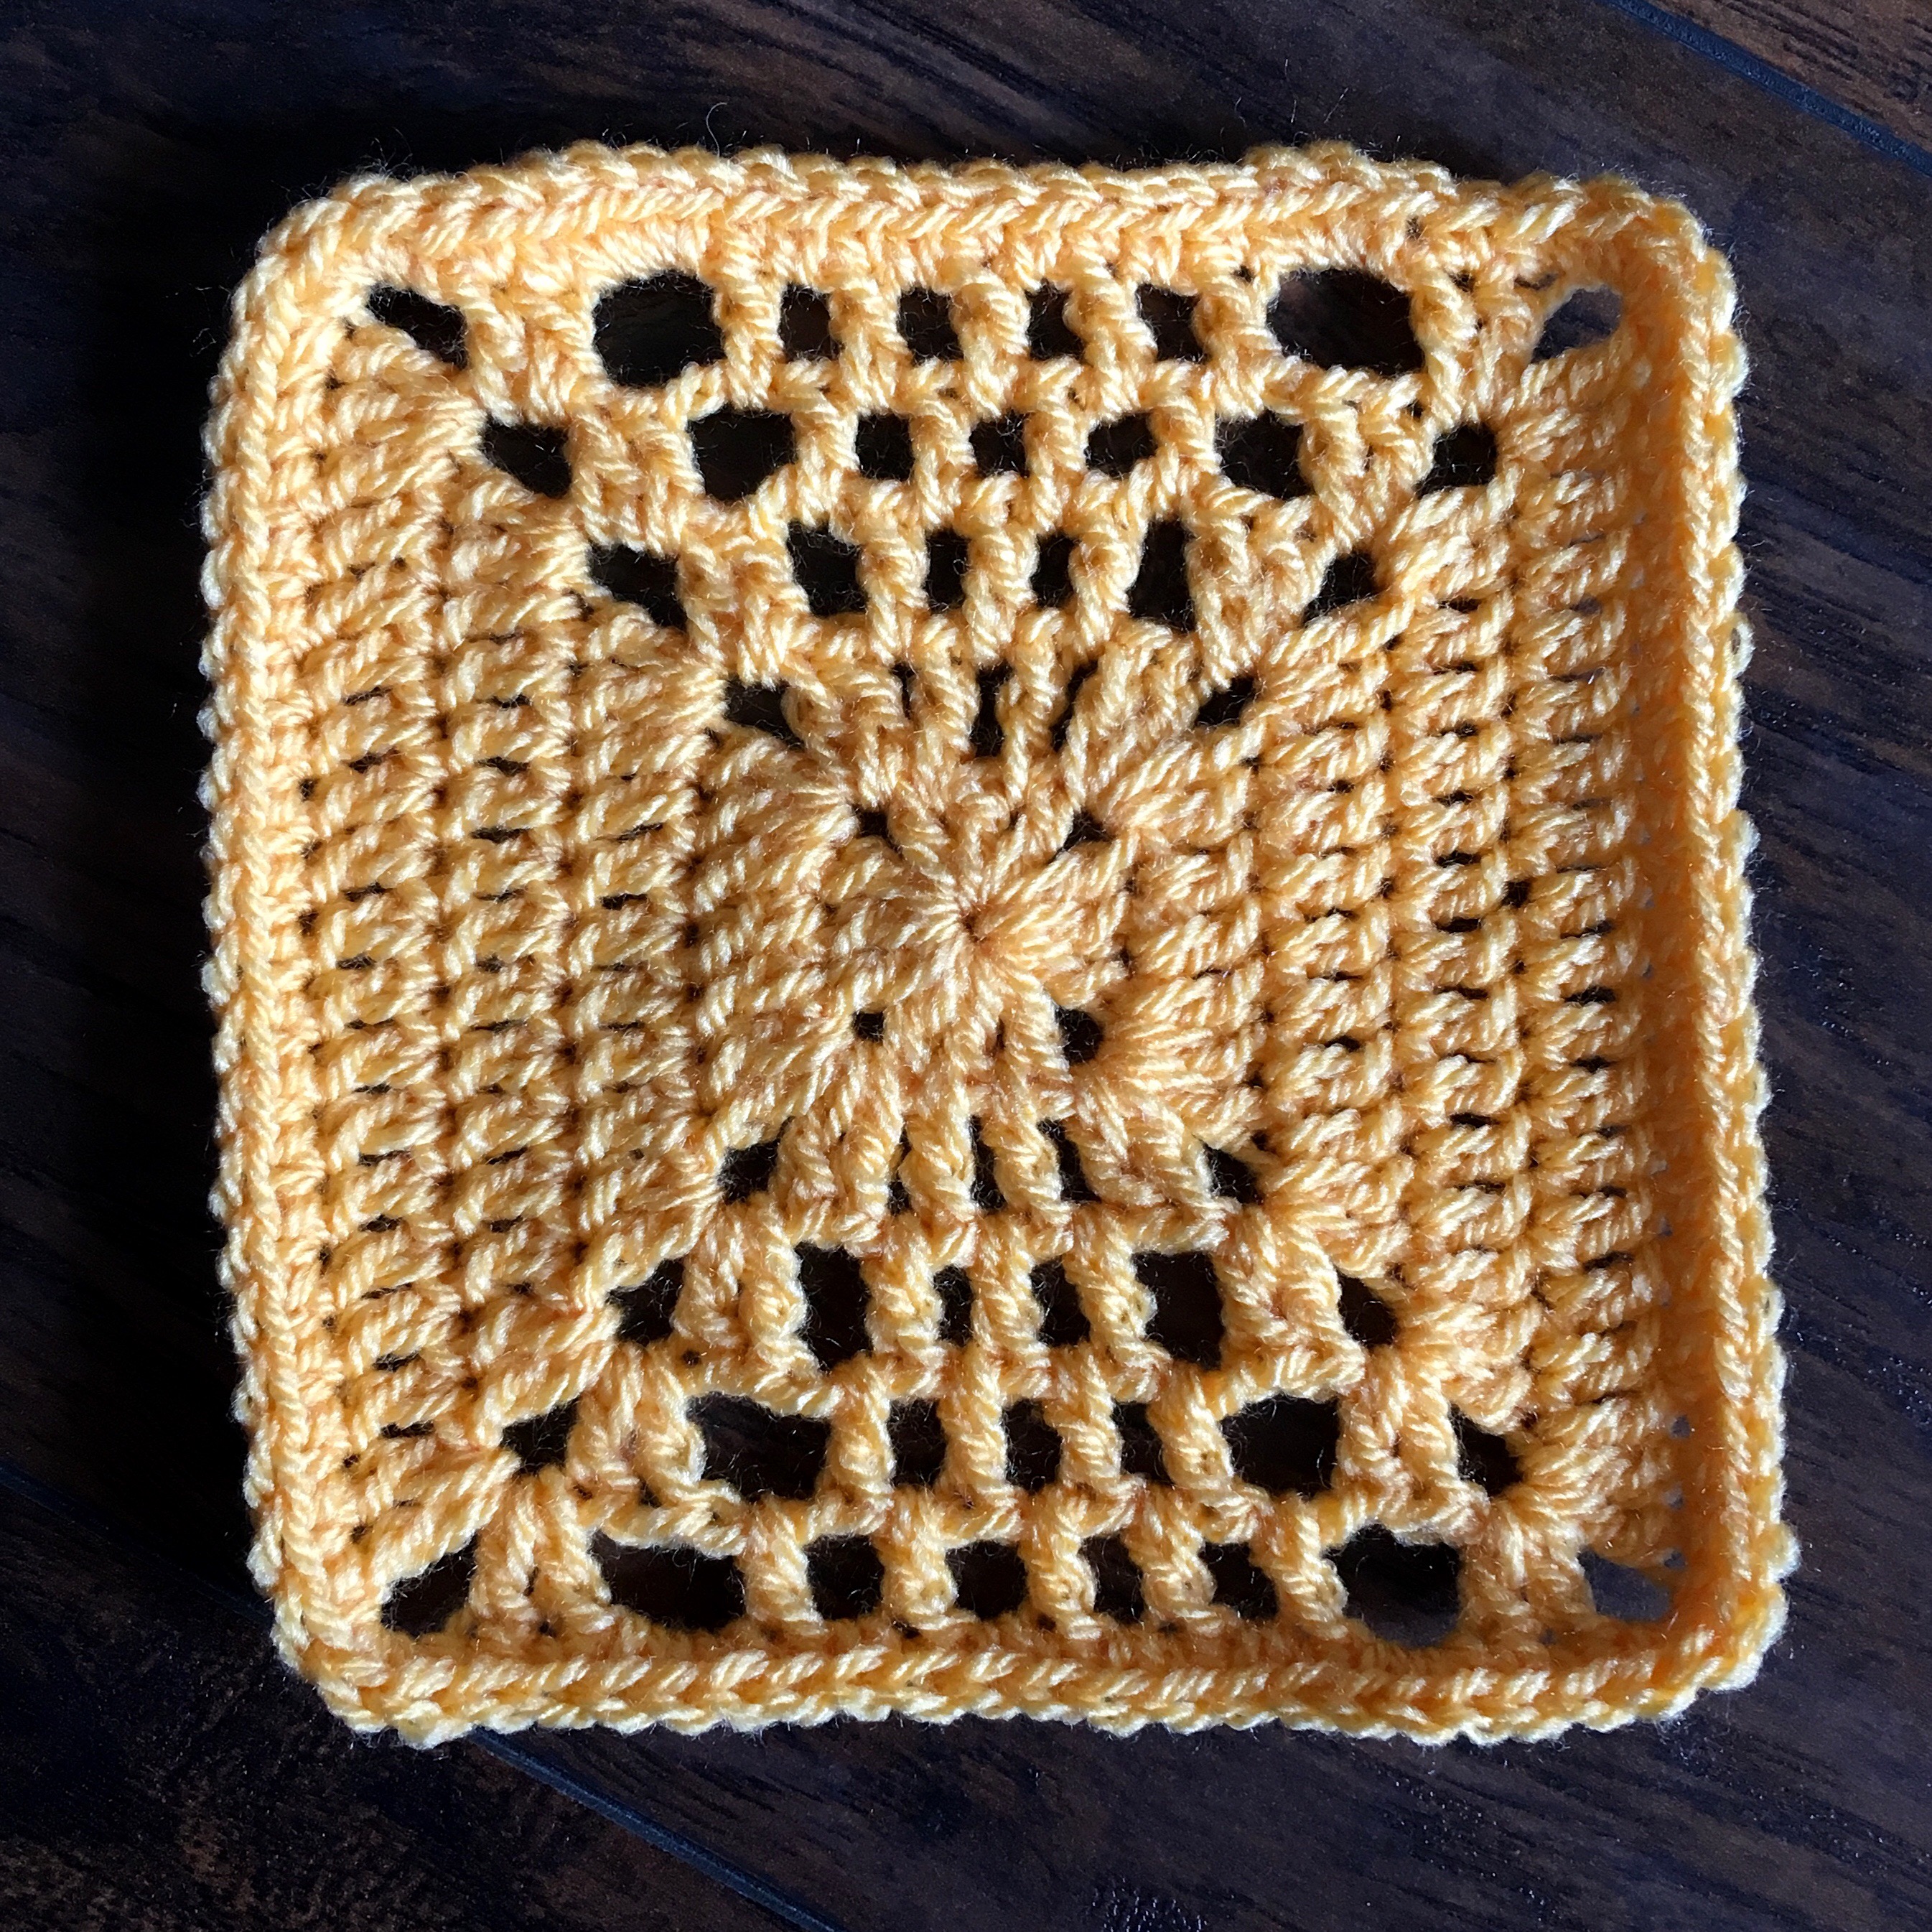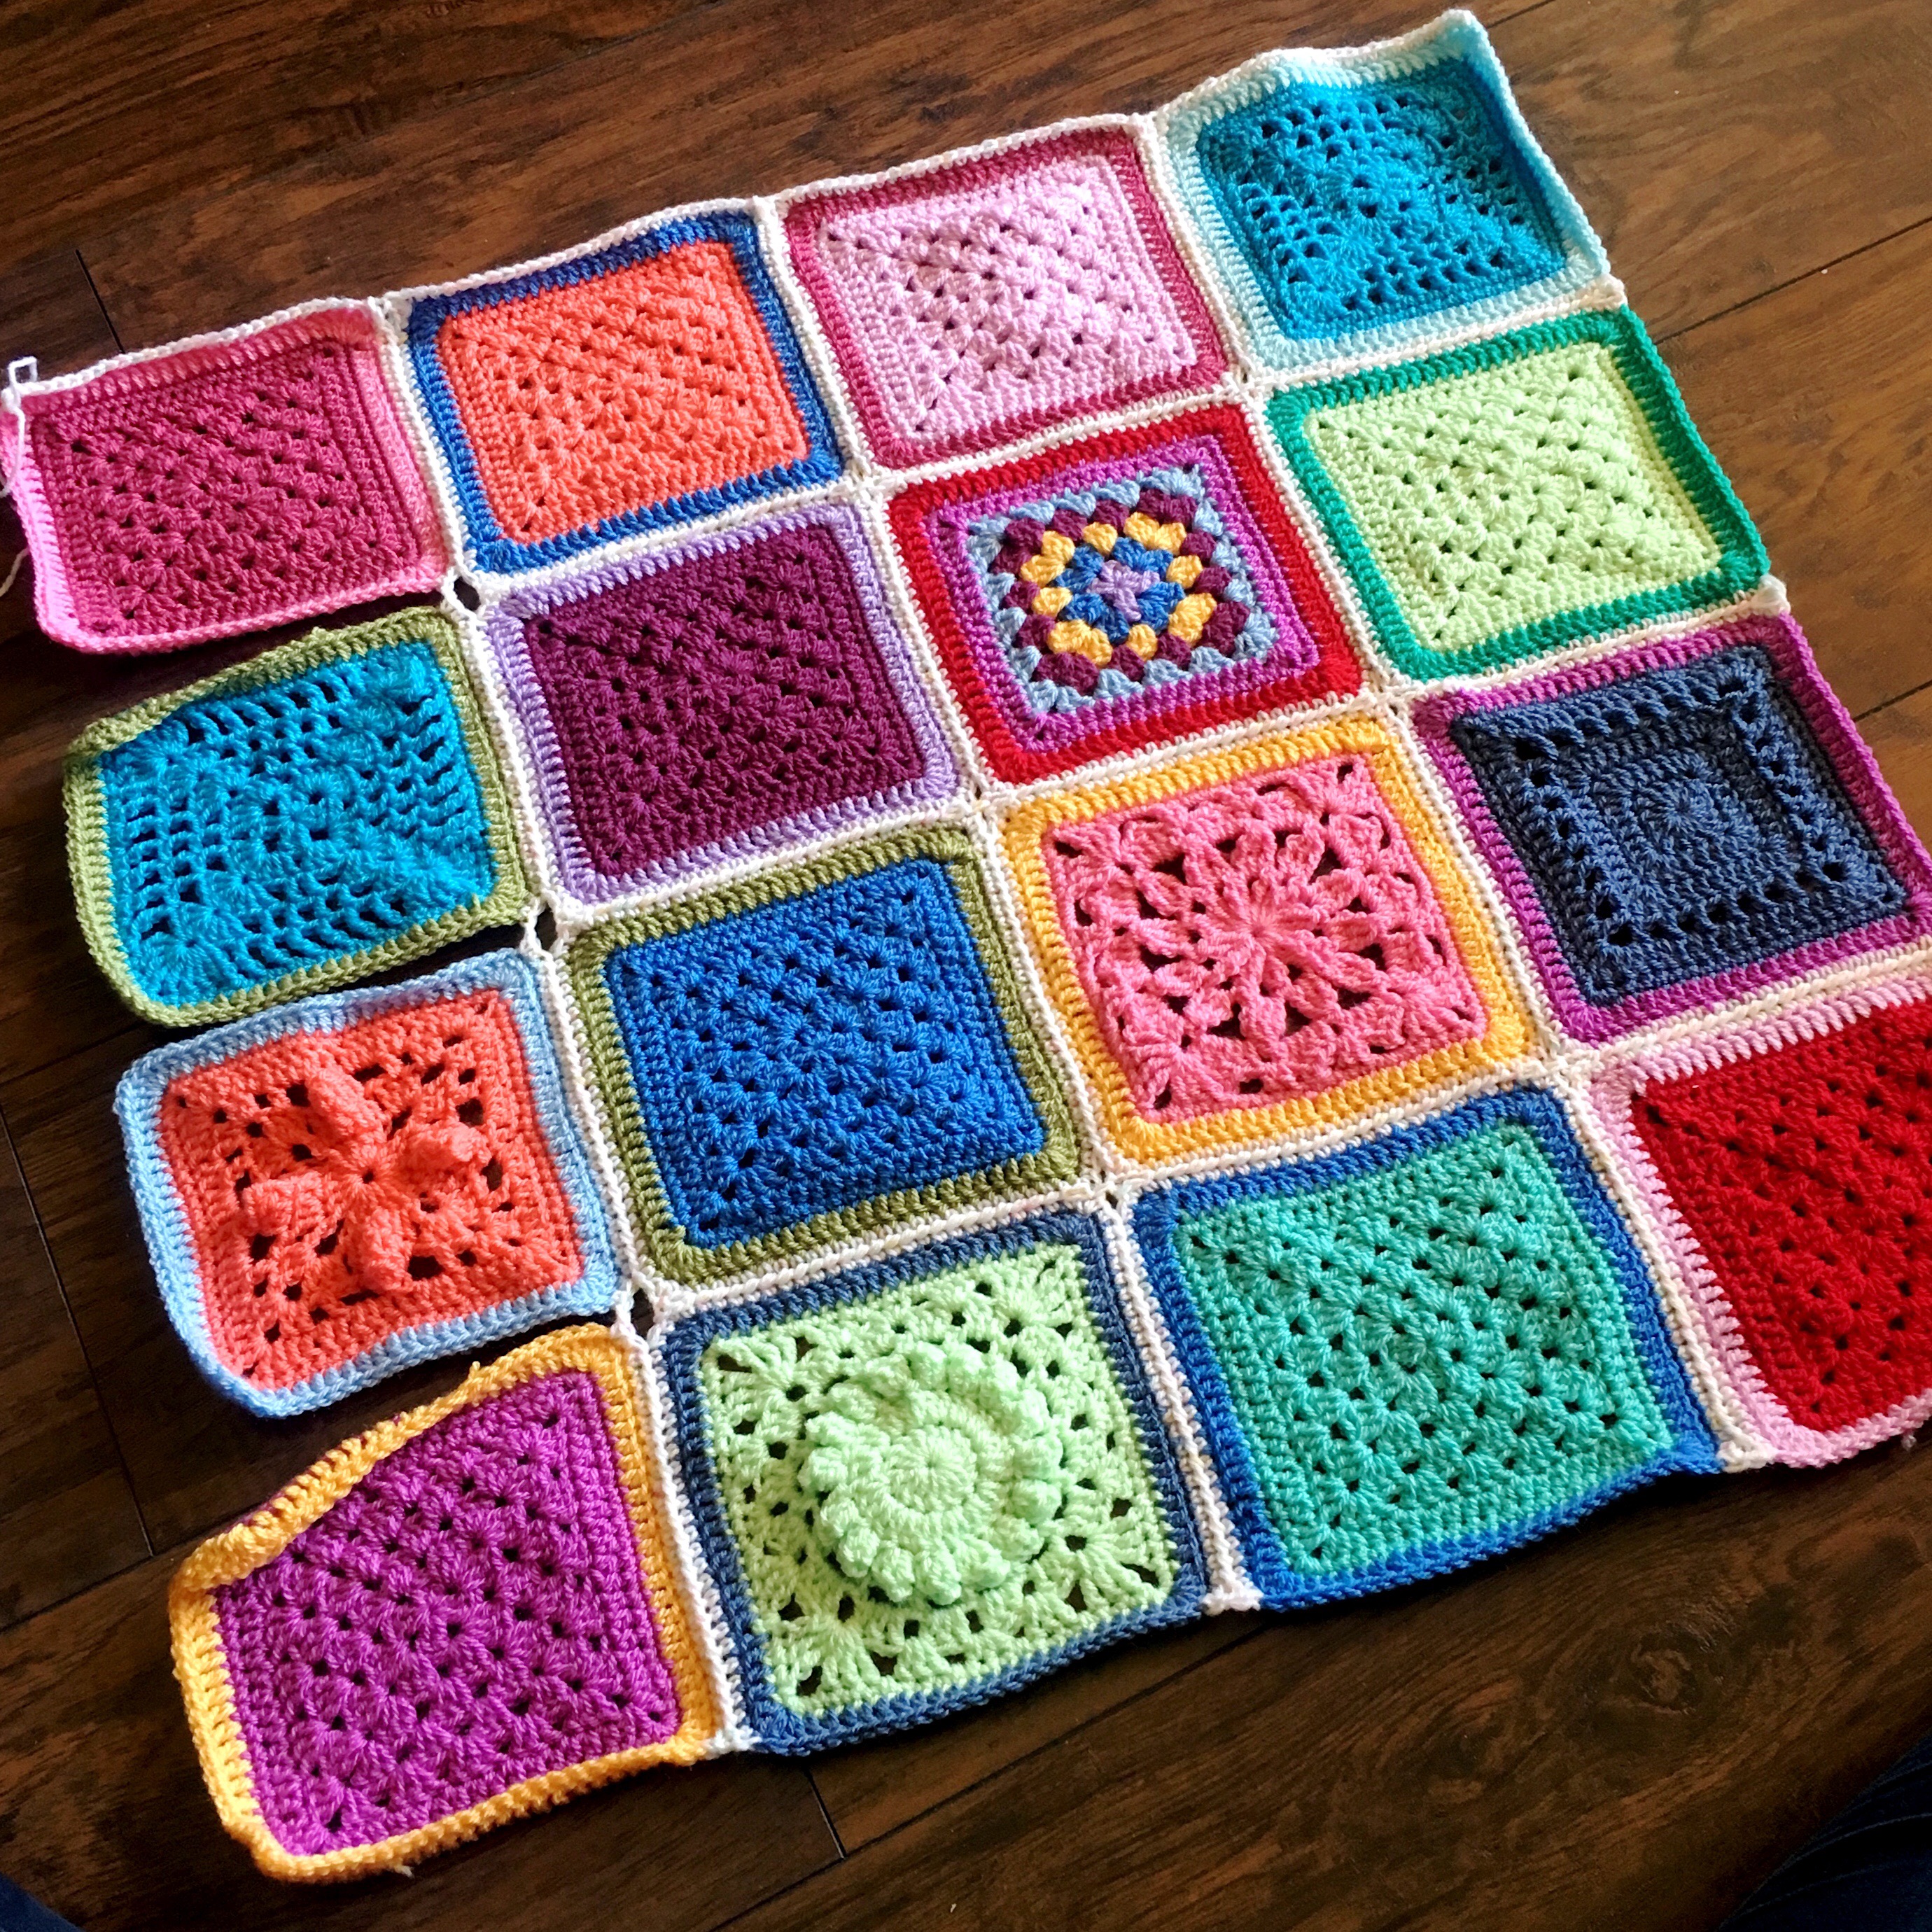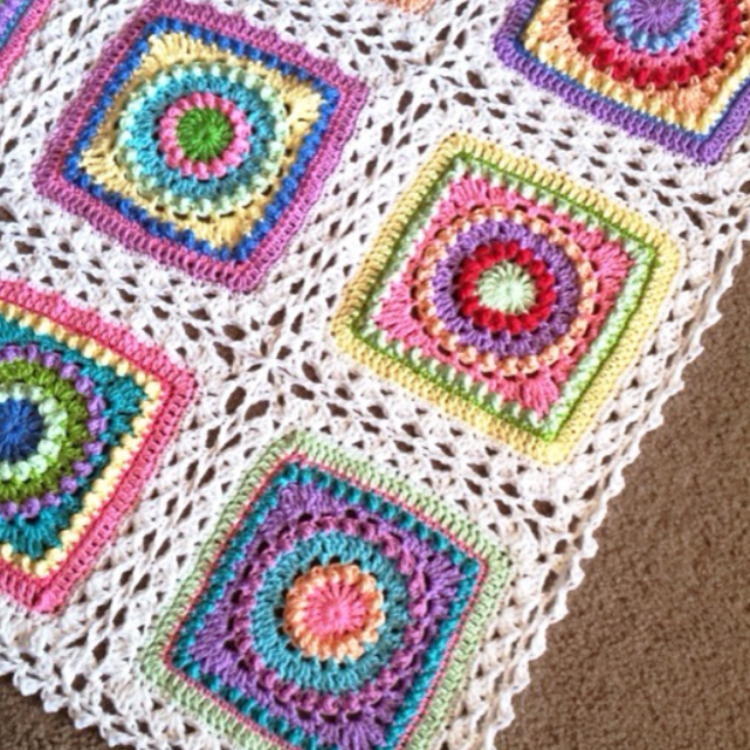
Floating Picot Edging
Hello, everyone! I wanted to document an edging that I’ve been using for a long time when I want something simple, but still cute. It adds that perfect little something. No step-by-step photos here, but it’s so simple! You can set it up with a foundation round of either (SC, Chain 3) – chain-3 loops, or plain SC all around.. Floating Picot Edging pattern: (SC, Chain 3, SC in third chain from hook, chain 1…) repeat… If you have a chain-3 loop foundation, then SC in the next chain loop to start the next repeat.. If you have an SC round foundation, then skip 2 stitches, and SC in the next stitch to start the next repeat..