
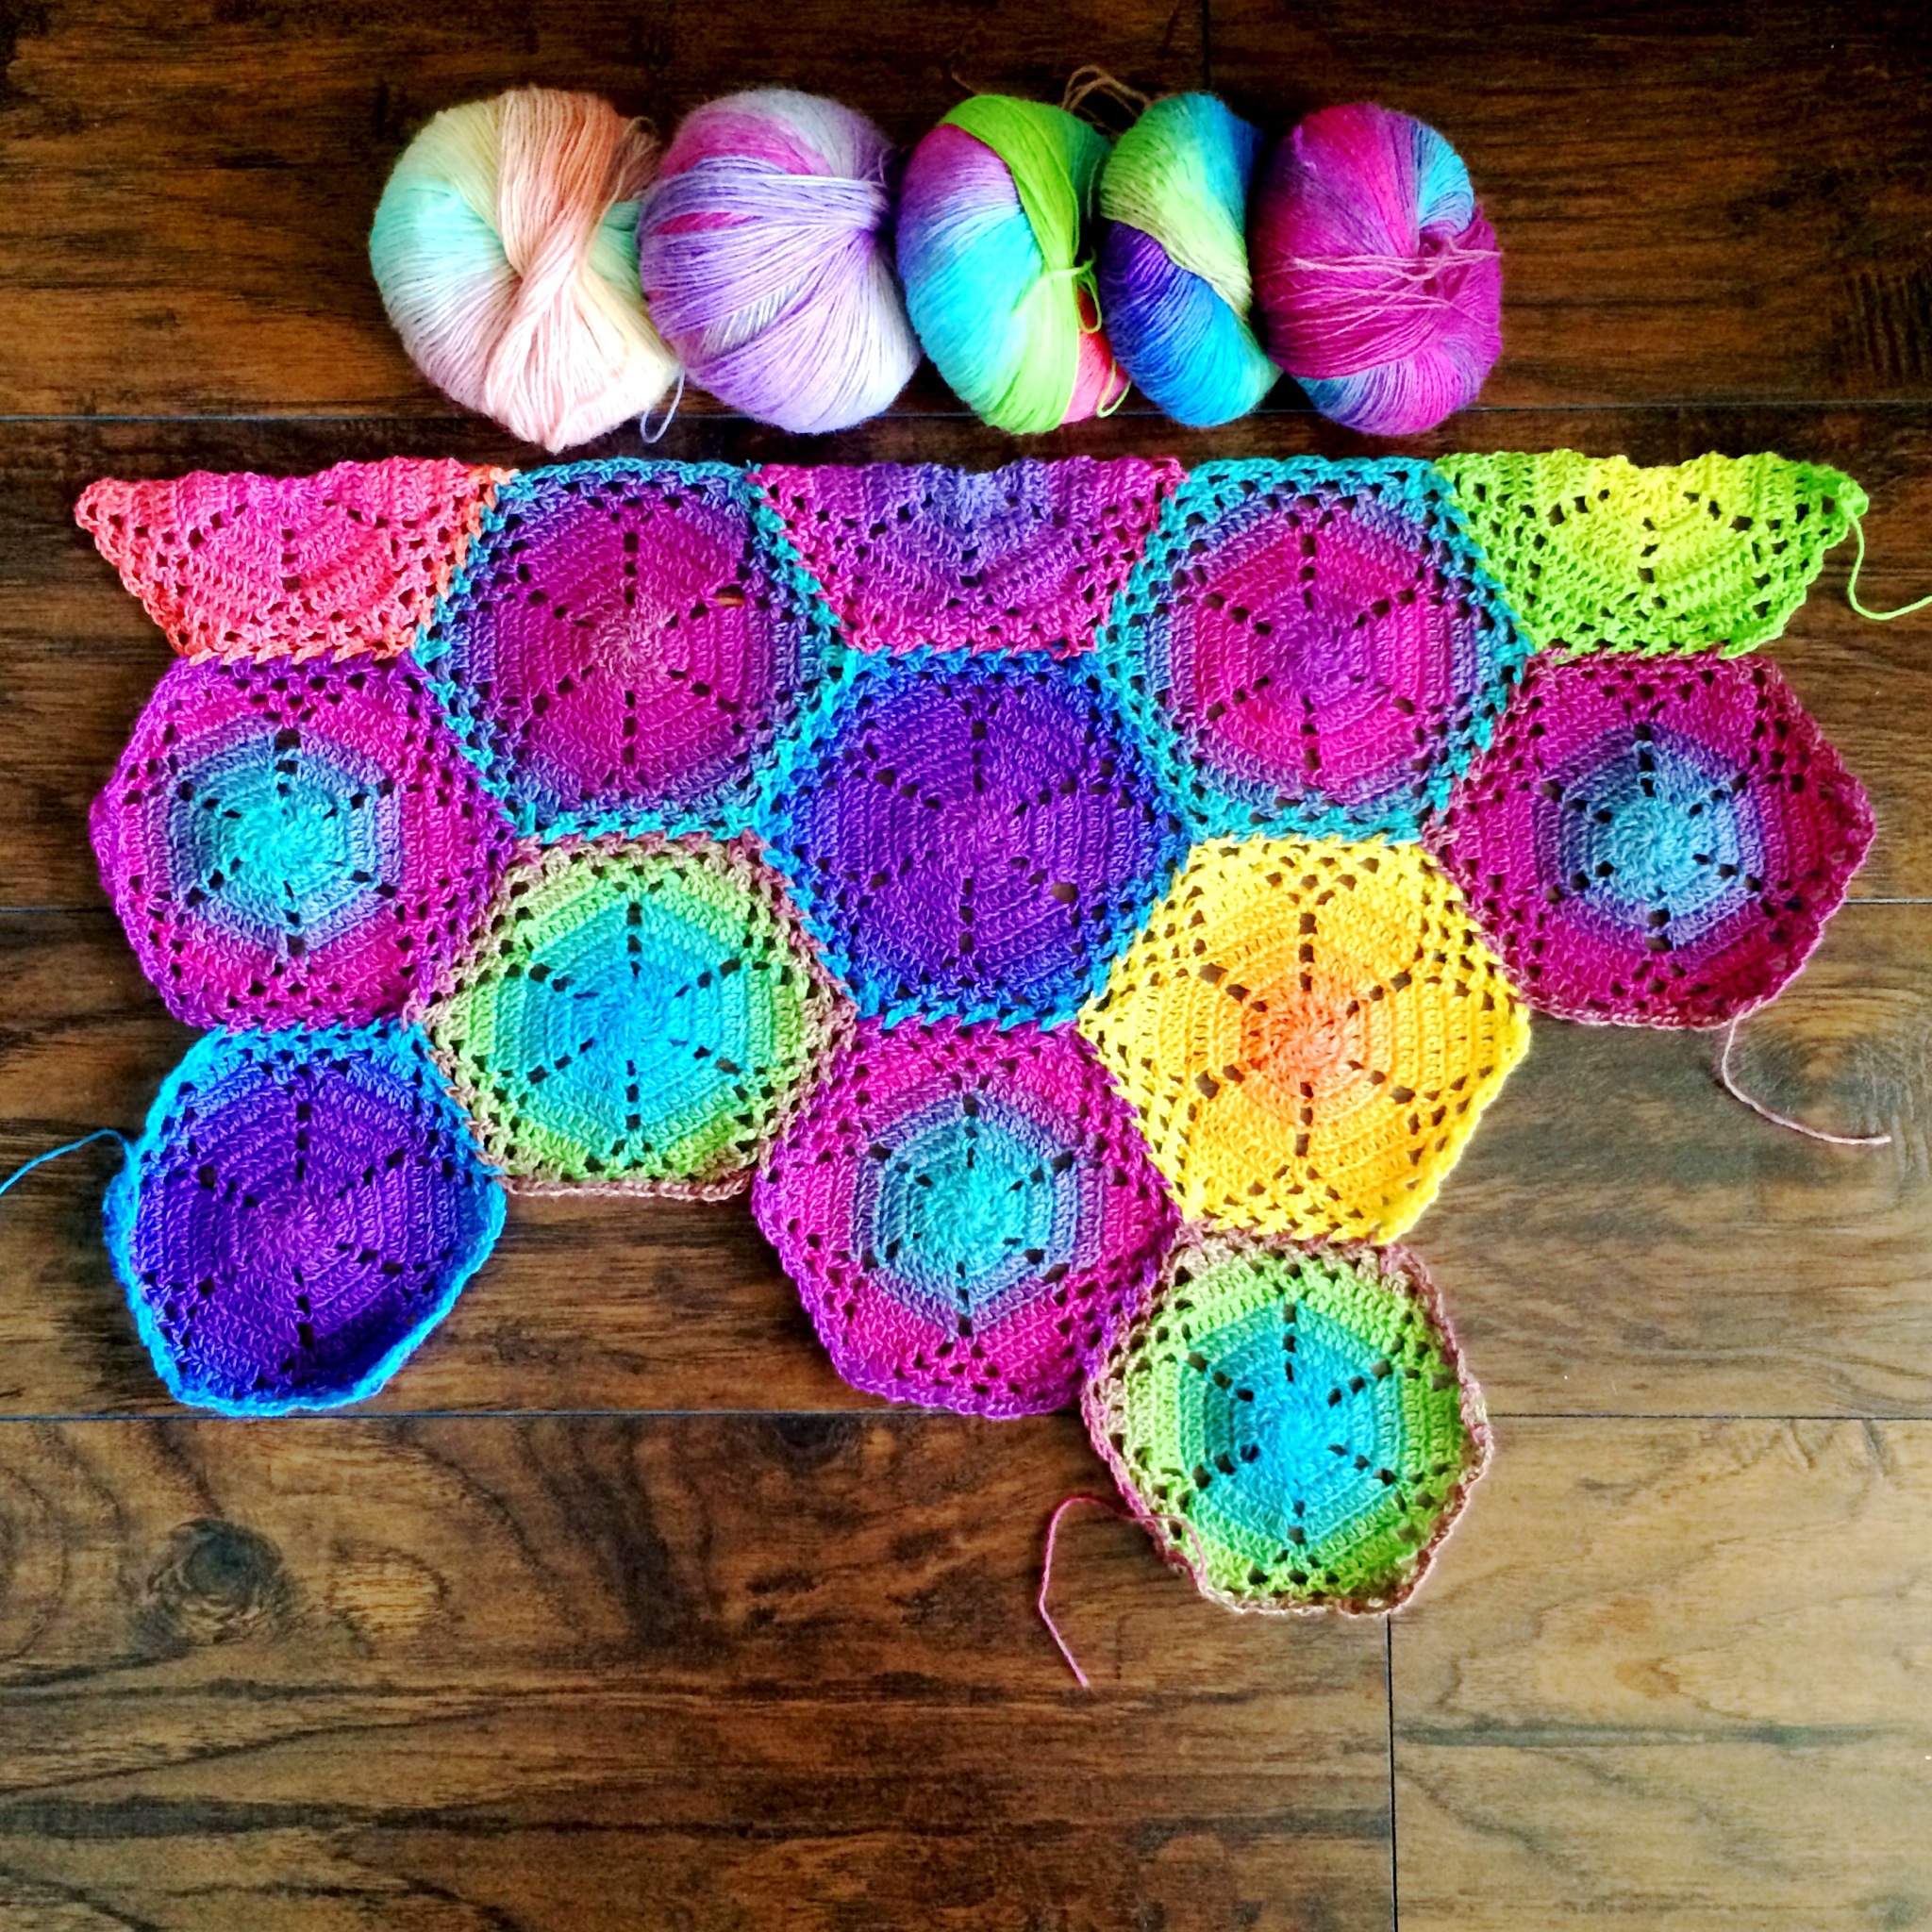

I’ve been playing with my Knit Picks Chroma Yarn* – Fingering weight – and this lacy flower hexagon chart that I found online.
After showing some photos of this heavenly blanket on Instagram and Facebook, I received some questions regarding the half-hexagon. I made it up, but here is the written pattern!
Lacy Flower Hexagon: Half Motif
Row 1: Chain 3 and join to make a ring. All in Ring, (SC, Chain 1) counts as first DC here and throughout,

(Chain 1, DC) 7 times. 8 DC total. Turn work
Row 2: (SC, Chain 1) in first stitch, Skip chain space here and throughout. 2 DC in next stitch, (Chain 2, 2 DC in next 2 stitches) 2 times, Chain 2, 2 DC in next stitch, DC in final stitch (which will be the top of your beginning DC). 14 DC and 3 Chain-2 spaces total. Turn work

Row 3: (SC, Chain 1) in first stitch, DC, 2 DC, (Chain 2, 2 DC, DC in next 2 stitches, 2 DC) 2 times, Chain 2, 2 DC, DC in next 2 stitches. 20 DC, 3 Chain-2 spaces. Turn work

Row 4: (SC, Chain 1) in first stitch, DC in next 2 stitches, 2 DC, (Chain 2, 2 DC, DC in next 4 stitches, 2 DC) 2 times, Chain 2, 2 DC, DC in next 3 stitches. 26 DC and 3 Chain-2 spaces. Turn work

Row 5: (SC, Chain 1) in first stitch, DC in next 4 stitches, (Chain 3, SC in Chain-2 space, Chain 3, DC in next 8 stitches) 2 times, Chain 3, SC in Chain-2 space, Chain 3, SC in next 5 Stitches. 26 DC and 6 Chain-3 spaces. Turn work

Row 6: (SC, Chain 1) in first stitch, DC in next 3 stitches, [(Chain 3, SC in next chain space) 2 times, Chain 3, Skip next DC, DC in next 6 stitches] 2 times, (Chain 3, sc in next chain space) 2 times, Chain 3, skip next DC, DC in next 4 stitches. 20 stitches and 9 Chain-3 spaces. Turn work

Row 7: (SC, Chain 1) in first stitch, DC in next 2 stitches, [(Chain 3, SC in next chain space) 3 times, Chain 3, skip 1 DC, DC in next 4 stitches] 2 times, (Chain 3, SC in next chain space) 3 times, Chain 3, skip 1 DC, DC in next 3 stitches. 14 DC and 12 Chain-3 spaces. Turn work

If you aren’t joining on the final row, then work your last row as follows:
Row 8: (SC, chain 1) in first stitch, Chain 1, DC between this and next stitch, [(Chain 3, SC in next chain space) 4 times, Chain 3, (DC, chain 1, DC) between two center stitches) 2 times, (Chain 3, SC in next chain space) 4 times, Chain 3, skip 2 stitches, DC between this and final DC, Chain 1, DC in final stitch. Finish off.

If you will be joining on the final row, work row 8 as follows:
Row 8 (Join as you go): (SC, Chain 1) in first stitch, release loop from hook, insert hook in chain-1 space between DC stitches on corresponding motif. put loop back on hook. See photo below. In the photo, I have released the loop, inserted the hook, and placed the loop back on the hook.

Pull the loop through that space and complete your chain stitch. From now on, I will refer to this procedure as “Join.” When you Join, it counts as a chain – See below.

DC between this and next stitch, **(Chain 1, join to corresponding chain space, Chain 1, SC in next chain space) 4 times, Chain 1, Join, Chain 1, DC in between 2 center stitches, release loop from hook, insert hook in chain space of left-most corner, and in chain space of right-most corner, and put the loop back on the hook. Pull loop through both corners, joining them together, complete chain, DC between center 2 stitches again. Repeat once more from **, Join final side, and DC in between final 2 stitches, Join final chain-1 space, and DC in final stitch. Reference next 3 photos to see joining process. This is a “Flat Braid Join” if you’d like to do some YouTube/Internet research on the method.


Disclosure: This post contains affiliate links, which means I receive a small commission if you make a purchase using the links marked with an asterisk*. It doesn’t cost you anything extra, and it helps keep CypressTextiles going!